Double Circle Flip Slim Line Card

Double Circle Flip Slim Line Card

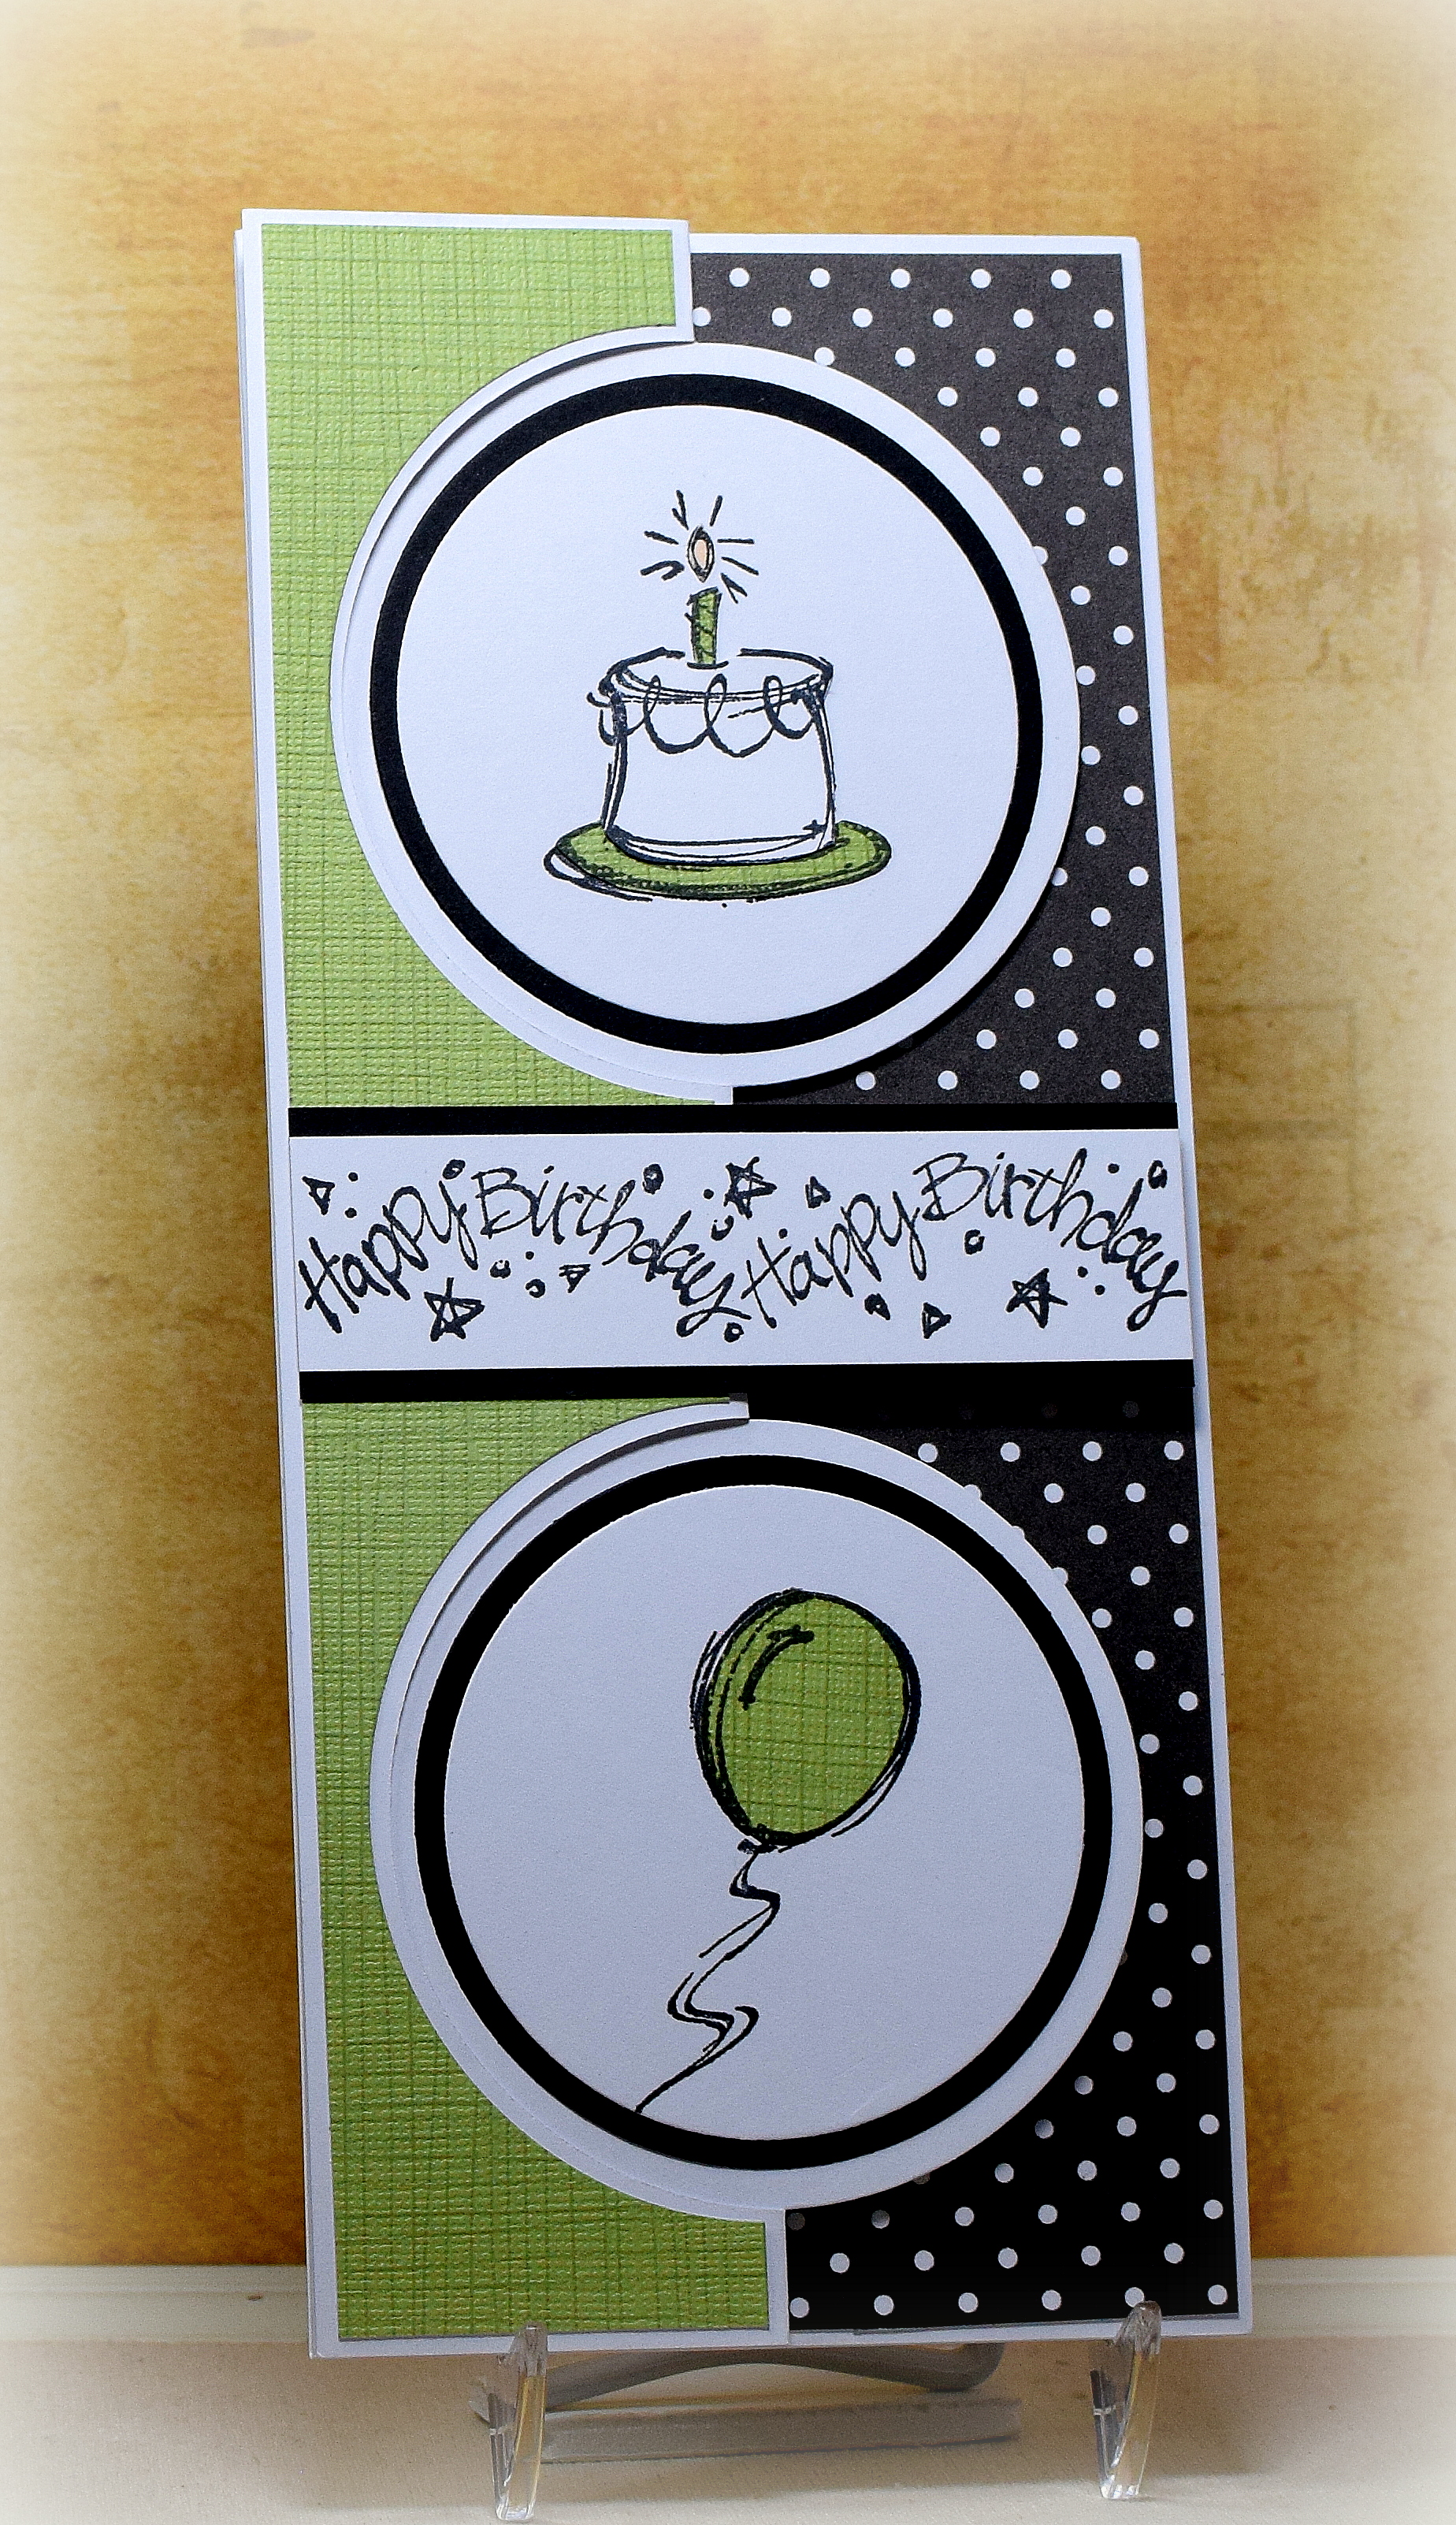
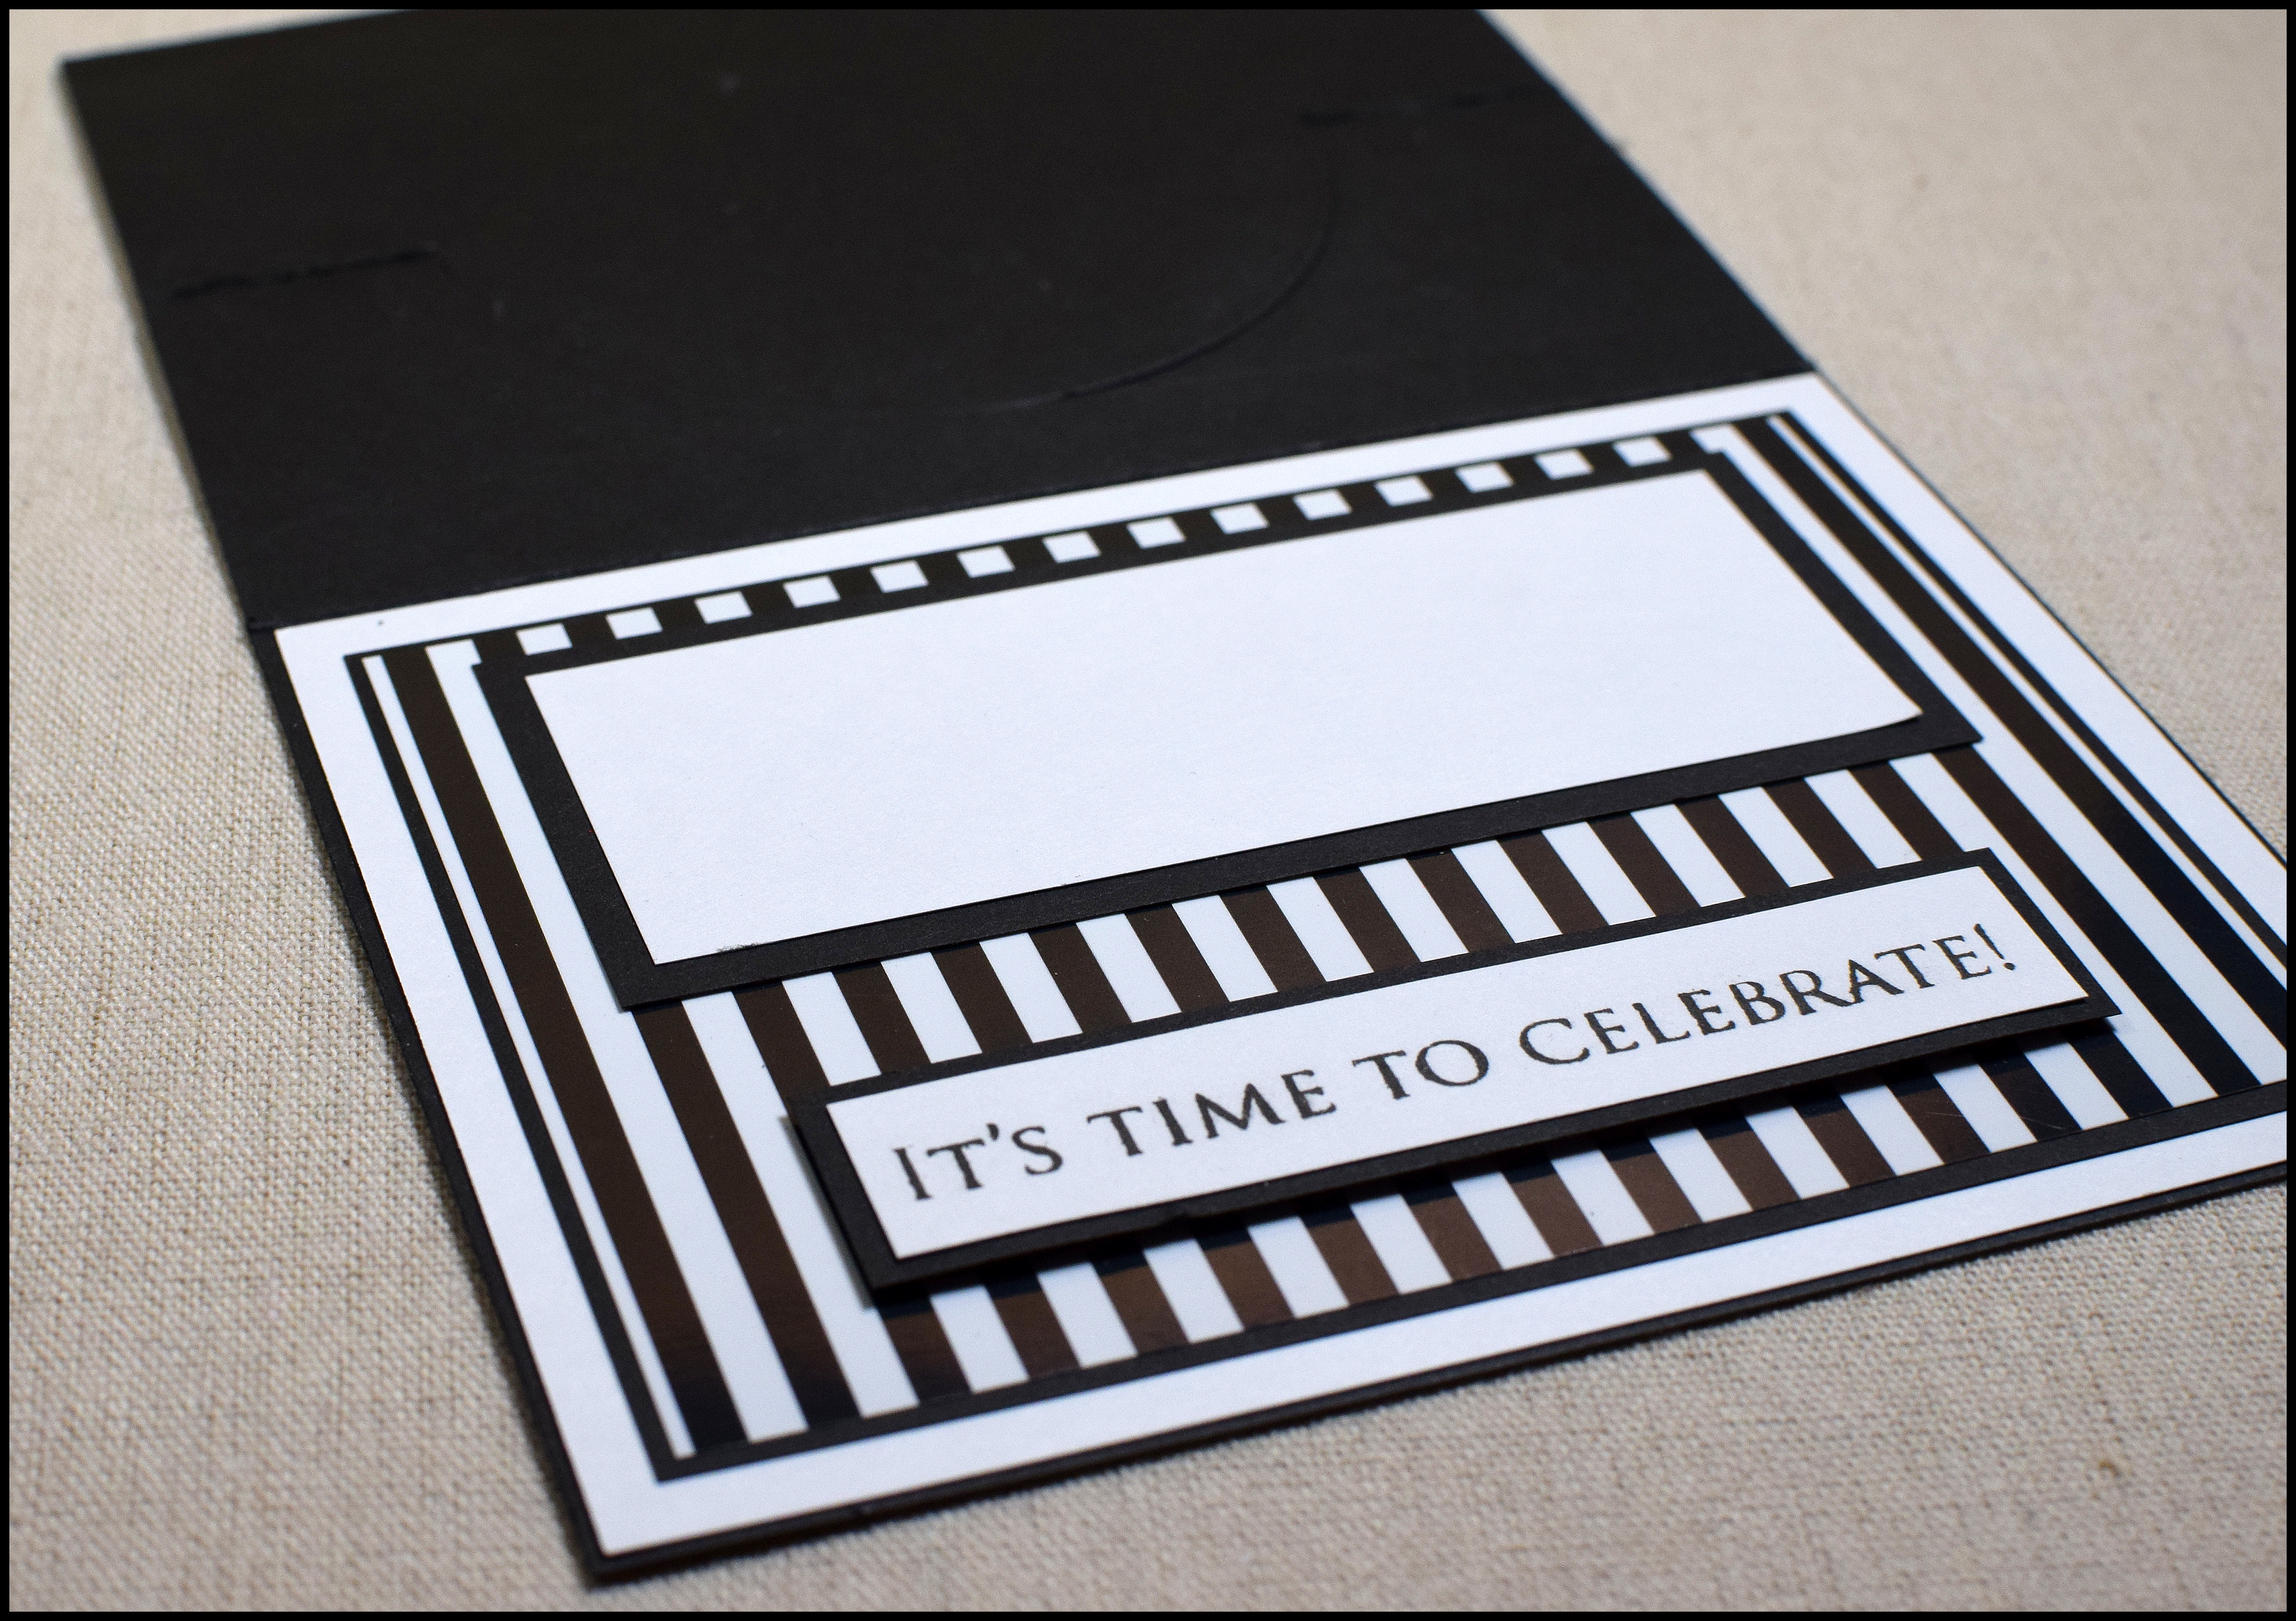
Using the dies from the  Circle Flip Die set from Creek Bank Creations on a “slim line” card base is yet another way to use this versatile die set.  You could make a single flip panel or two as I have done here.  (I was bound and determined to “get my money’s worth” with this die set – lol!!) The die set is designed to make A2 size cards, but HERE is the video (starting at 3:17) showing how to create the slim line card.

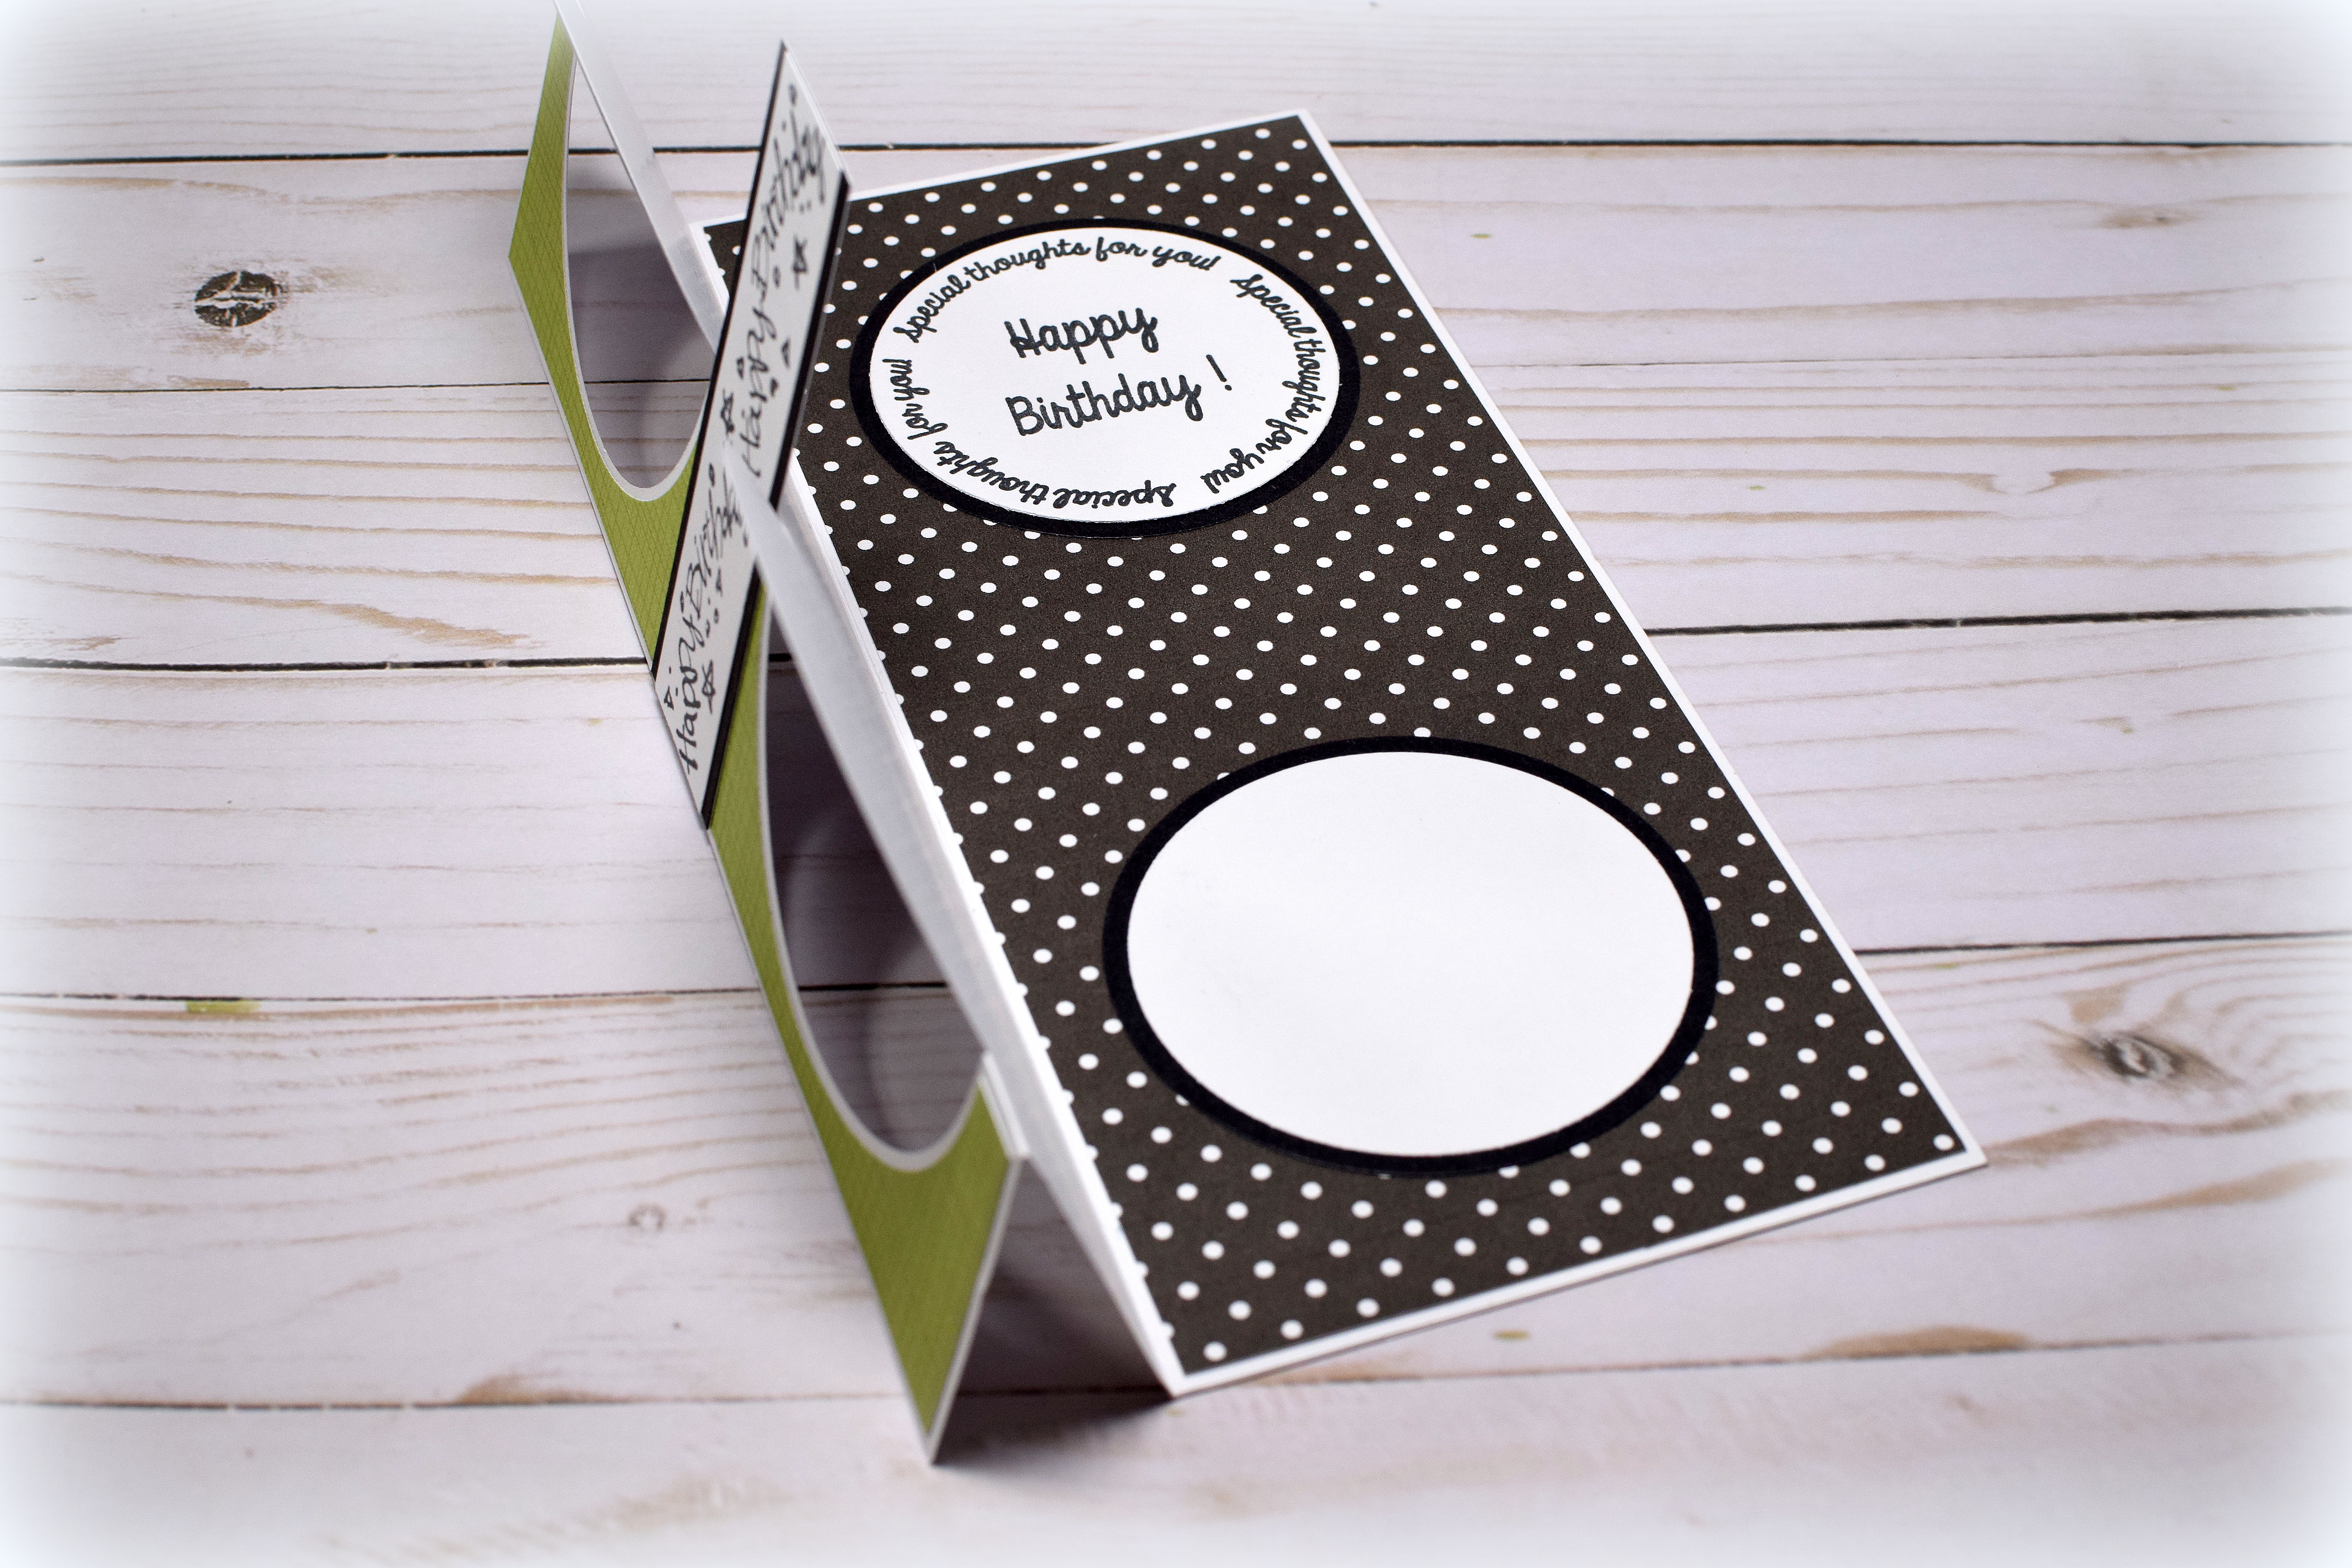
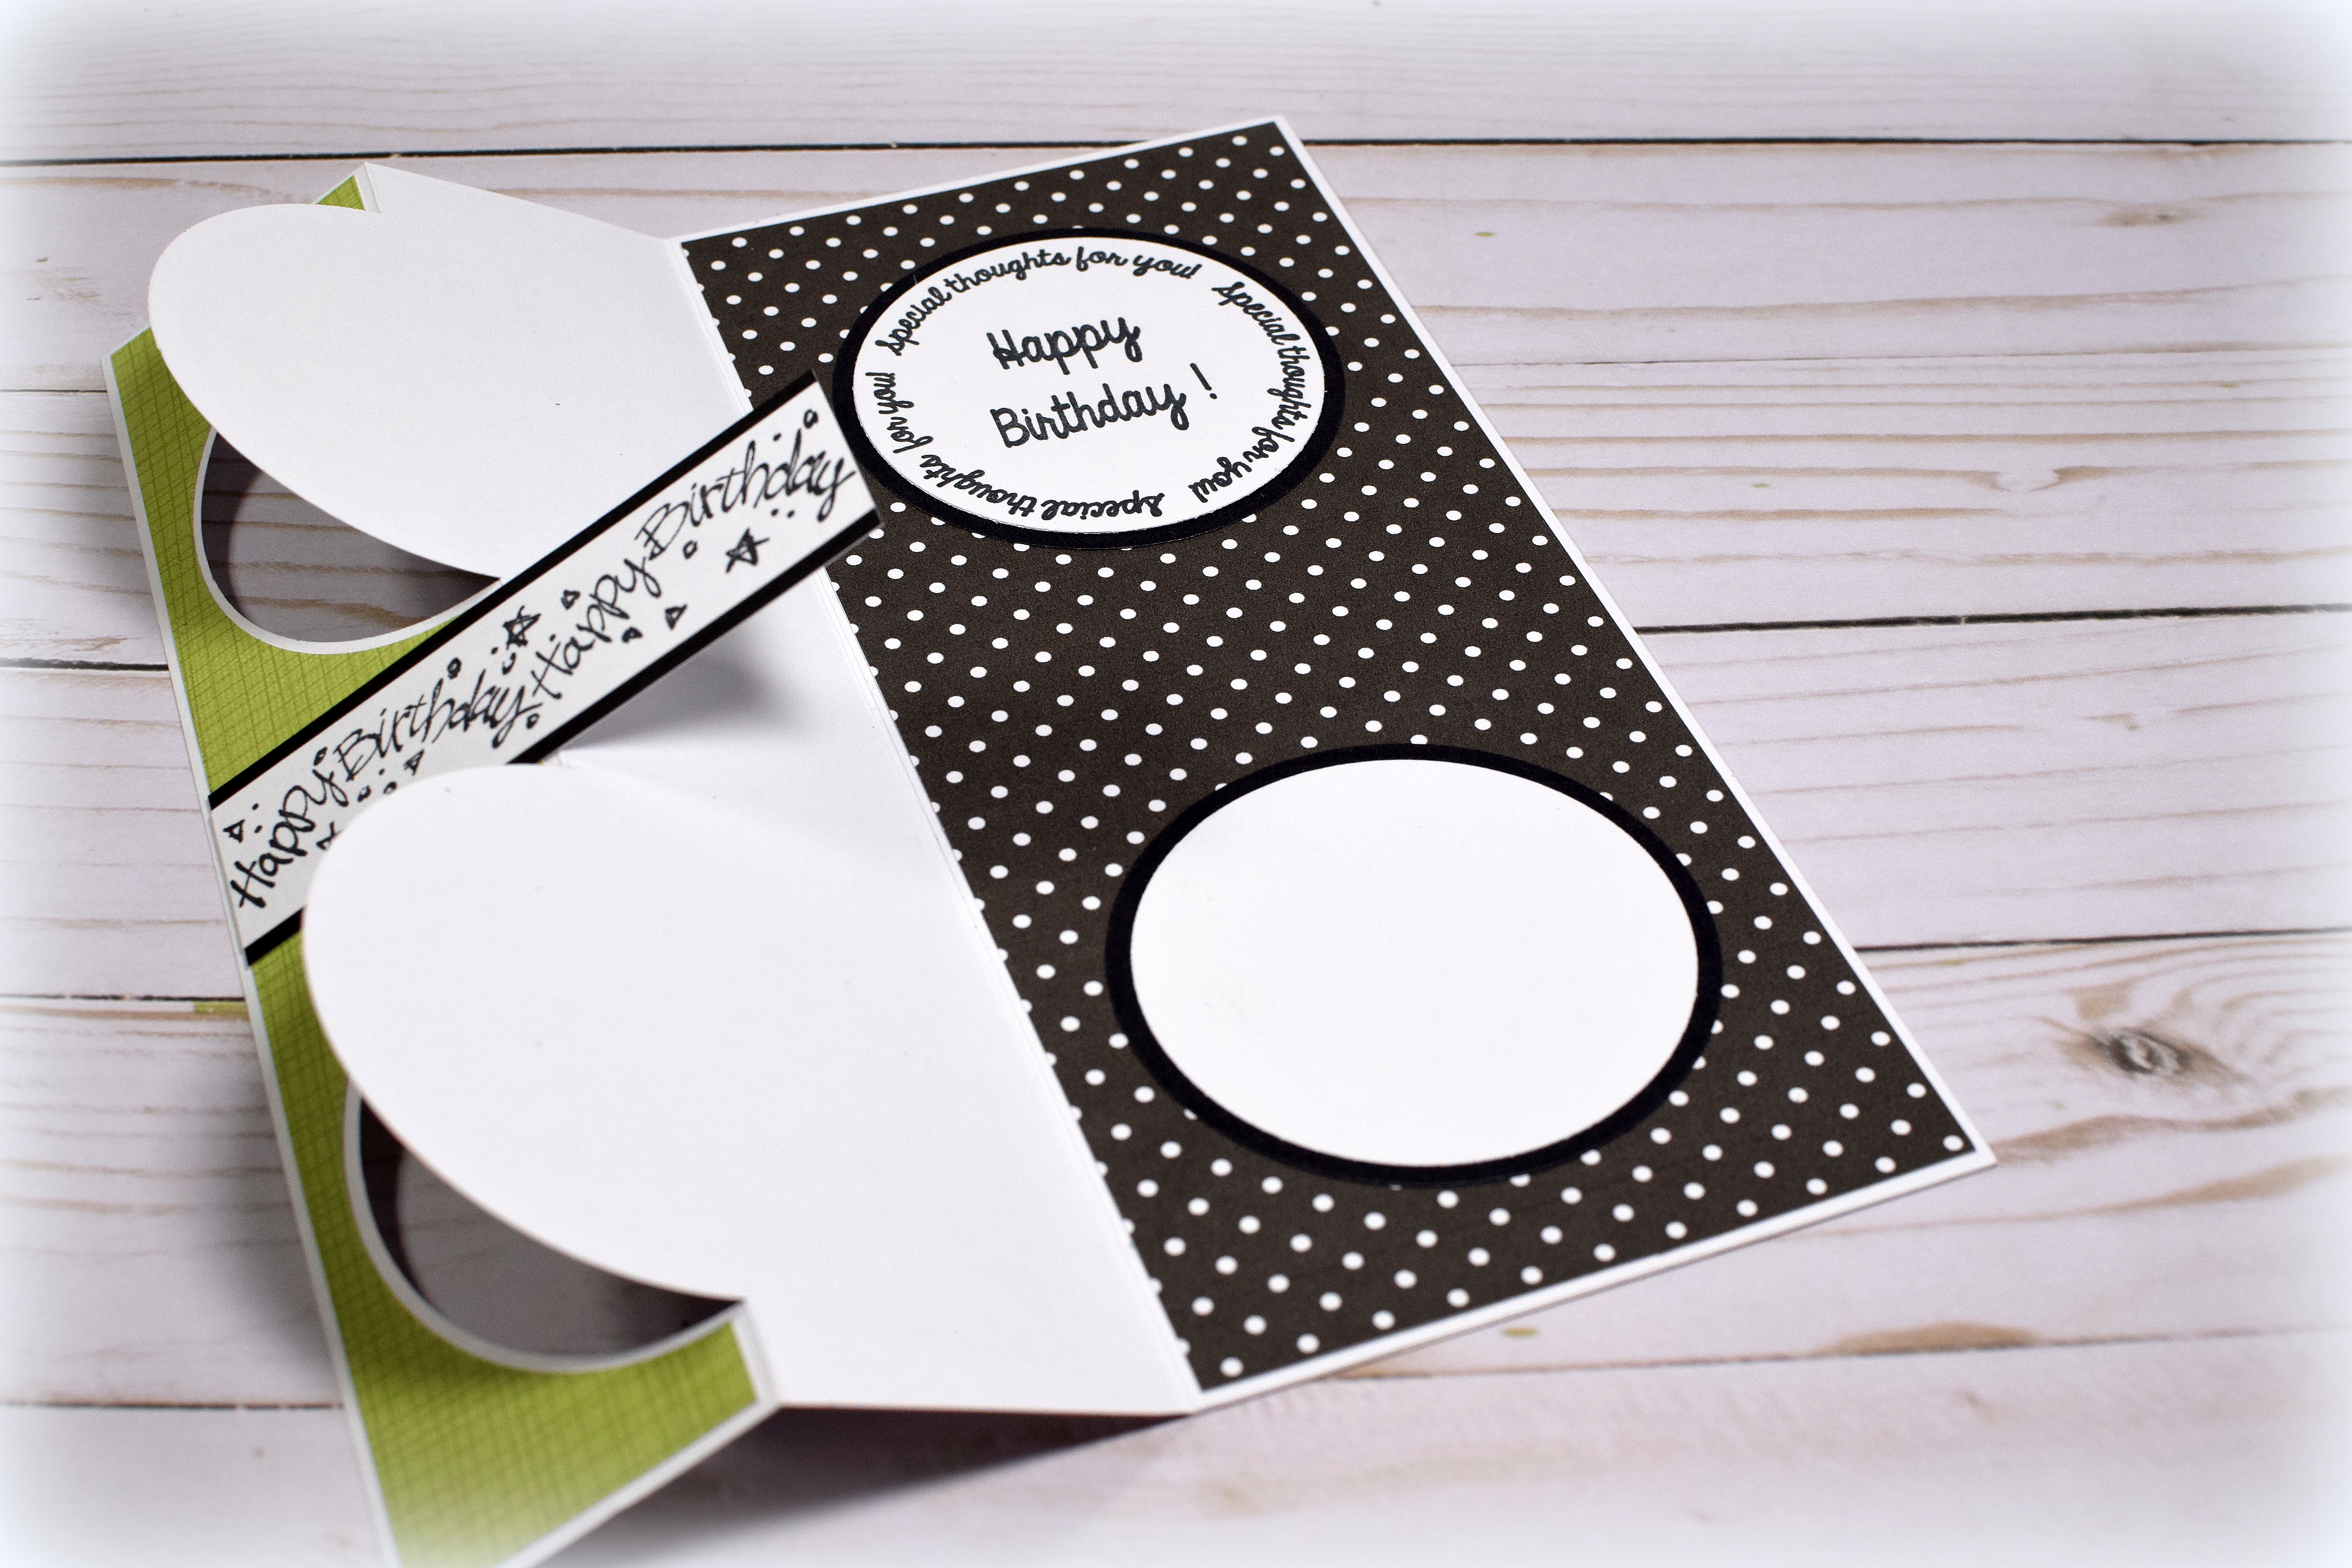
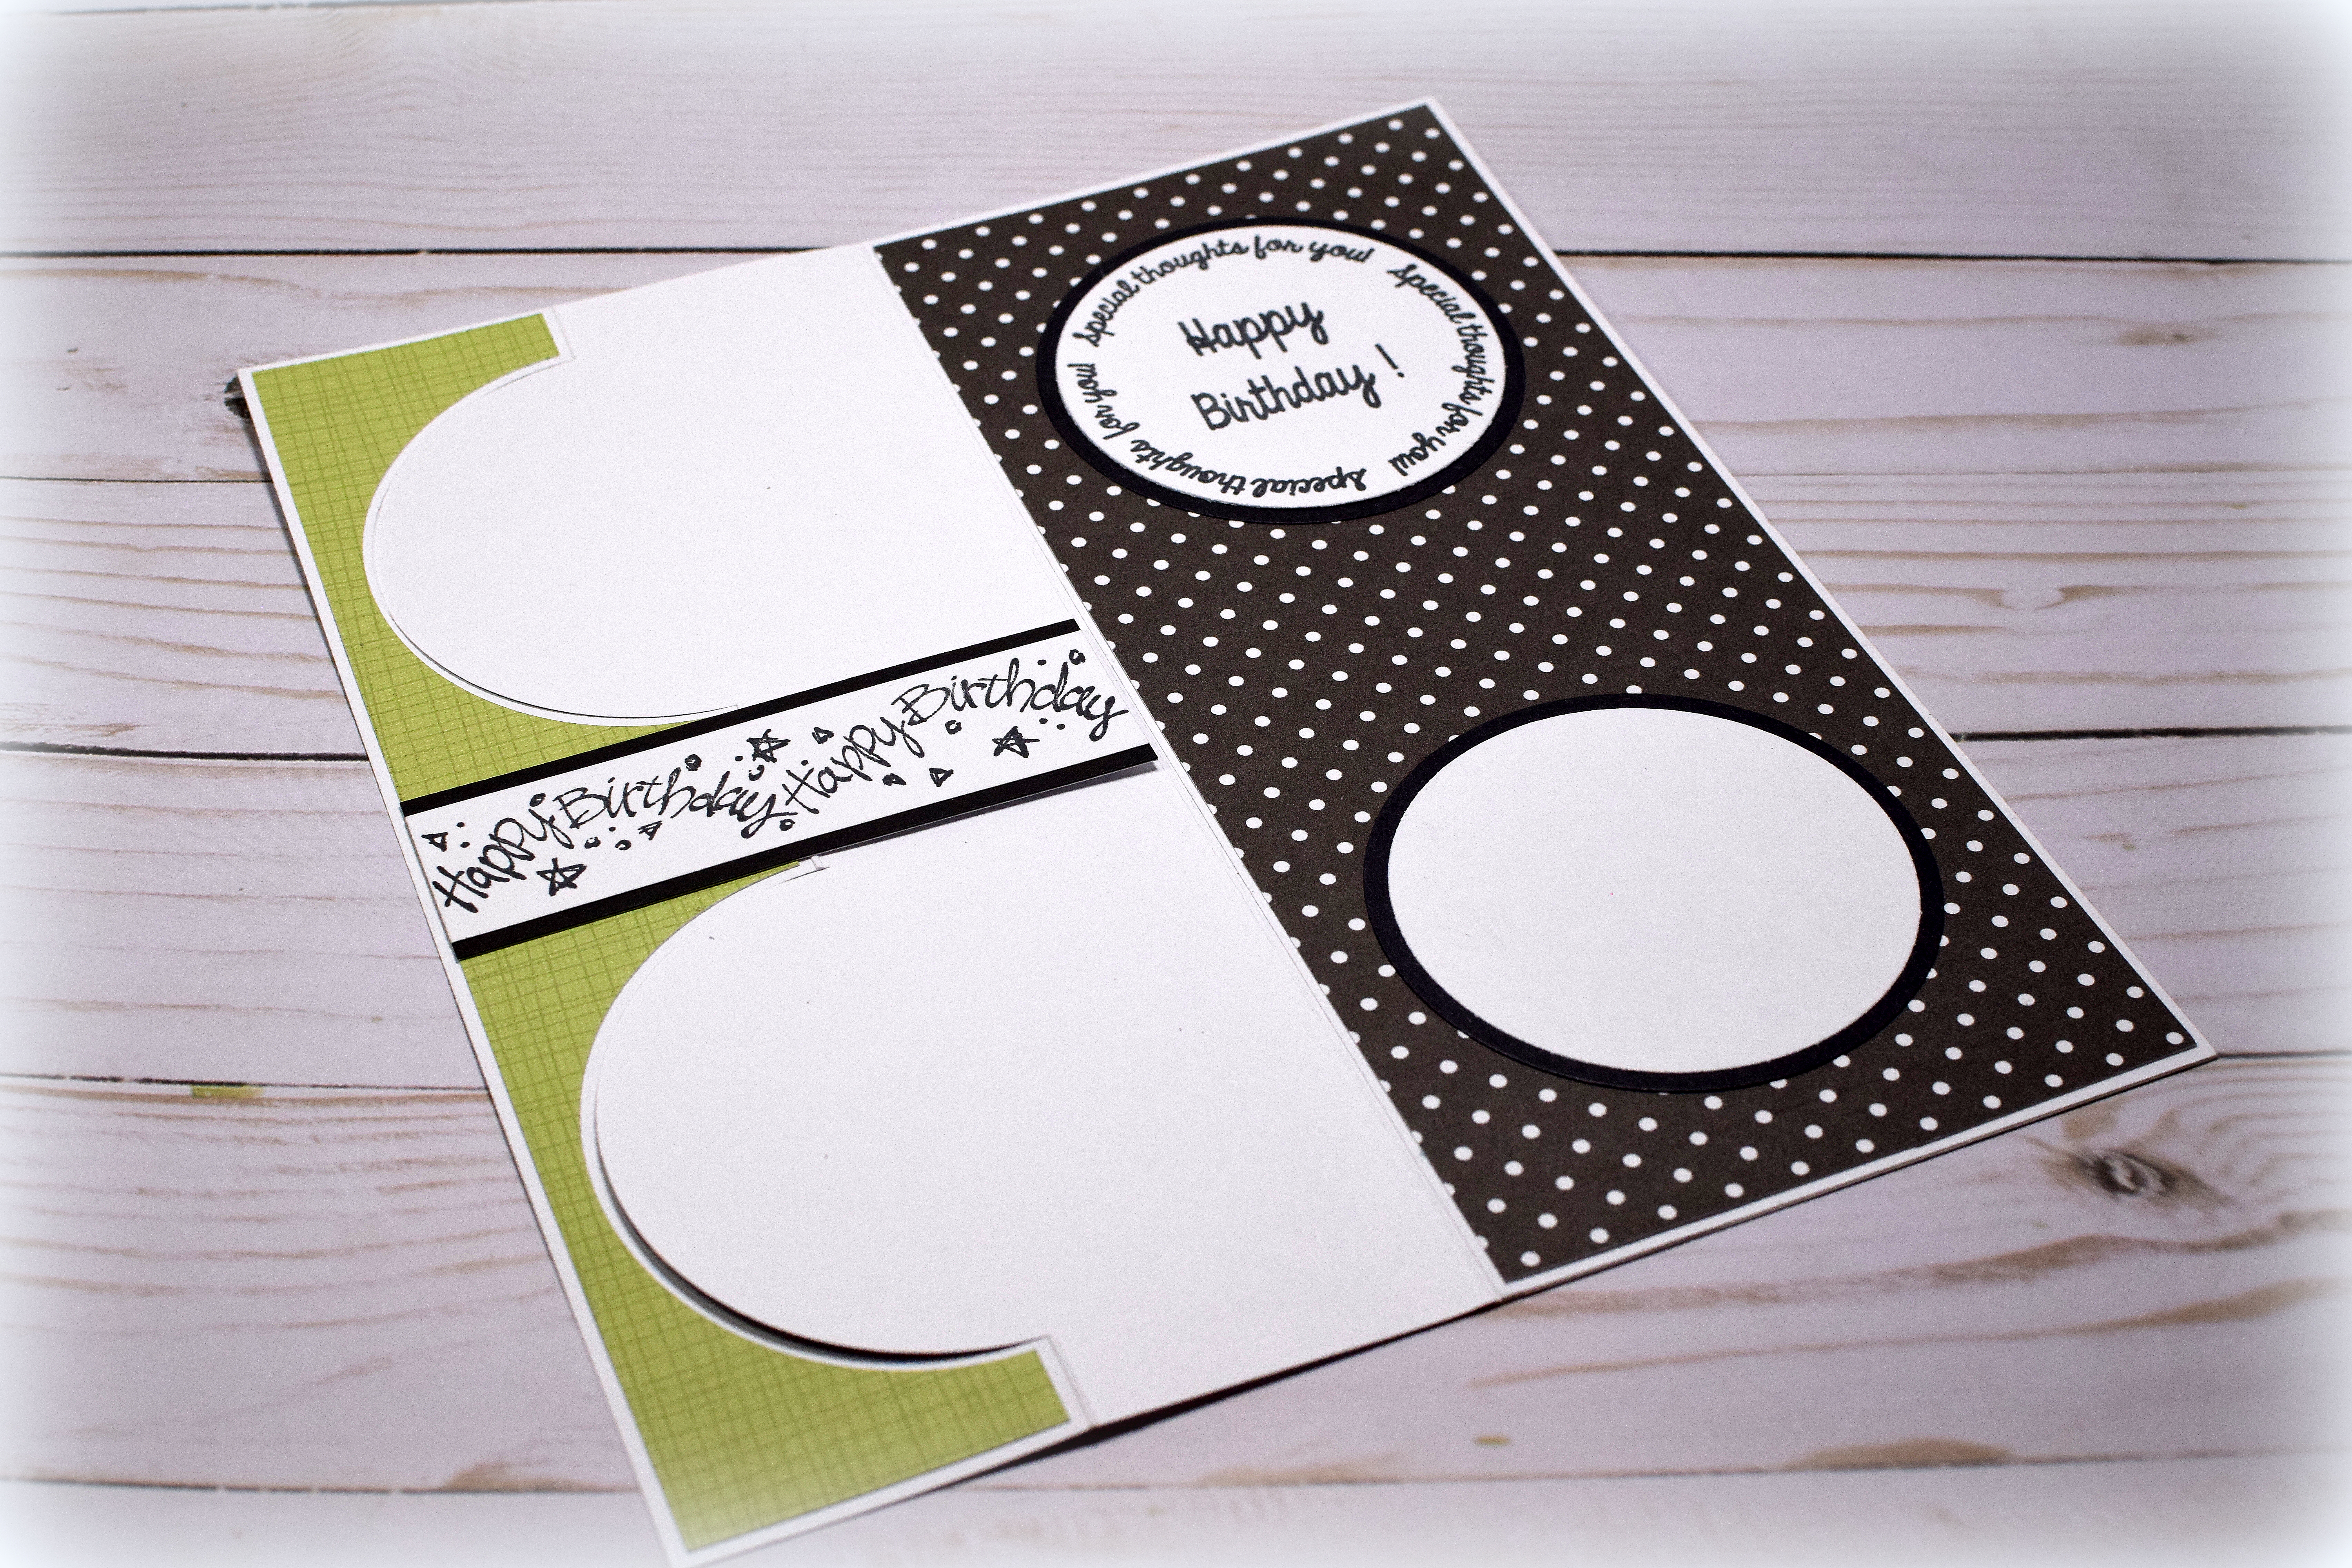
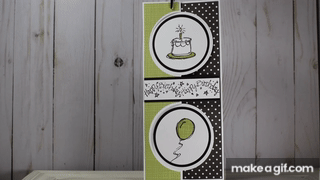
The birthday images are from the “Sketch a Party” set from Stampin’ Up (retired) and were paper pieced with scraps from the core’dinations Light Green Crosshatch (#GX-2300-24) patterned paper also used for the decorative panel on the card front.  All the circles were cut with dies from the Circle Flip Die set. 

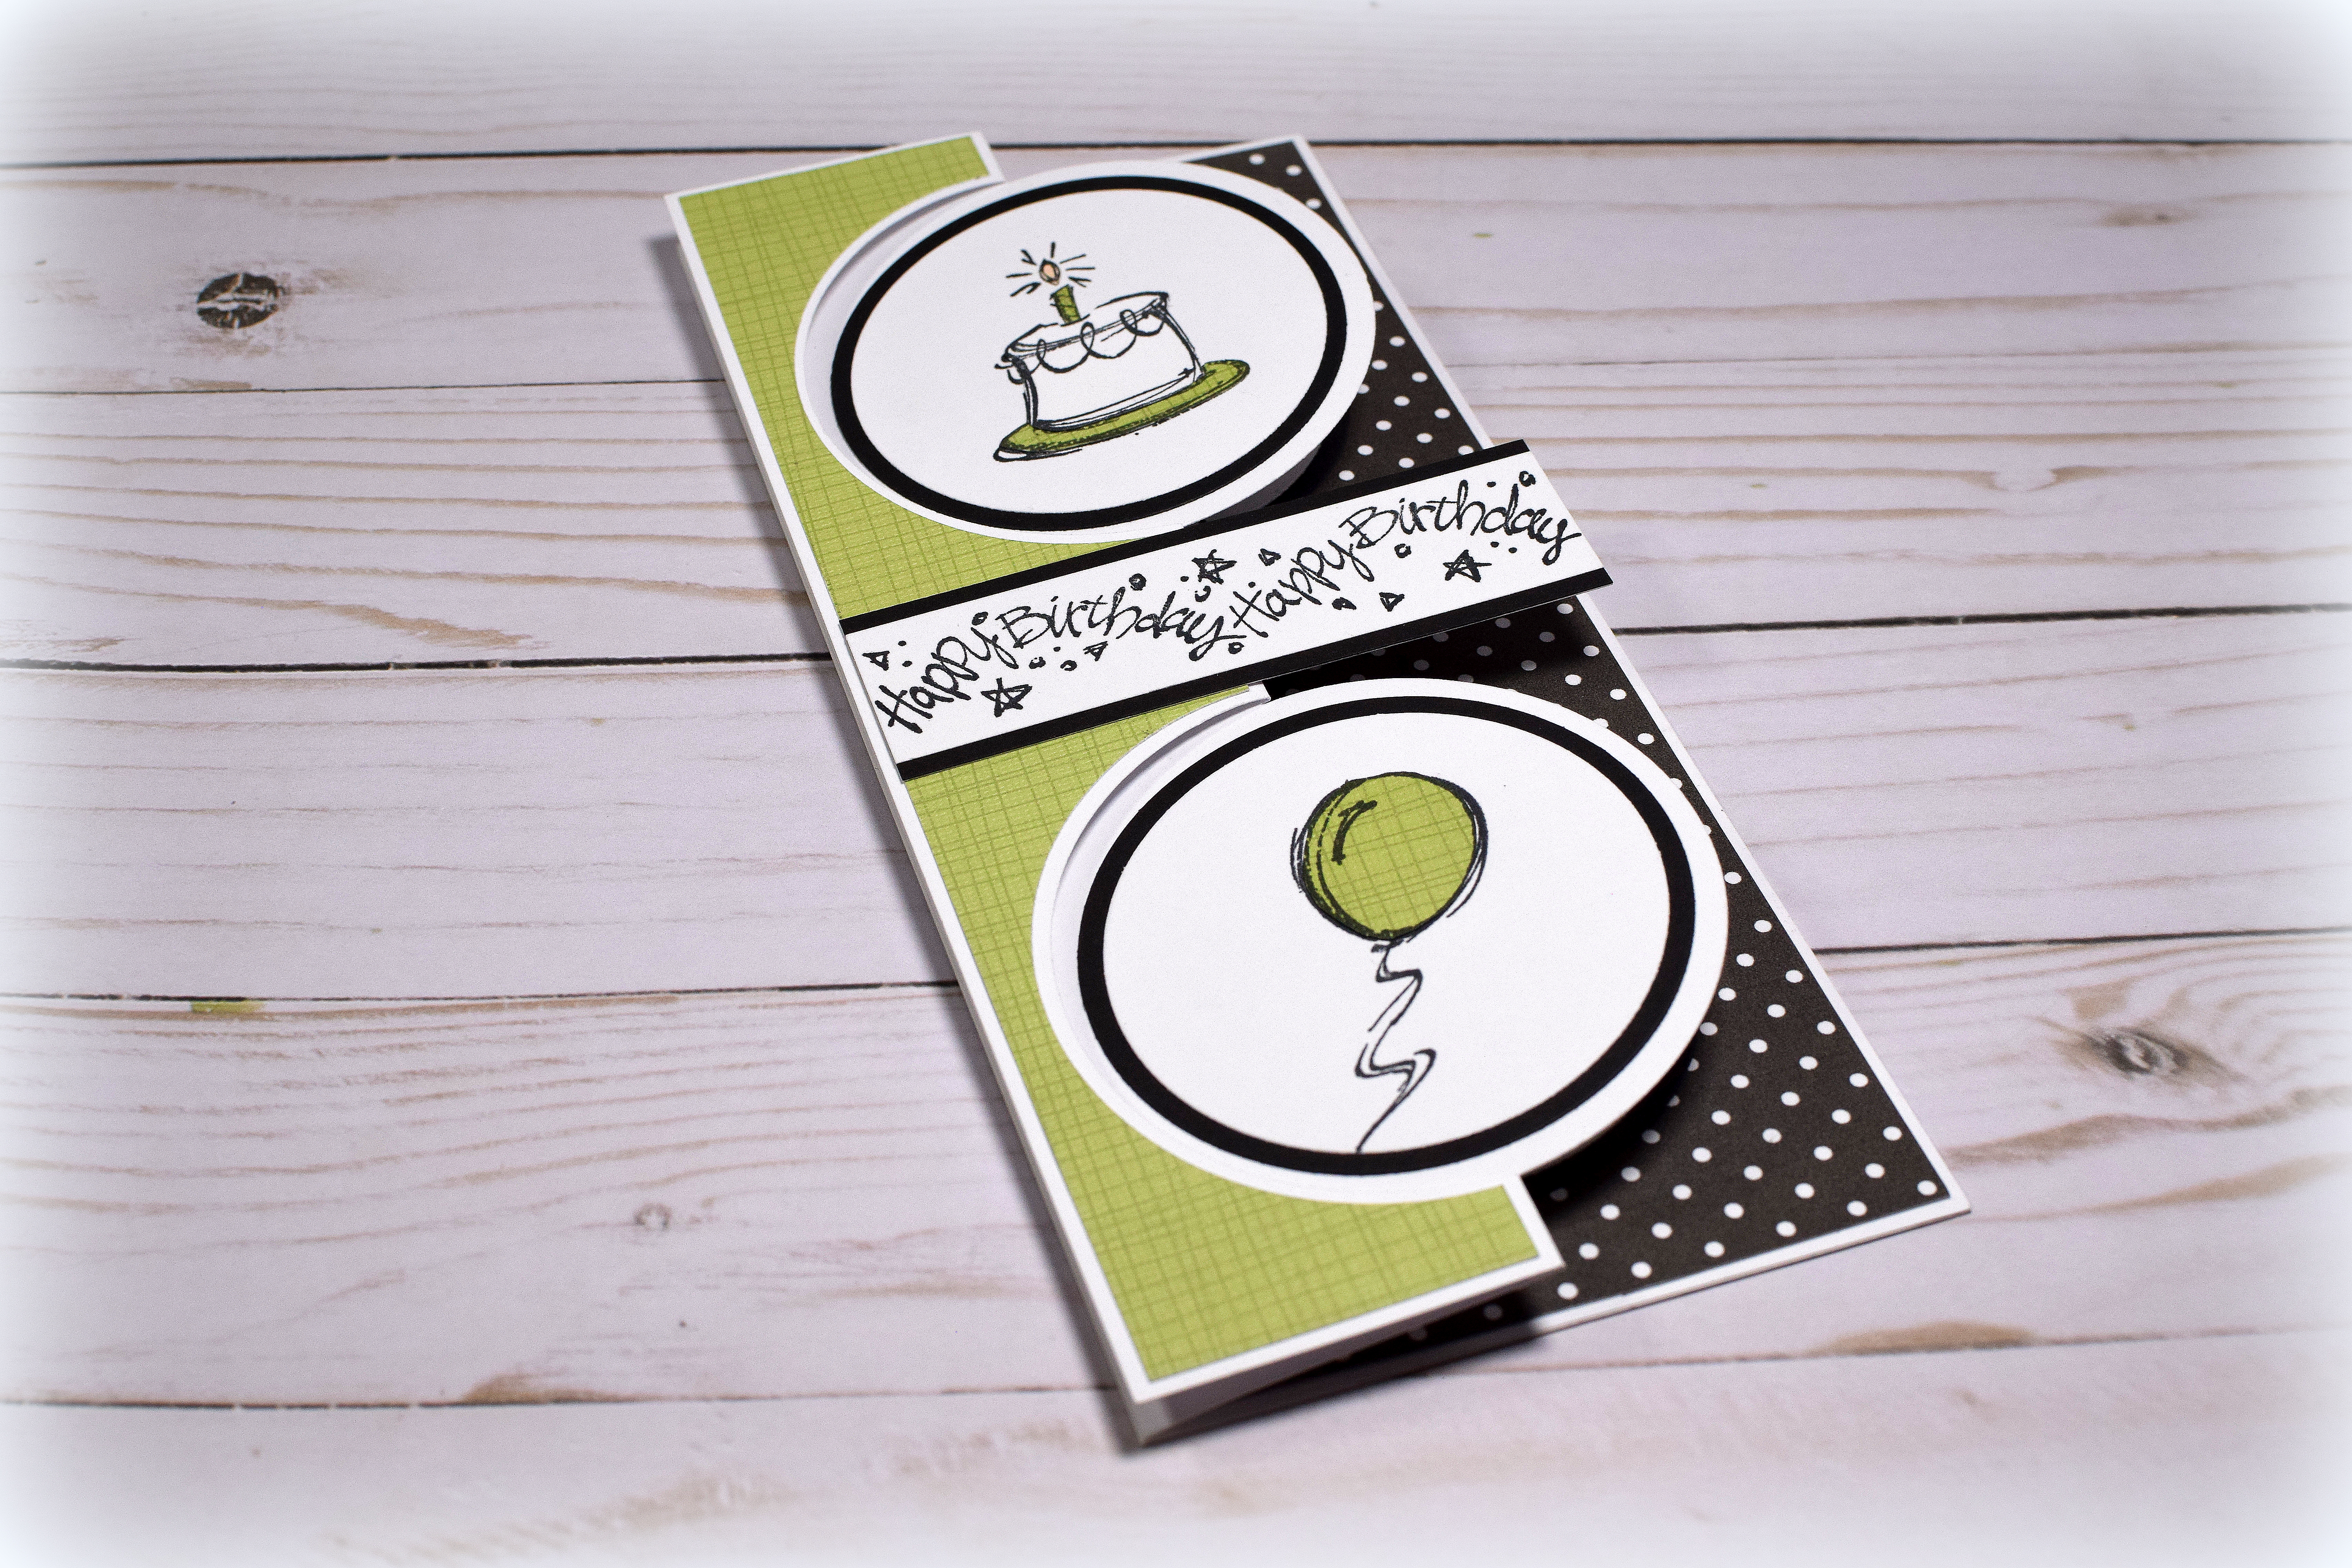
Again, this die set is meant for an A2 size card, and the included decorative panel die is too small for the longer card base.  To fix this, I die cut two of the decorative panels, trimmed them to size (with my paper trimmer), and then used the greeting strip to cover the seam in the center.  (A much easier way to add decorative paper is shown in the video; I had watched the video some time before creating my card and forgot how she did it – lol!!)

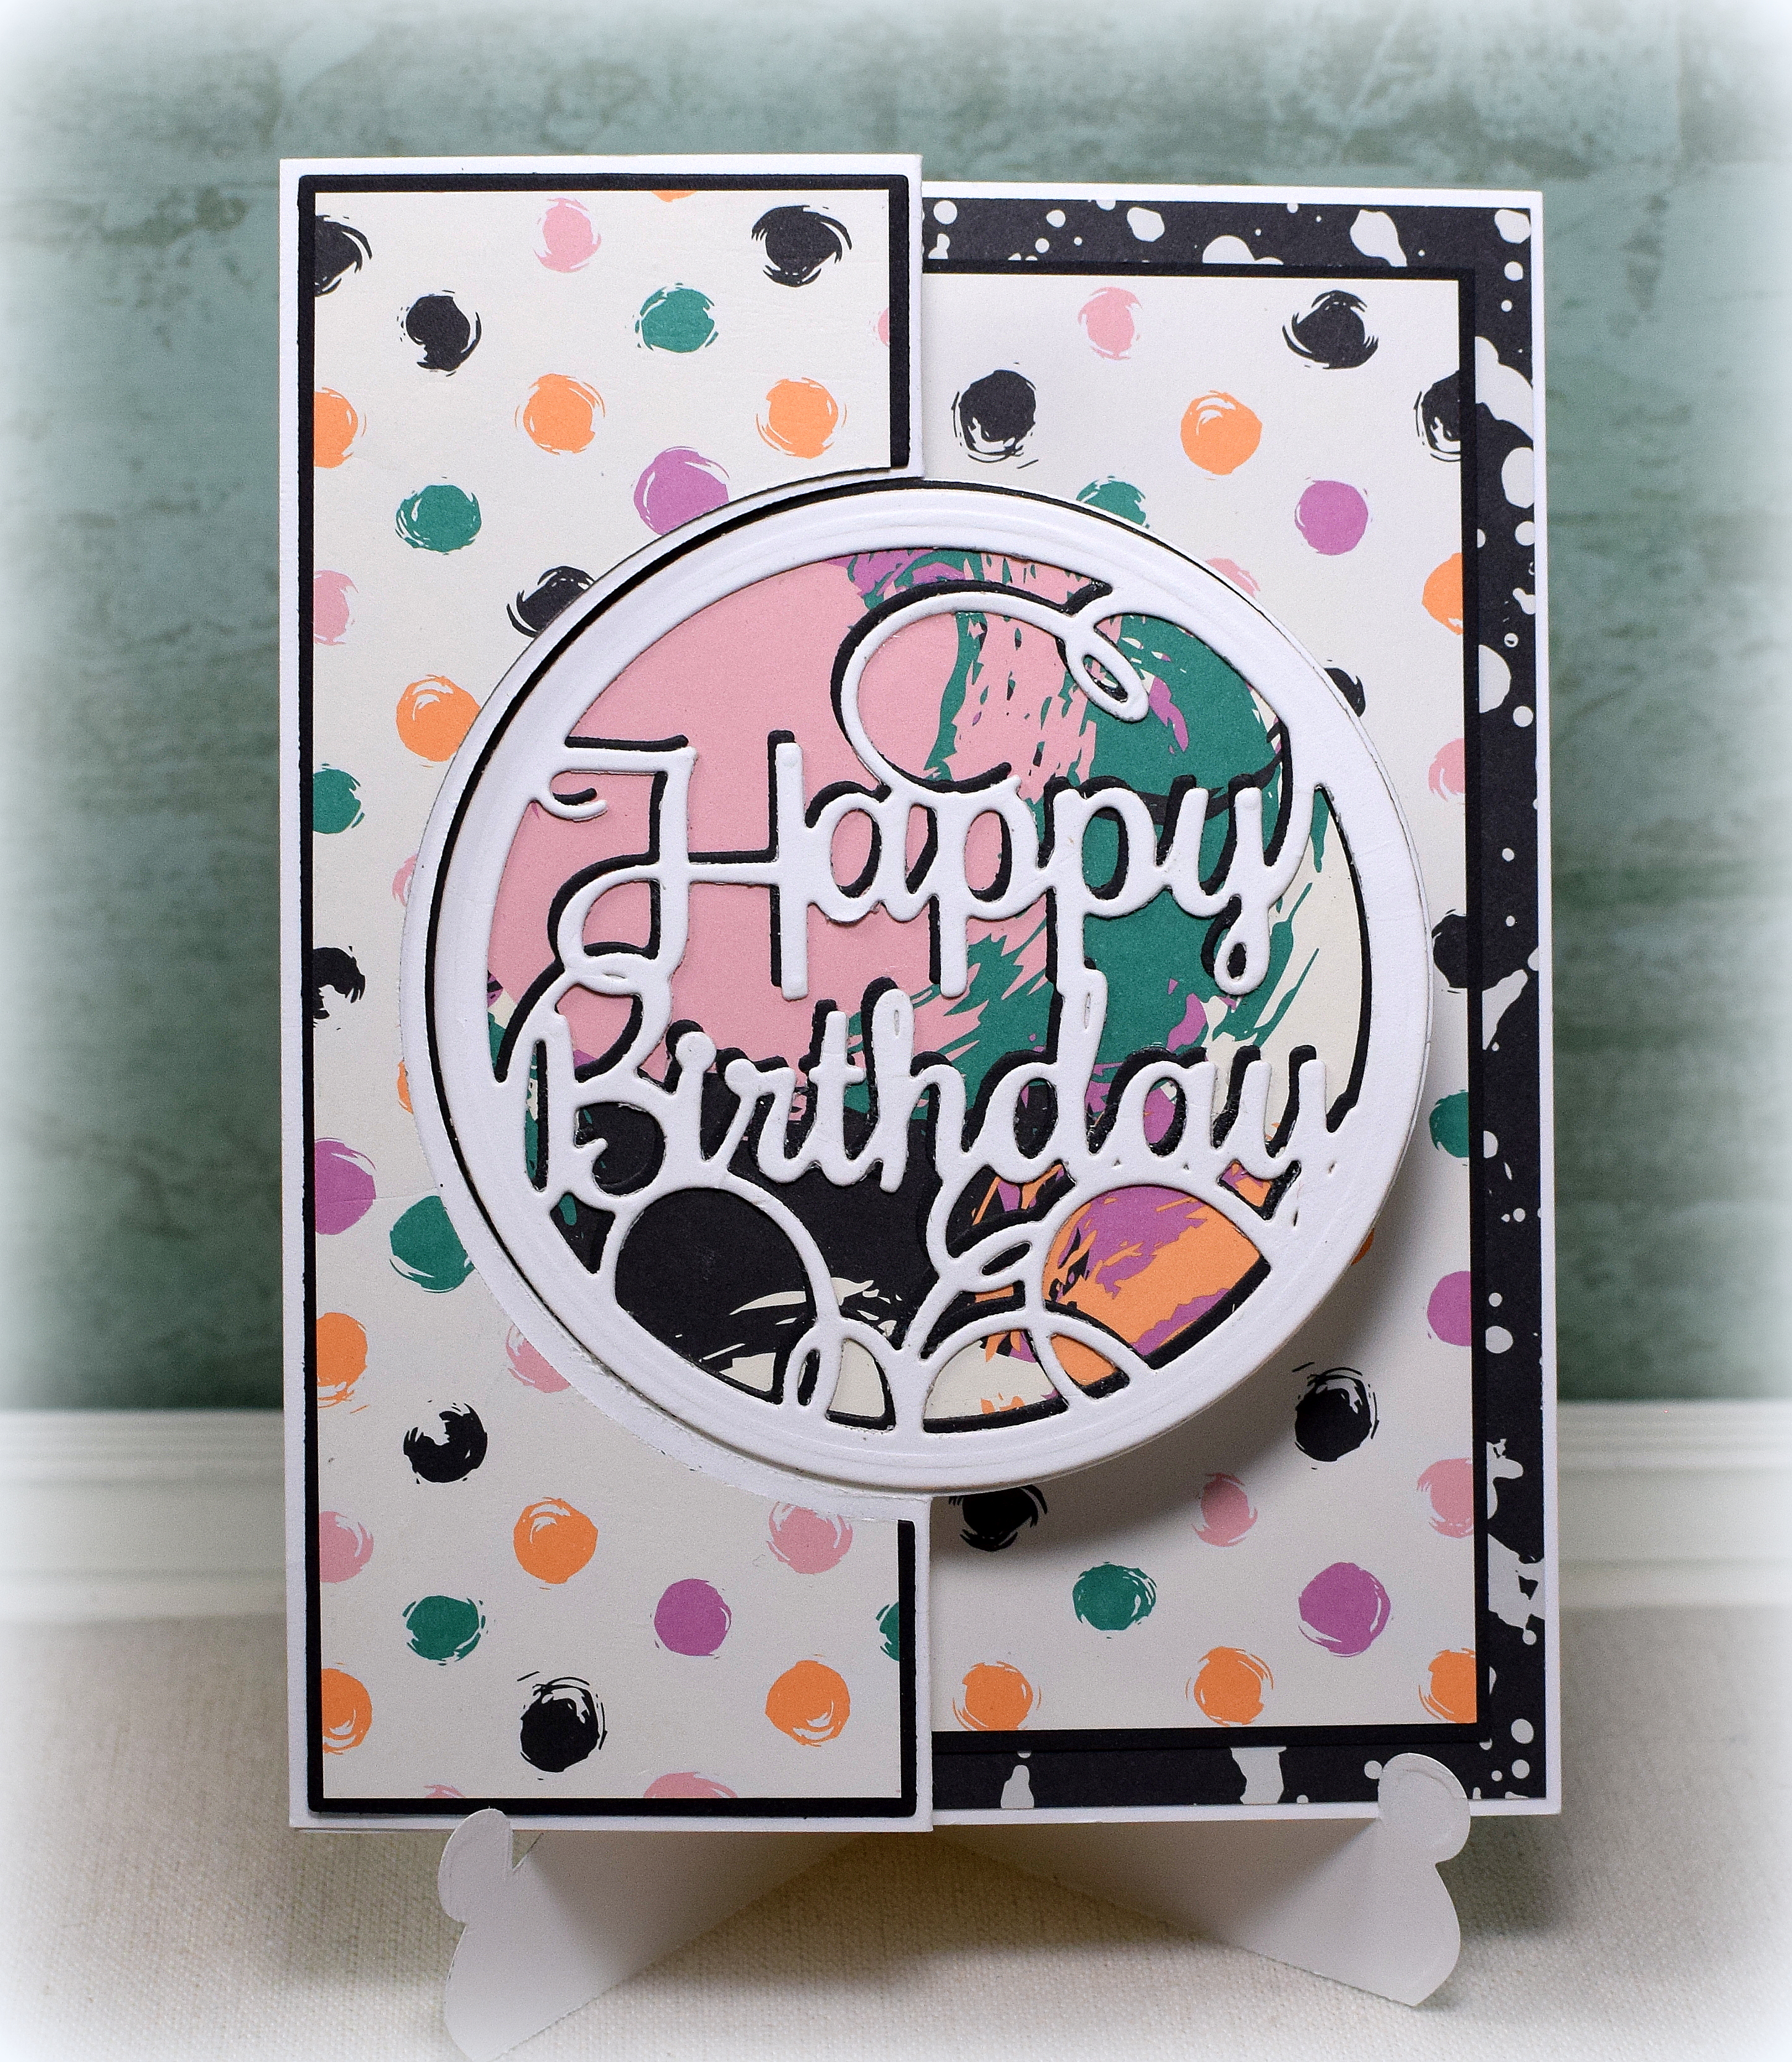
The polka dot paper is digital paper by TheMockupLoft that I purchased on Etsy. 

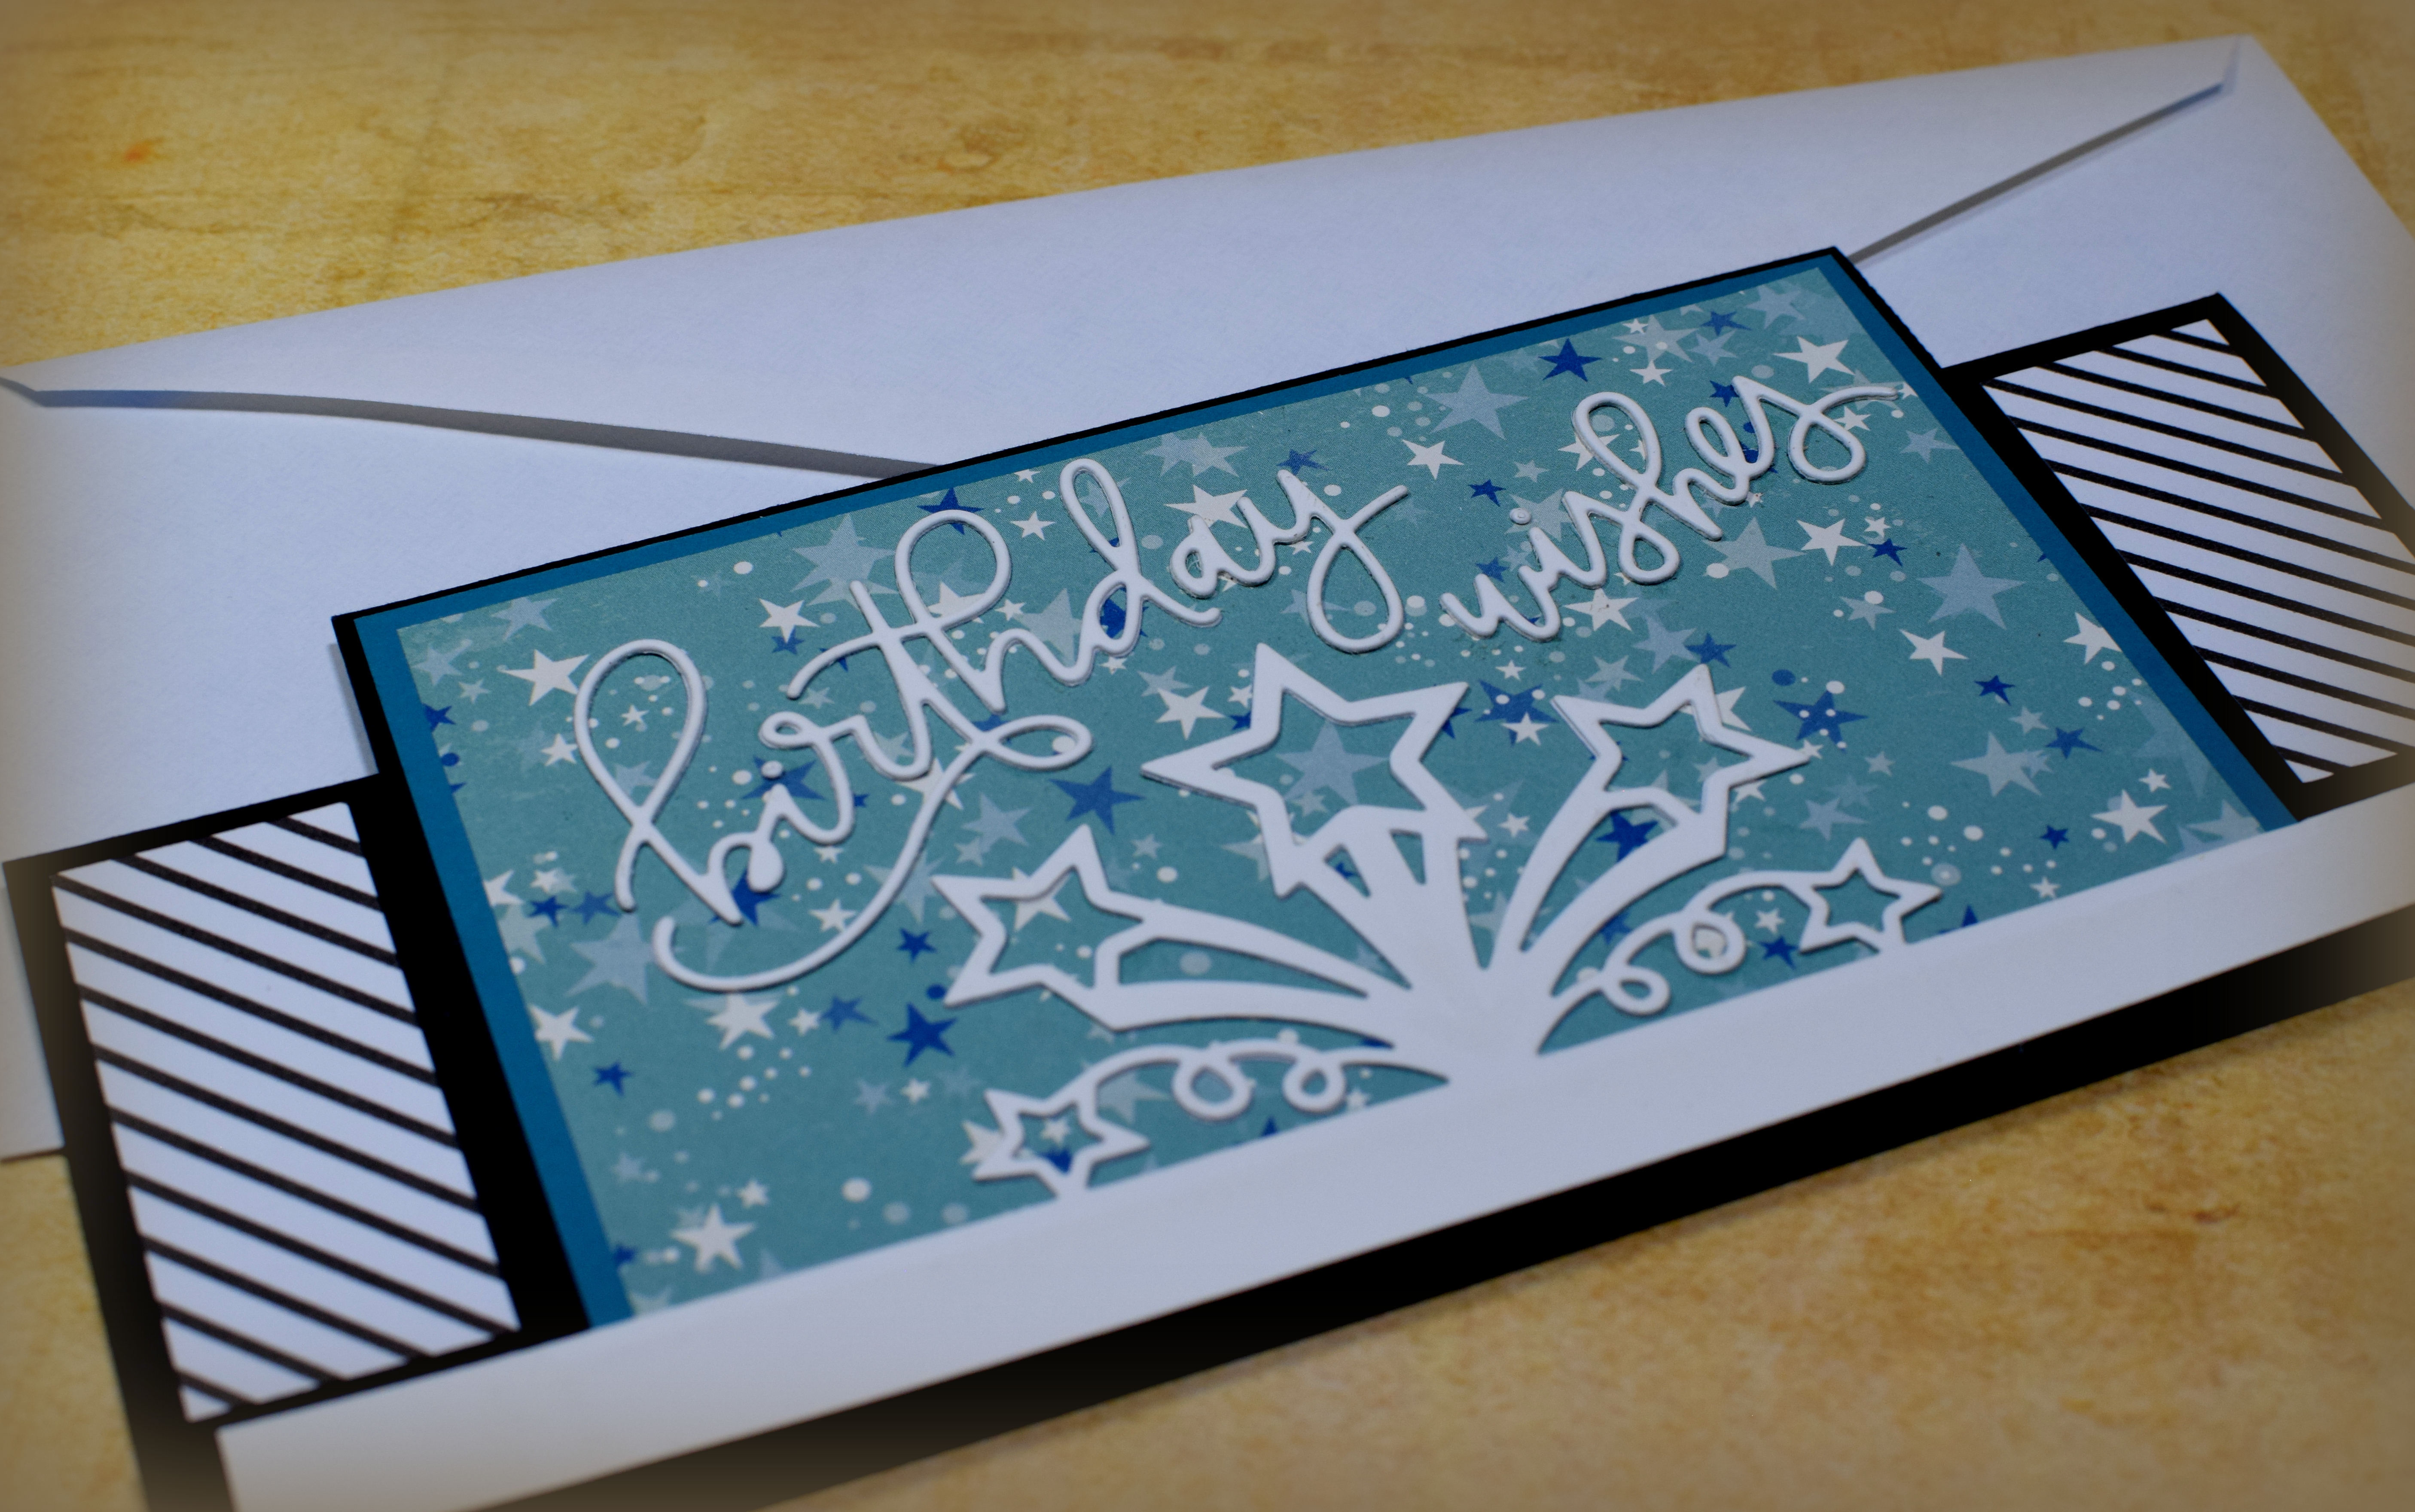
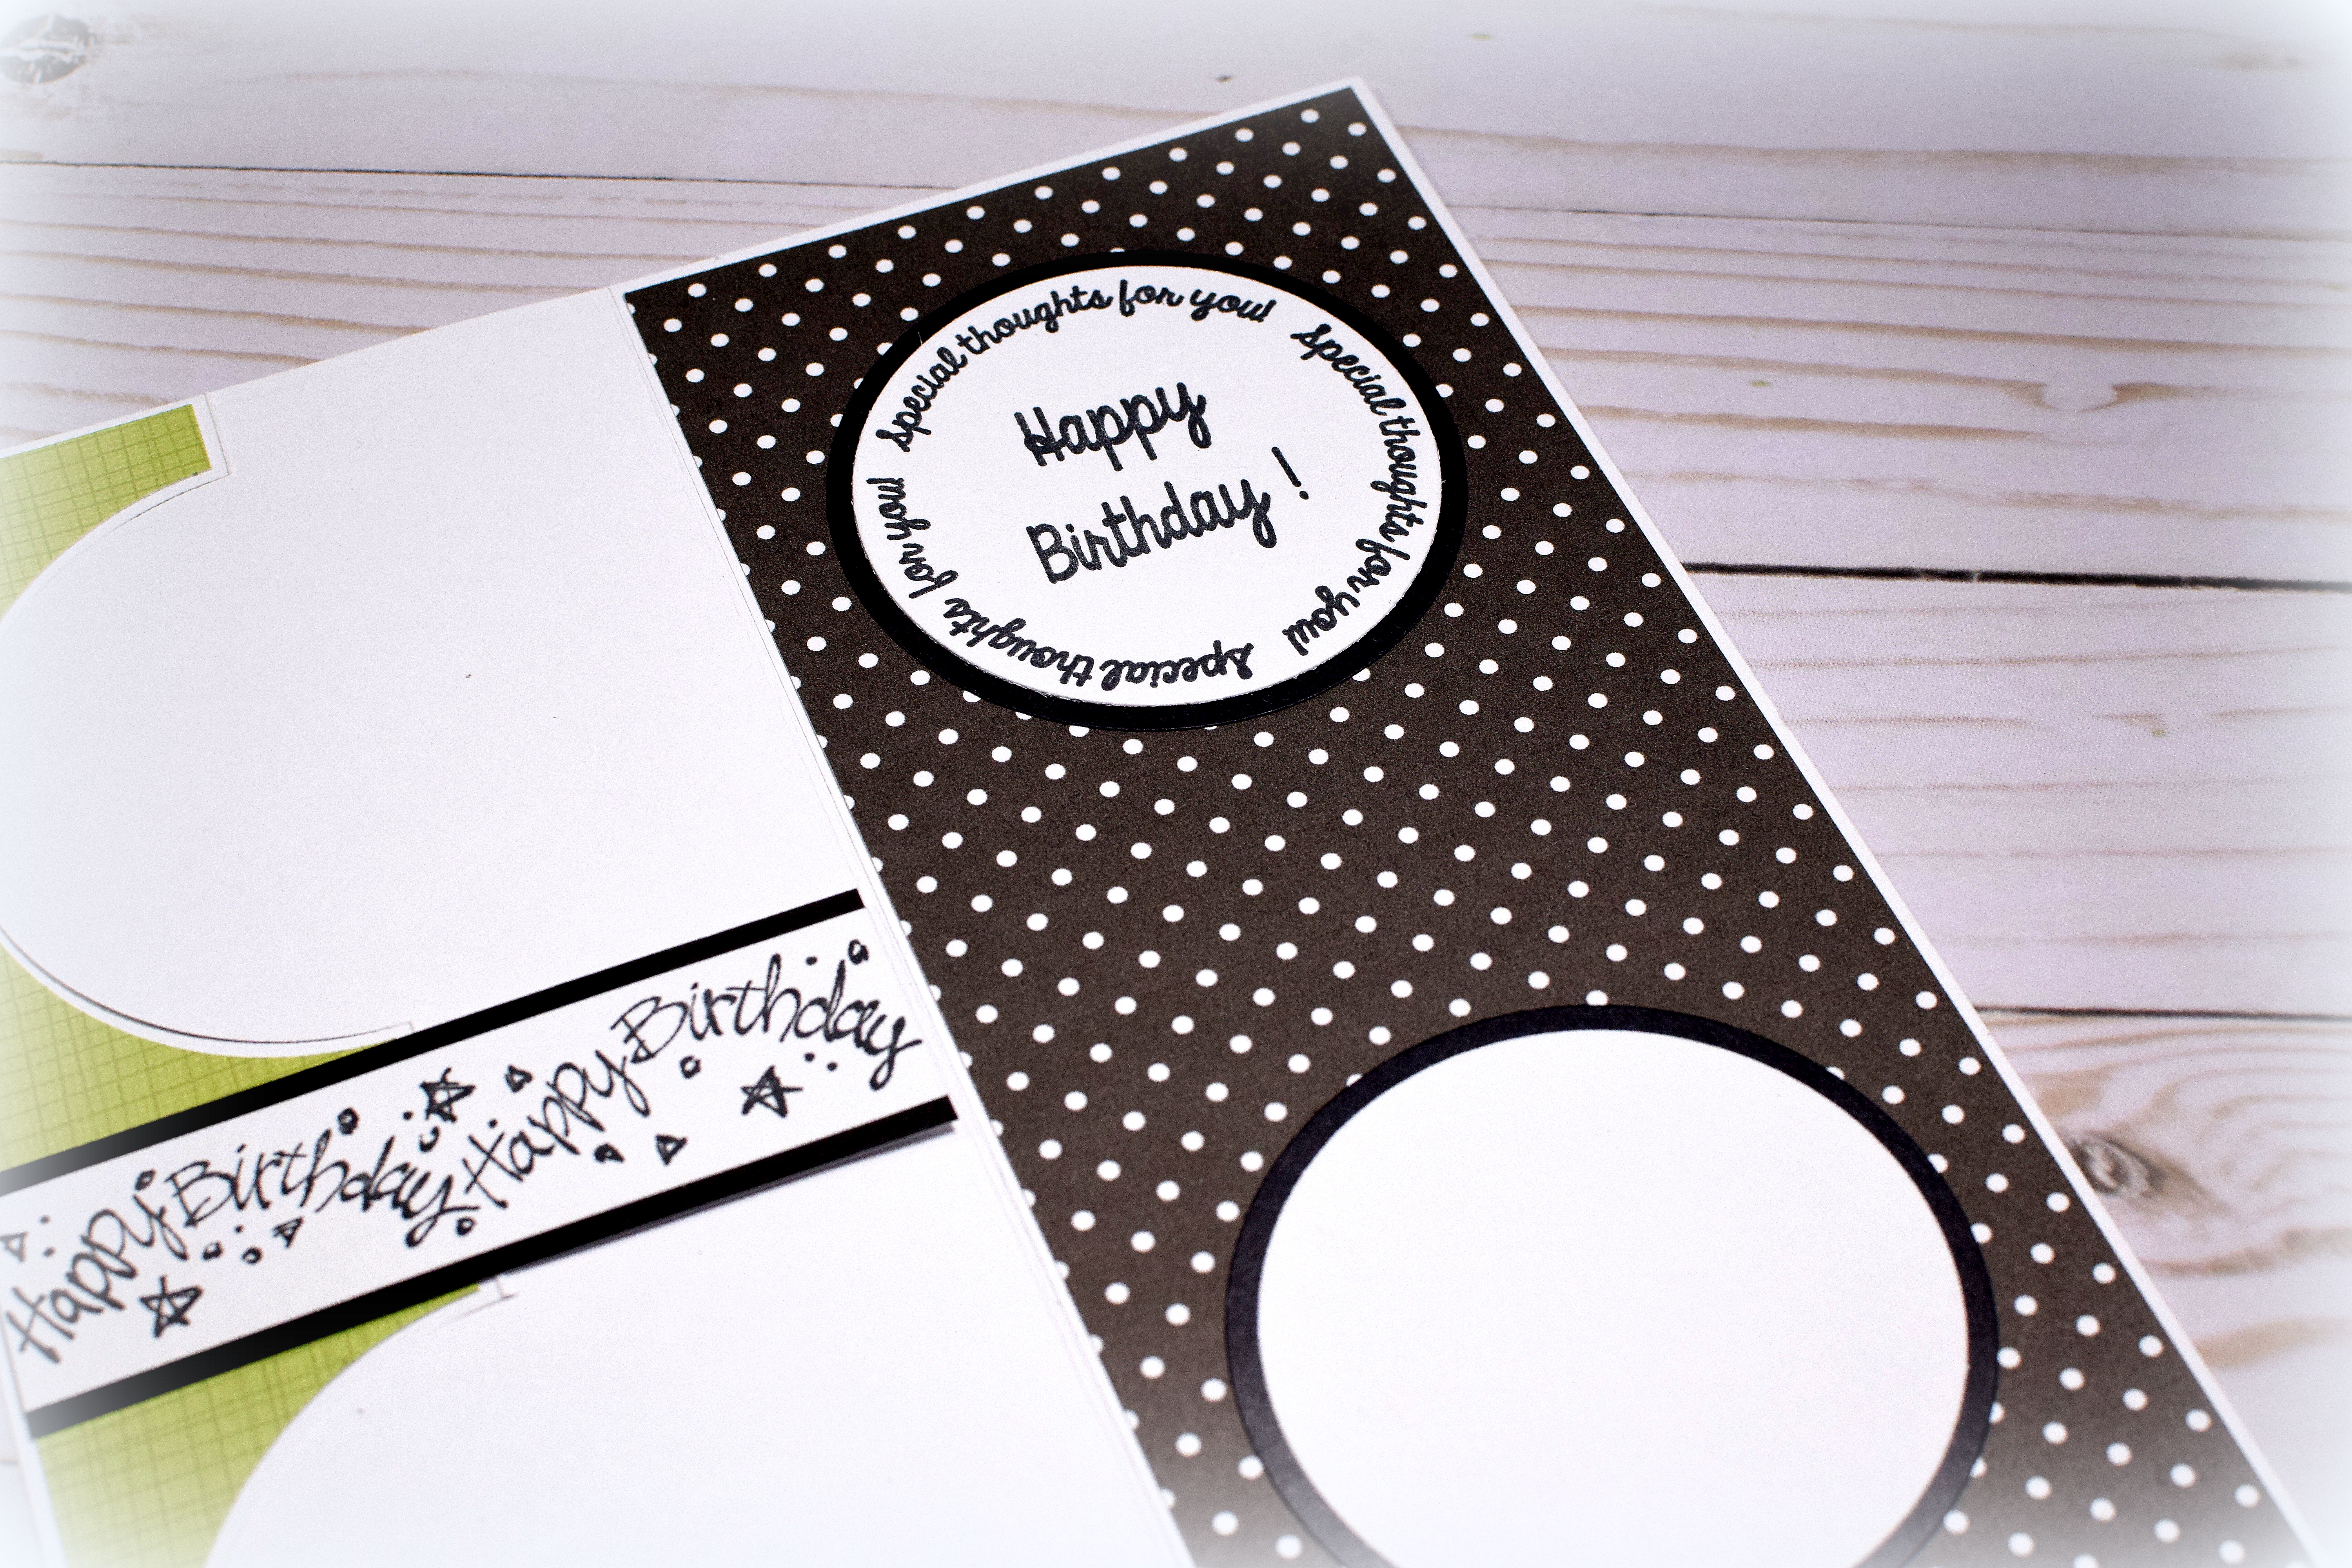
The sentiment stamp on the inside is the “Happy Birthday Round” stamp (#S1740) from Creek Bank Creations.  I added a second, plain circle panel on which to include a handwritten message and/or signature.

My finished card measures 4″ x 9 1/4″ and fits in a regular business envelope, but if you wanted to make a custom envelope with the We R Memory Keepers envelope punch board, start with a 10 5/8″ square and line up at 7 1/8″ for first punch/score line.

Thanks for checking out my card project!

Circle Flip Easel Card

Circle Flip Easel Card

An easel card is another type of card you can make with the Circle Flip Die set from Creek Bank Creations.  Here is the instructional video (starting at the  2:10 mark) showing this technique.

I started with a black A2 size card base and used the “flip” die to create the easel. (It’s the same die used for the traditional flip card but positioned in the opposite direction on the card front.)

I embossed the white decorative panel with a Cuttlebug Swiss Dots folder.  (The die for this panel is included in the set.) I cut red glitter card stock with the “Make A Wish” die from Elizabeth Craft Designs (#1553) and the 1 inch “Thick Materials Star” punch by Fiskars.

The striped panel is digital paper by TheMockupLoft that I purchased on Etsy and was printed on glossy photo paper because I wanted the black to be really bold.

The “inside” sentiment is from the “Flower Builders” set from Gina K Designs (retired?) and was popped up with foam tape to hold the easel in place when opened.  I also included a blank panel for a handwritten message and signature.

This A2 size card folds flat for mailing.

Thanks for checking out my card project!

Circle Flip Card

Circle Flip Card

As I mentioned in my last post, I have several cards to share using Creek Bank Creations’ Circle Flip Die set.  Here’s card #2 where I used the dies to create a quick and easy, traditional circle flip card.

The die set includes the die to cut the “flip” part that you center on the front of a standard A2 card base and dies to cut two circles and the decorative panel for the front. Deciding how to decorate the focal circle and choosing the paper is the “hardest” part!

For this card, I used one of the dies from the “Layered Happy Birthday” set from Spellbinders. The patterned paper is from the “Playful Palette” designer series paper stack from Stampin’ Up (retired).

I feel like flip cards look a little wonky when displayed so I created a card stand using Creek Bank Creations’ Card Stand Die to include with the card (although the card stands on its own and definitely could be displayed without the stand).

HERE is the video that shows how to create the basic flip card.

Thanks for checking out my card project!

This content uses referral links as described in the disclosure policy on my sidebar.

Birthday Wishes – Slimline Center Step Card

Birthday Wishes – Slimline Center Step Card

I must admit the whole “slimline card craze” has me a bit intimidated as there is so much card to decorate, but this step card design allowed me to focus on an area closer to the size with which I am used to working. (The center area is 6 x 4 inches.) Baby steps – lol!

The “Birthday Wishes” die is a Die-namics die from My Favorite Things. I also used the “Star Blast Edgelits” die from Stampin’ Up (retired?).

The striped paper is from a digital paper file by TheMockupLoft that I purchased on Etsy. The teal patterned paper is American Crafts (#320388). I also used Recollections heavy weight black, white, and Tranquil Teal from Gina K Designs.

Here is the template for creating my card base:

Start with an 8 1/2 x 8 inch panel.

The finished card is 8 1/2″ x 4″ that folds flat for mailing. It fits in a standard business envelope. (If you wish to create your own envelope with the We R Memory Keepers Envelope Punch Board, start with a 10 1/8 inch square, and make your first punch/score line at 3 1/2 inches.)

That wasn’t so scary after all!!

Thanks for checking out my card project!

This content uses referral links as described in the disclosure policy on my sidebar.

Autumn Triangle Gatefold Card

Autumn Triangle Gatefold Card

This card base was made with the “Triangle Gatefold” die set from Creek Bank Creations.  Also included in this set are the stitched triangles to decorate the flaps and the two stitched hexagons.  The framed leaf die is by Mosaic Moments. I created a belly band to go around the card, but the hexagon panel could have been adhered directly to one of the triangle flaps.

The inside sentiment is from the birthday “Stamp & Cut Lot 6249A” set from Firefly/Momenta. I stamped it up on the panel a bit to leave room to sign the card.

Since this card does not stand up on its own, I created a stand with the Card Stand Die from Creek Bank Creations.

To create the handmade patterned papers, I use a gel plate, a brayer, Walnut Stain and Vintage Photo Distress Oxide inks, spritzes of water, the Stampendous! Decor Cling Leaves Rubber Stamp – DCR101, and the French Script background stamp from Stampin’ Up (retired?).  I started with a stack of heavy weight white card stock and had a ball inking, rolling, spritzing, stamping, and layering the inks using the techniques I briefly described in this post. I ended up with a BUNCH of panels, and ultimately chose two from the pile to use for this card.  (Lots of panels left for other cards!)

The card stock used was from the Recollections Nostalgia Pack along with Bazzill Butter Mints.

Thanks for checking out my card project!

This content uses referral links as described in the disclosure policy on my sidebar.