Lots (and Lots) of Hearts Anniversary Cards
I needed an anniversary card and might have gotten a little carried away – lol! These cards all feature the Heart Frame Die from KSCraft with a few pieces of paper/card stock, an embossing folder, and a couple of greeting options…
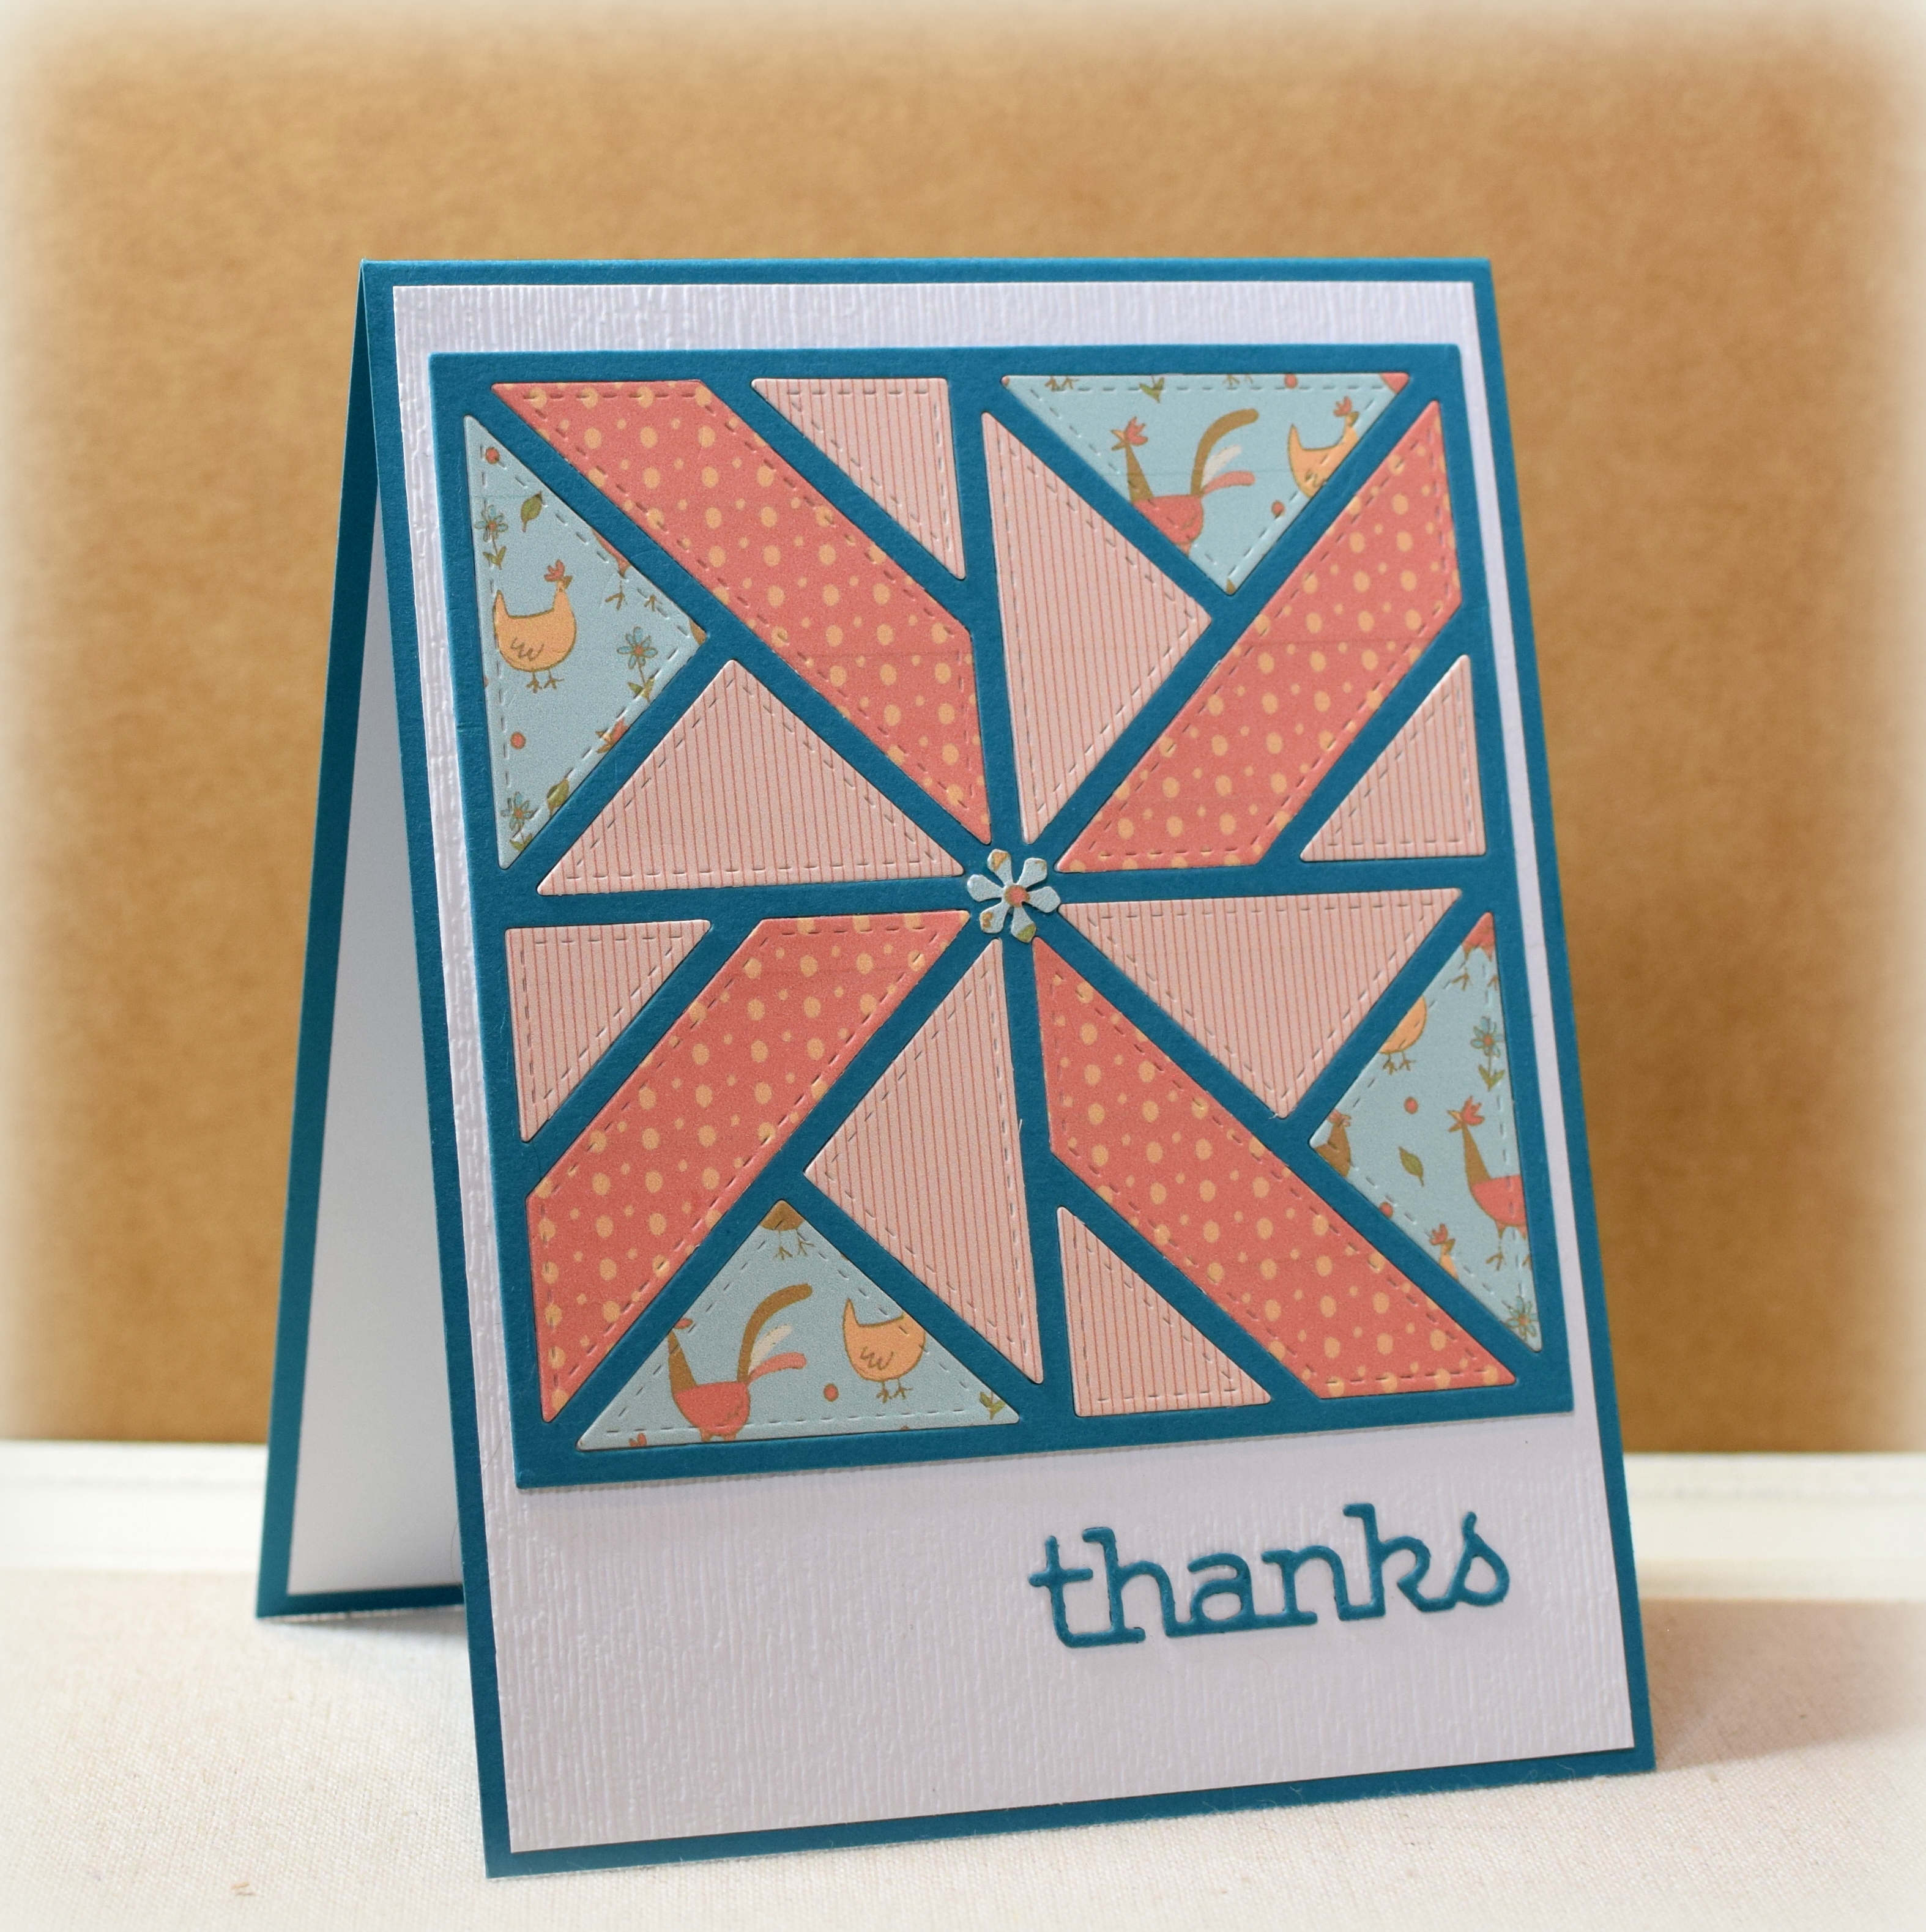
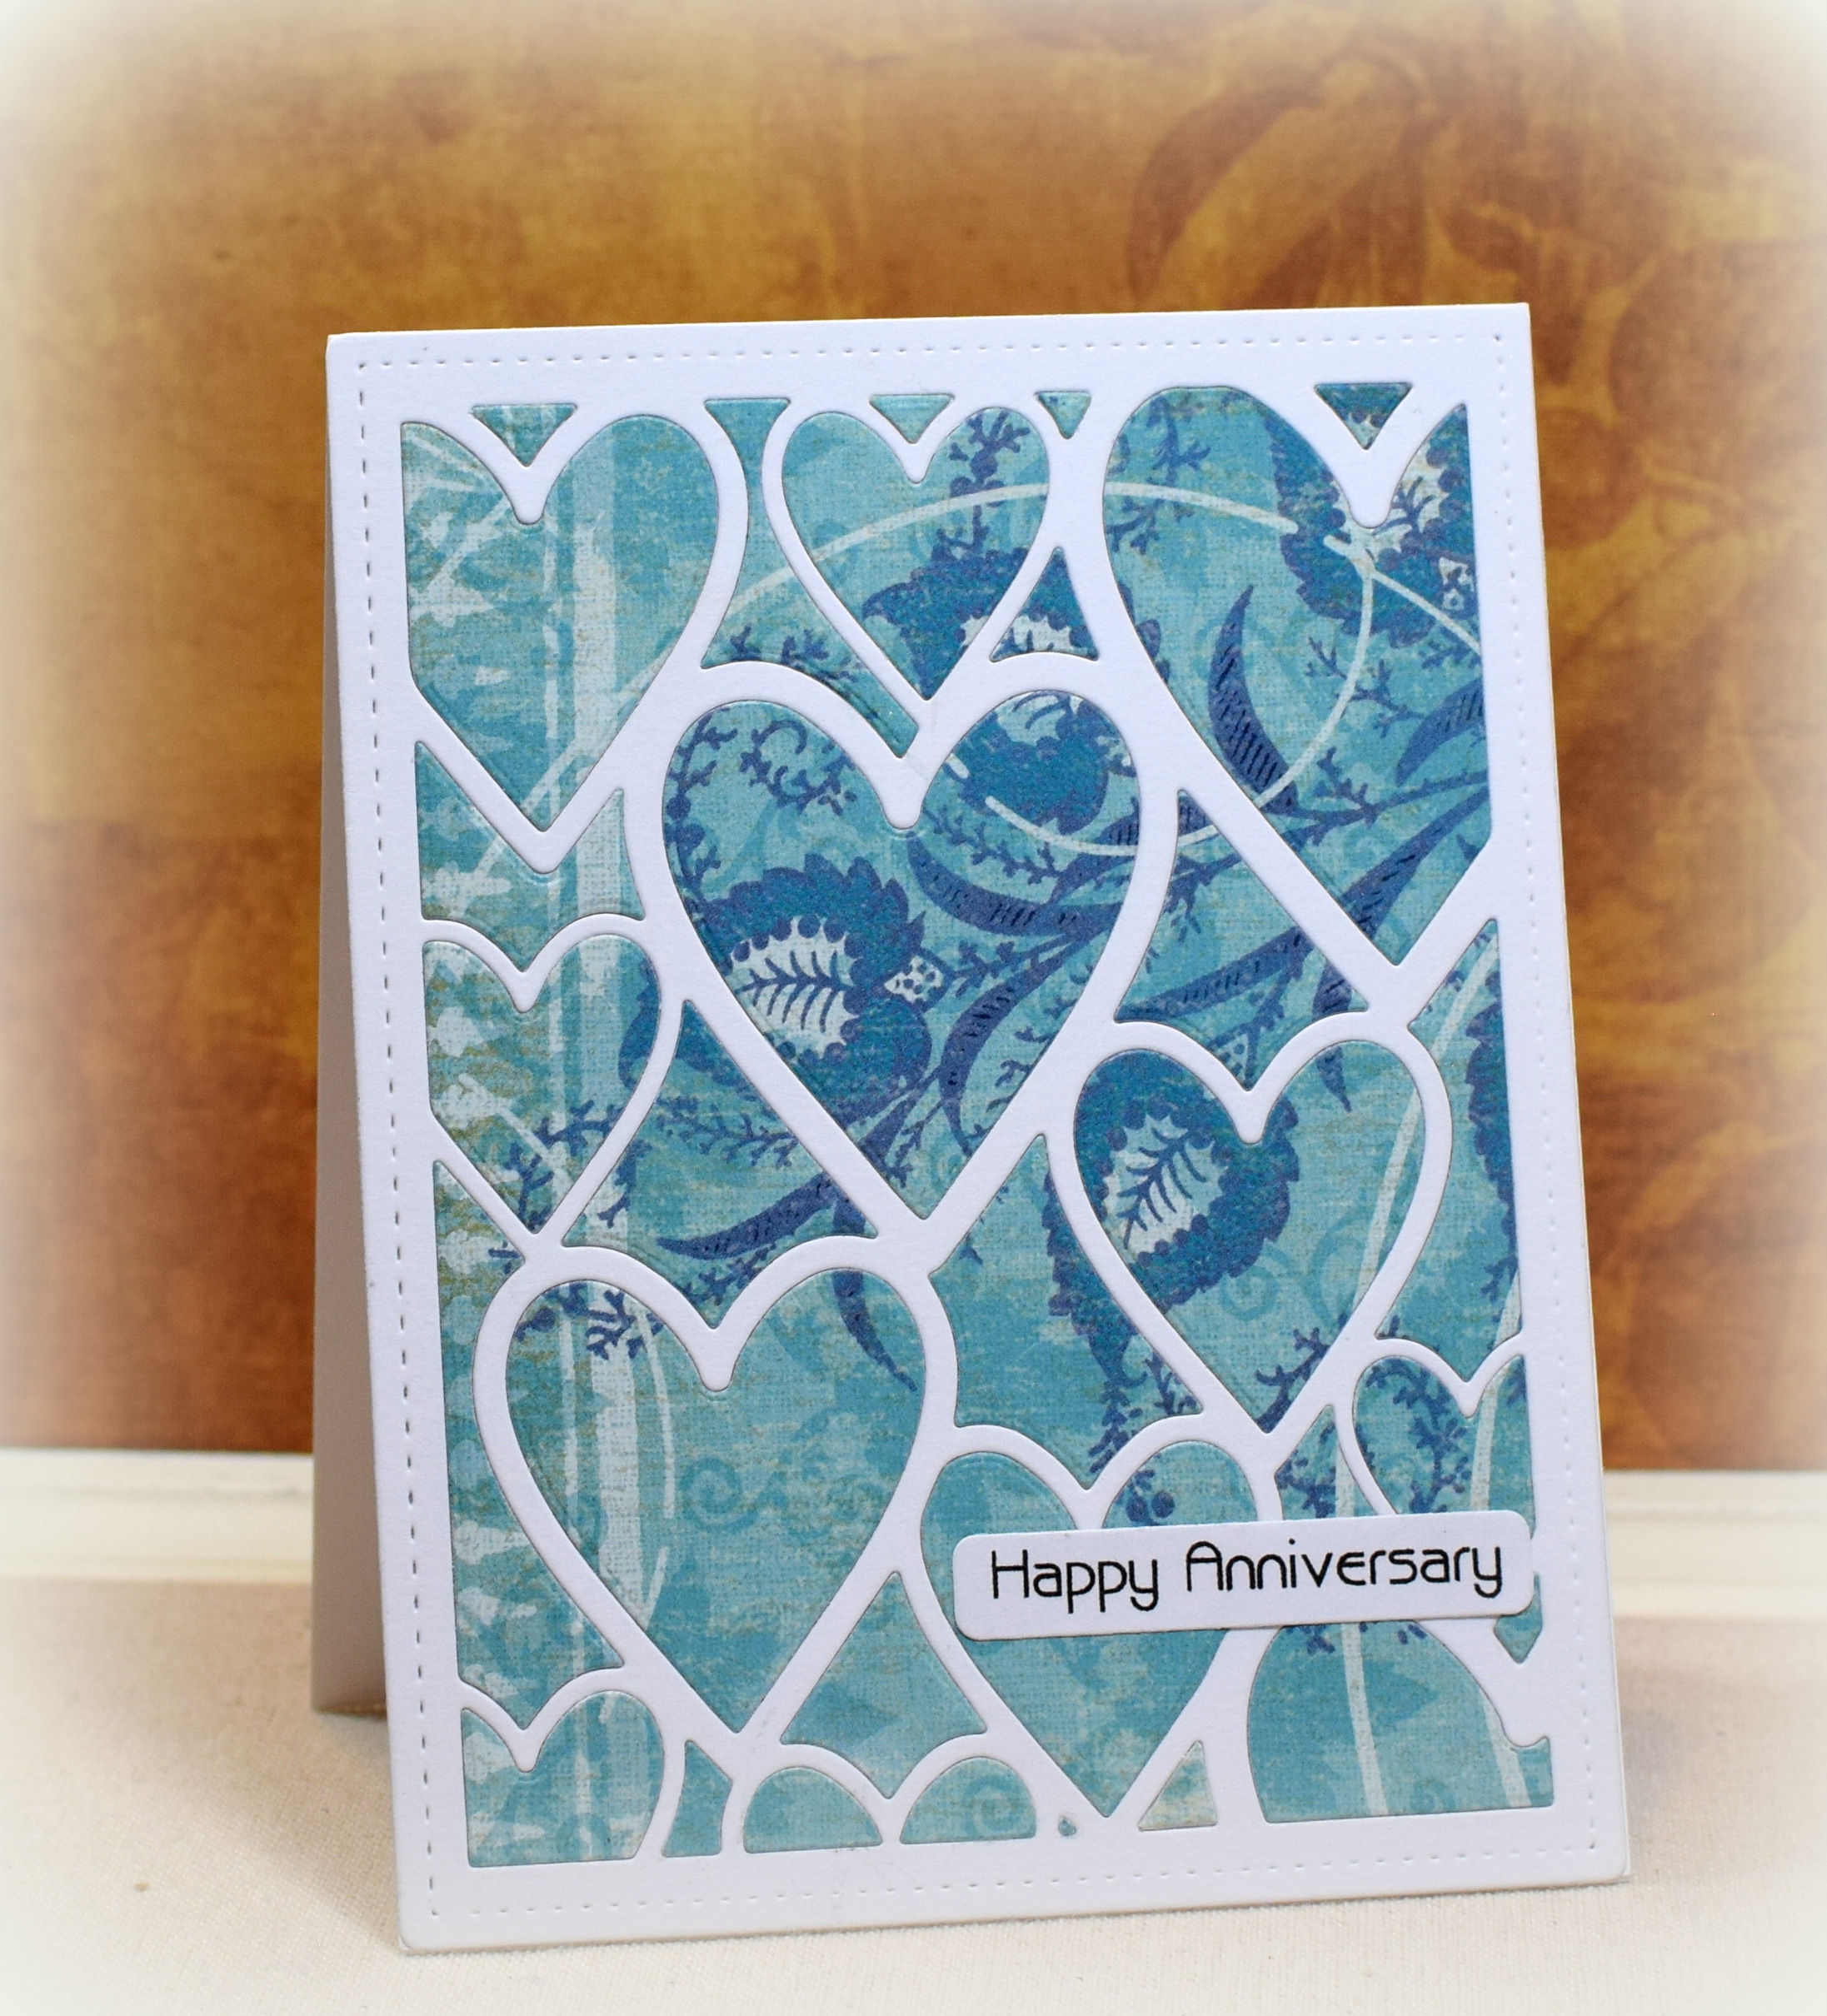
This is the first one I made:
First, I adhered the patterned paper to a piece of card stock with super tacky tape to make it the same thickness as the white card stock I was using. Then, I cut the “heart frame” twice, from both the white and the (thicker) patterned paper, being very careful not to lose any of the pieces. I glued the “empty” white frame to a card base and then glued all the cut out patterned paper pieces back where they fit into the frame. Because the patterned paper was now the same thickness as the frame, it did not look like I just glued the frame over a panel of patterned paper. And the pieces from this die are all distinct sizes and shapes so replacing them all was surprisingly fast and easy! (The patterned paper was Addison Blue Garden Swirls paper from K & C Company and the greeting was computer generated.)
Once done, I was left with an unused patterned paper frame and all the white hearts and fillers. This got me thinking…
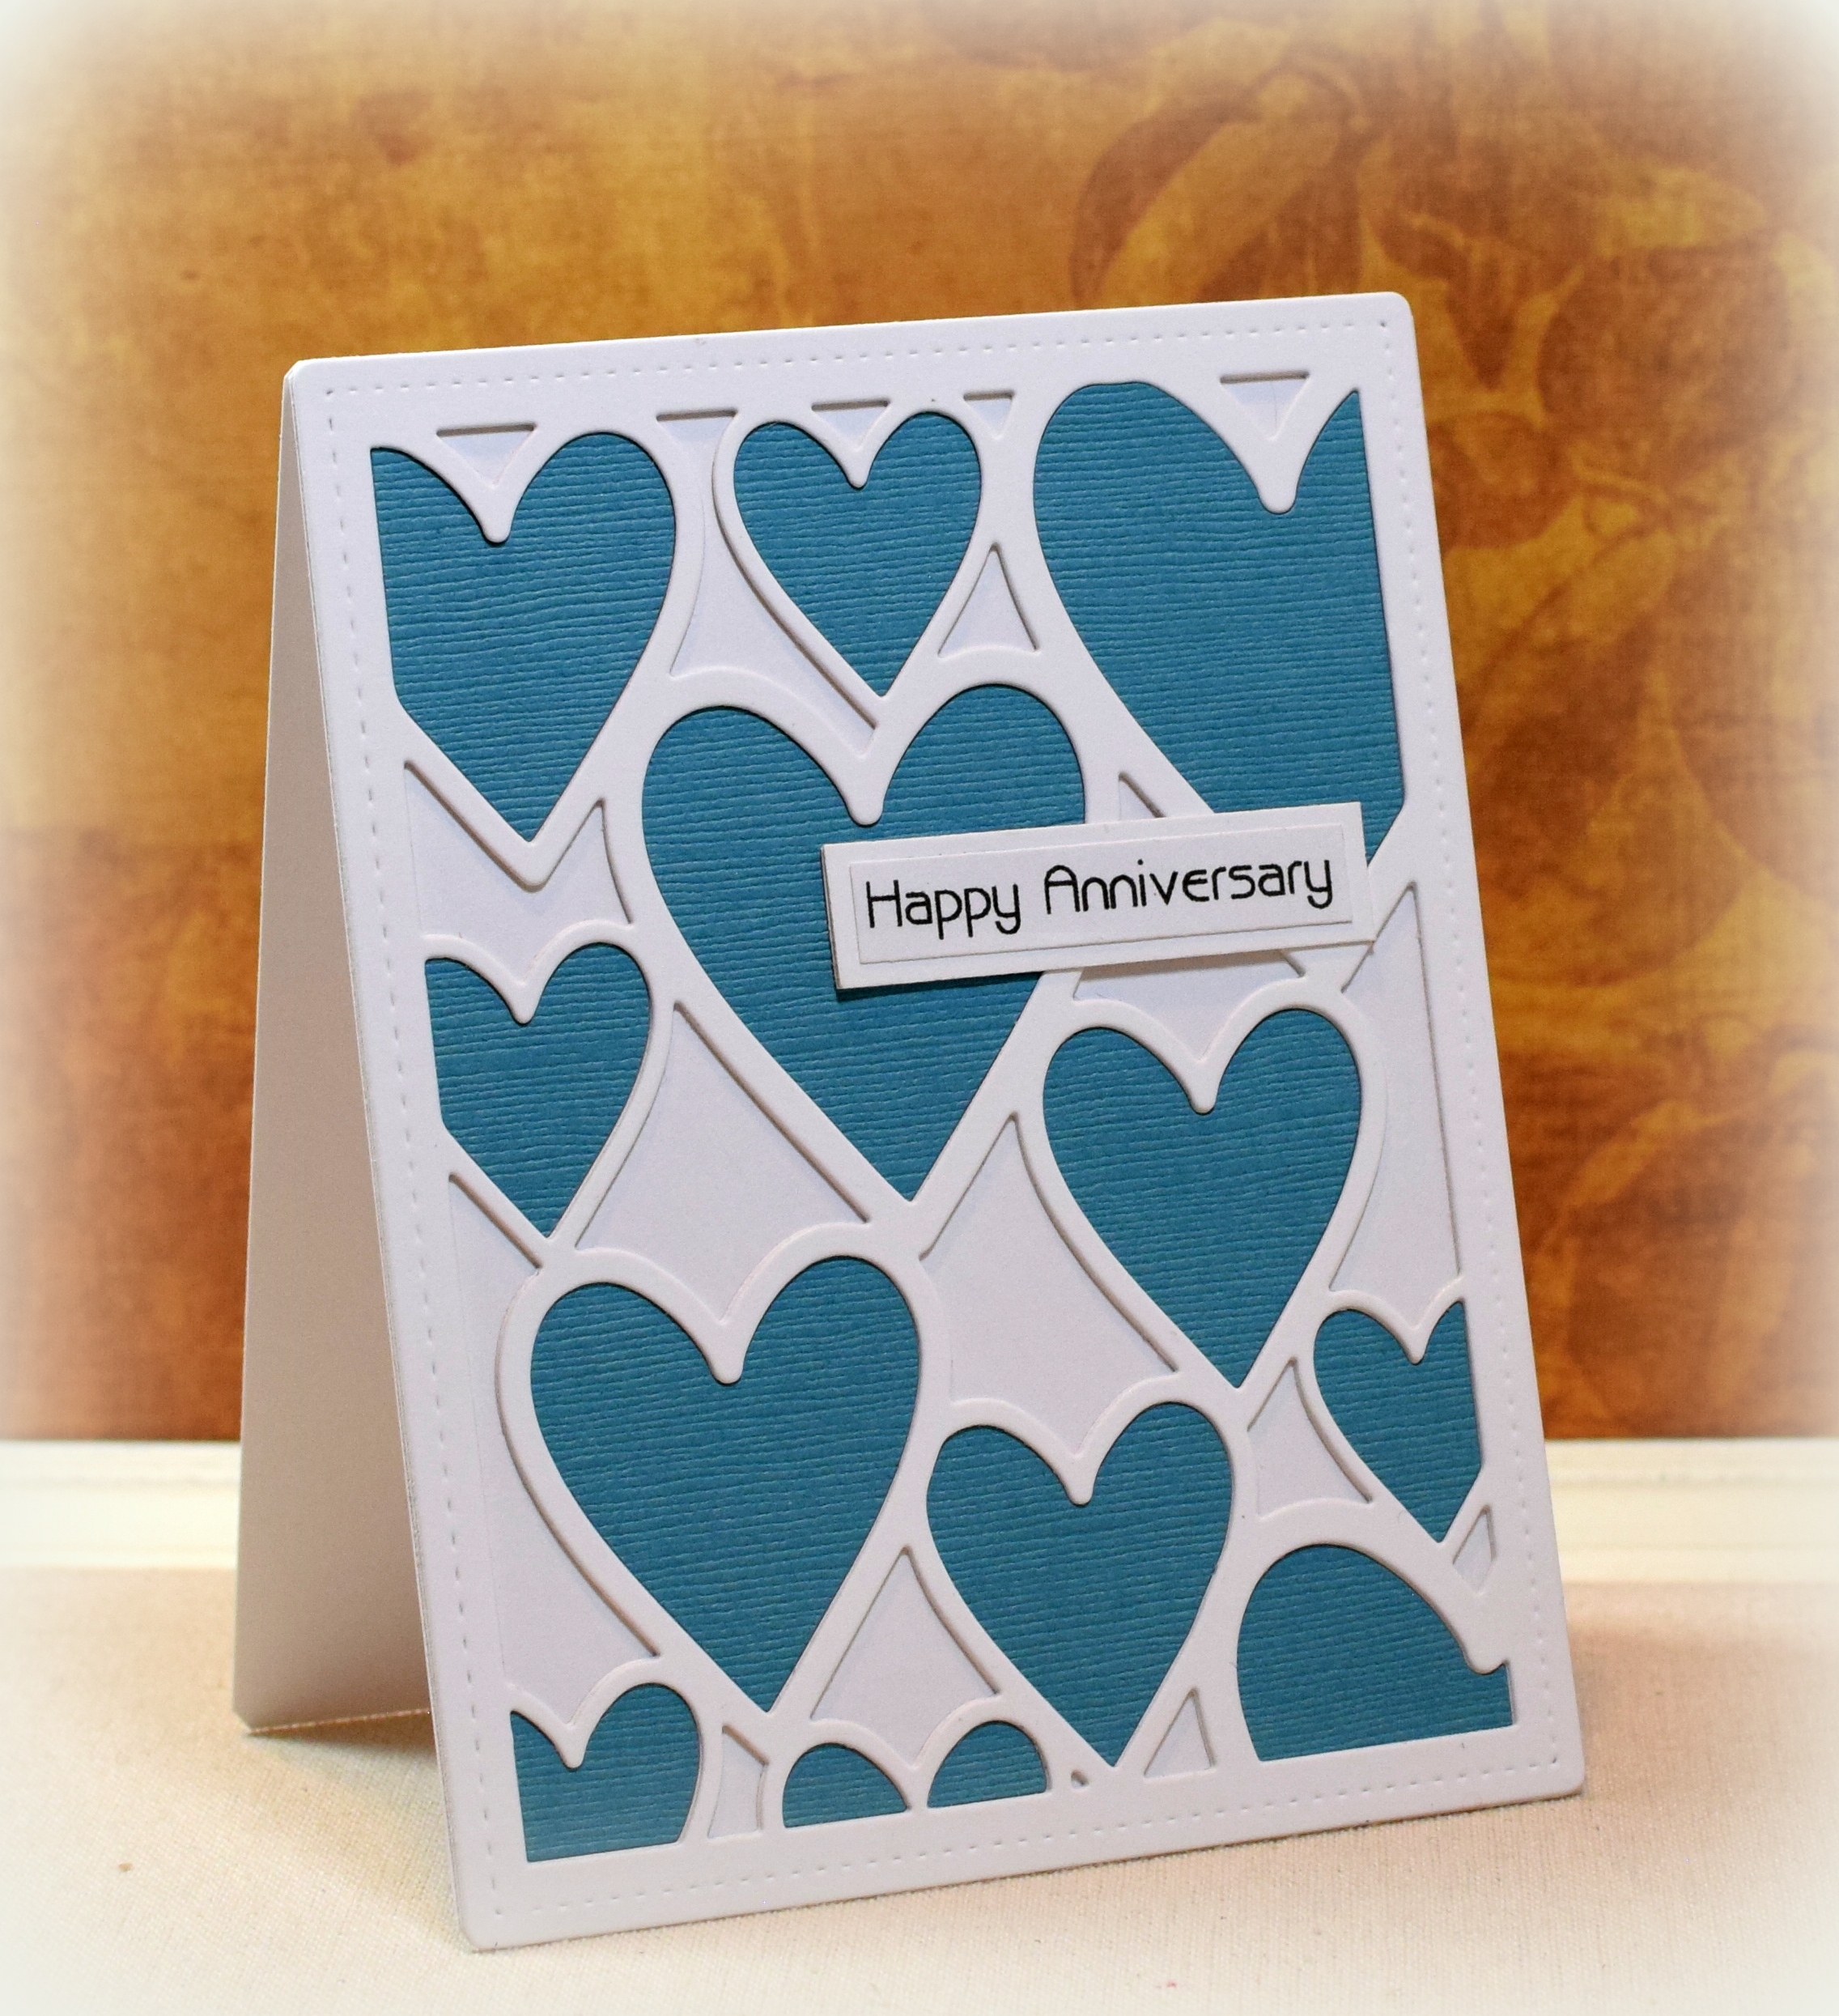
I had pieces that could be used for another card! Instead of using the plain white cut-outs with the printed frame, I thought it would be fun to try using Snowfall White glitter paper and some textured teal card stock instead. So I ran panels of these through with the die and came up with the pieces to create this one:
After using the teal fillers above, I was left with the teal hearts and a teal frame. Another card!
For this one, I cut and layered two white frames to go with the teal hearts and left the “filler” sections empty for a multi-layered look.
I still had the teal frame…
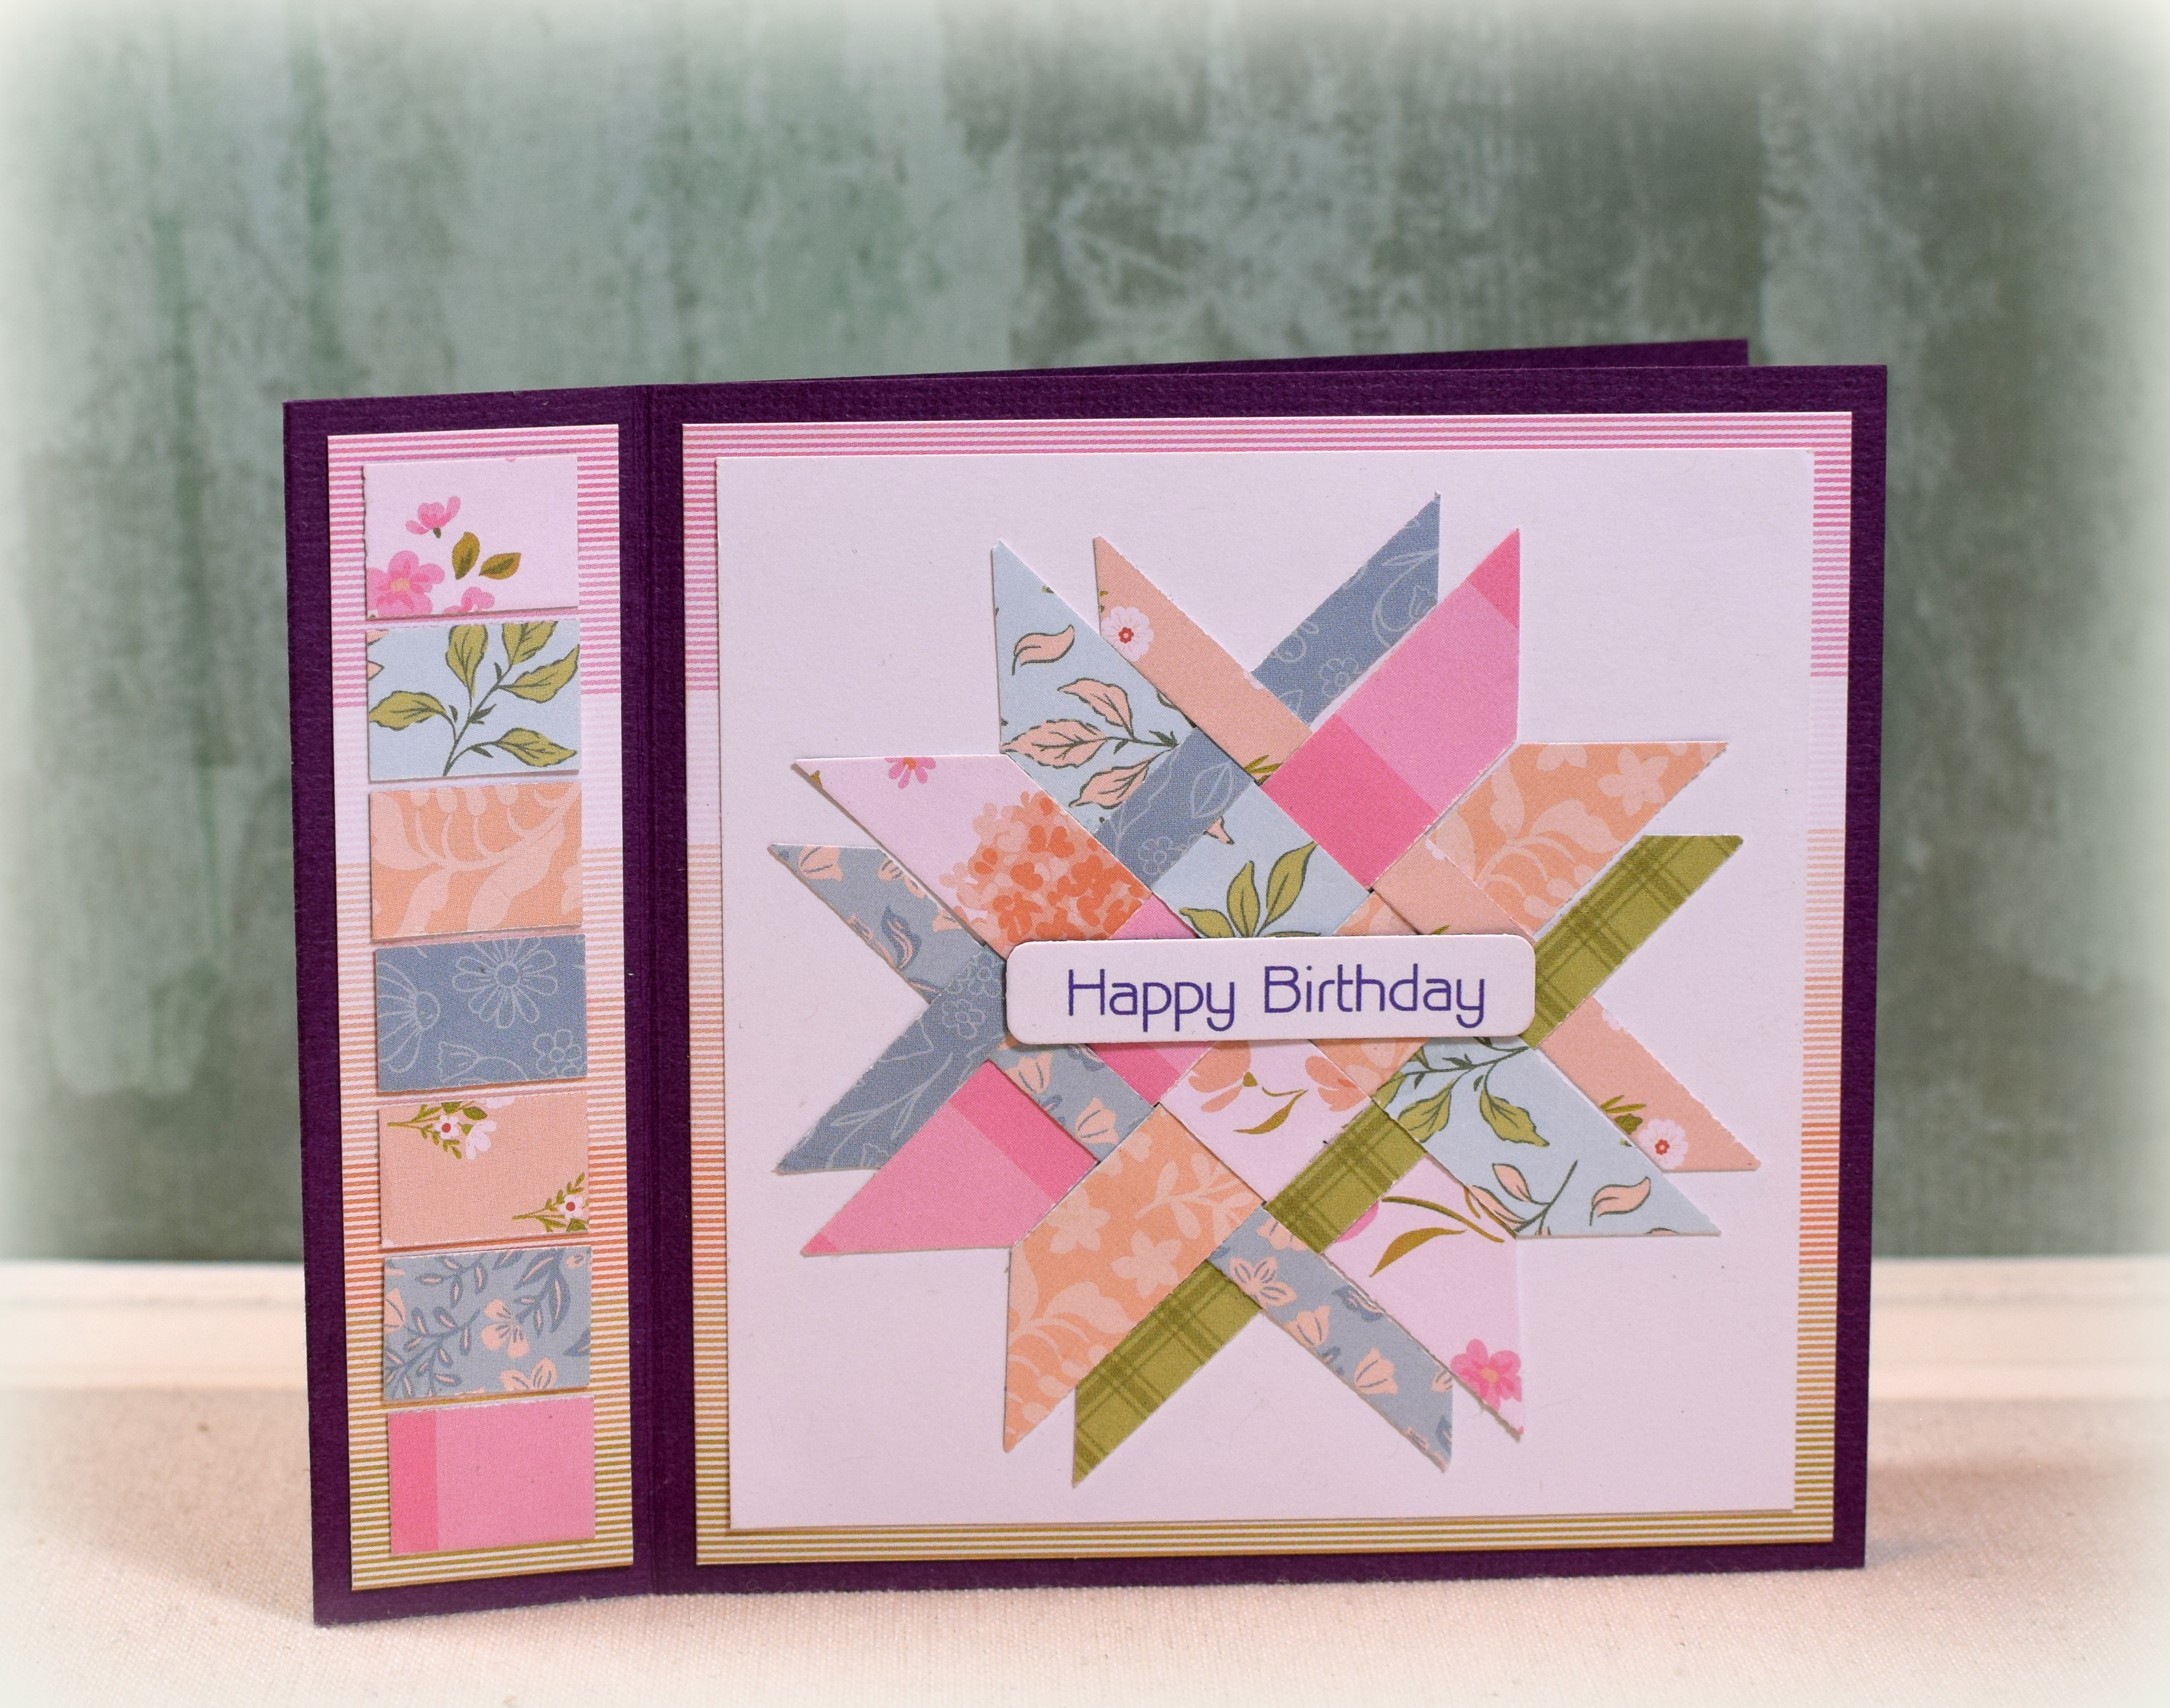
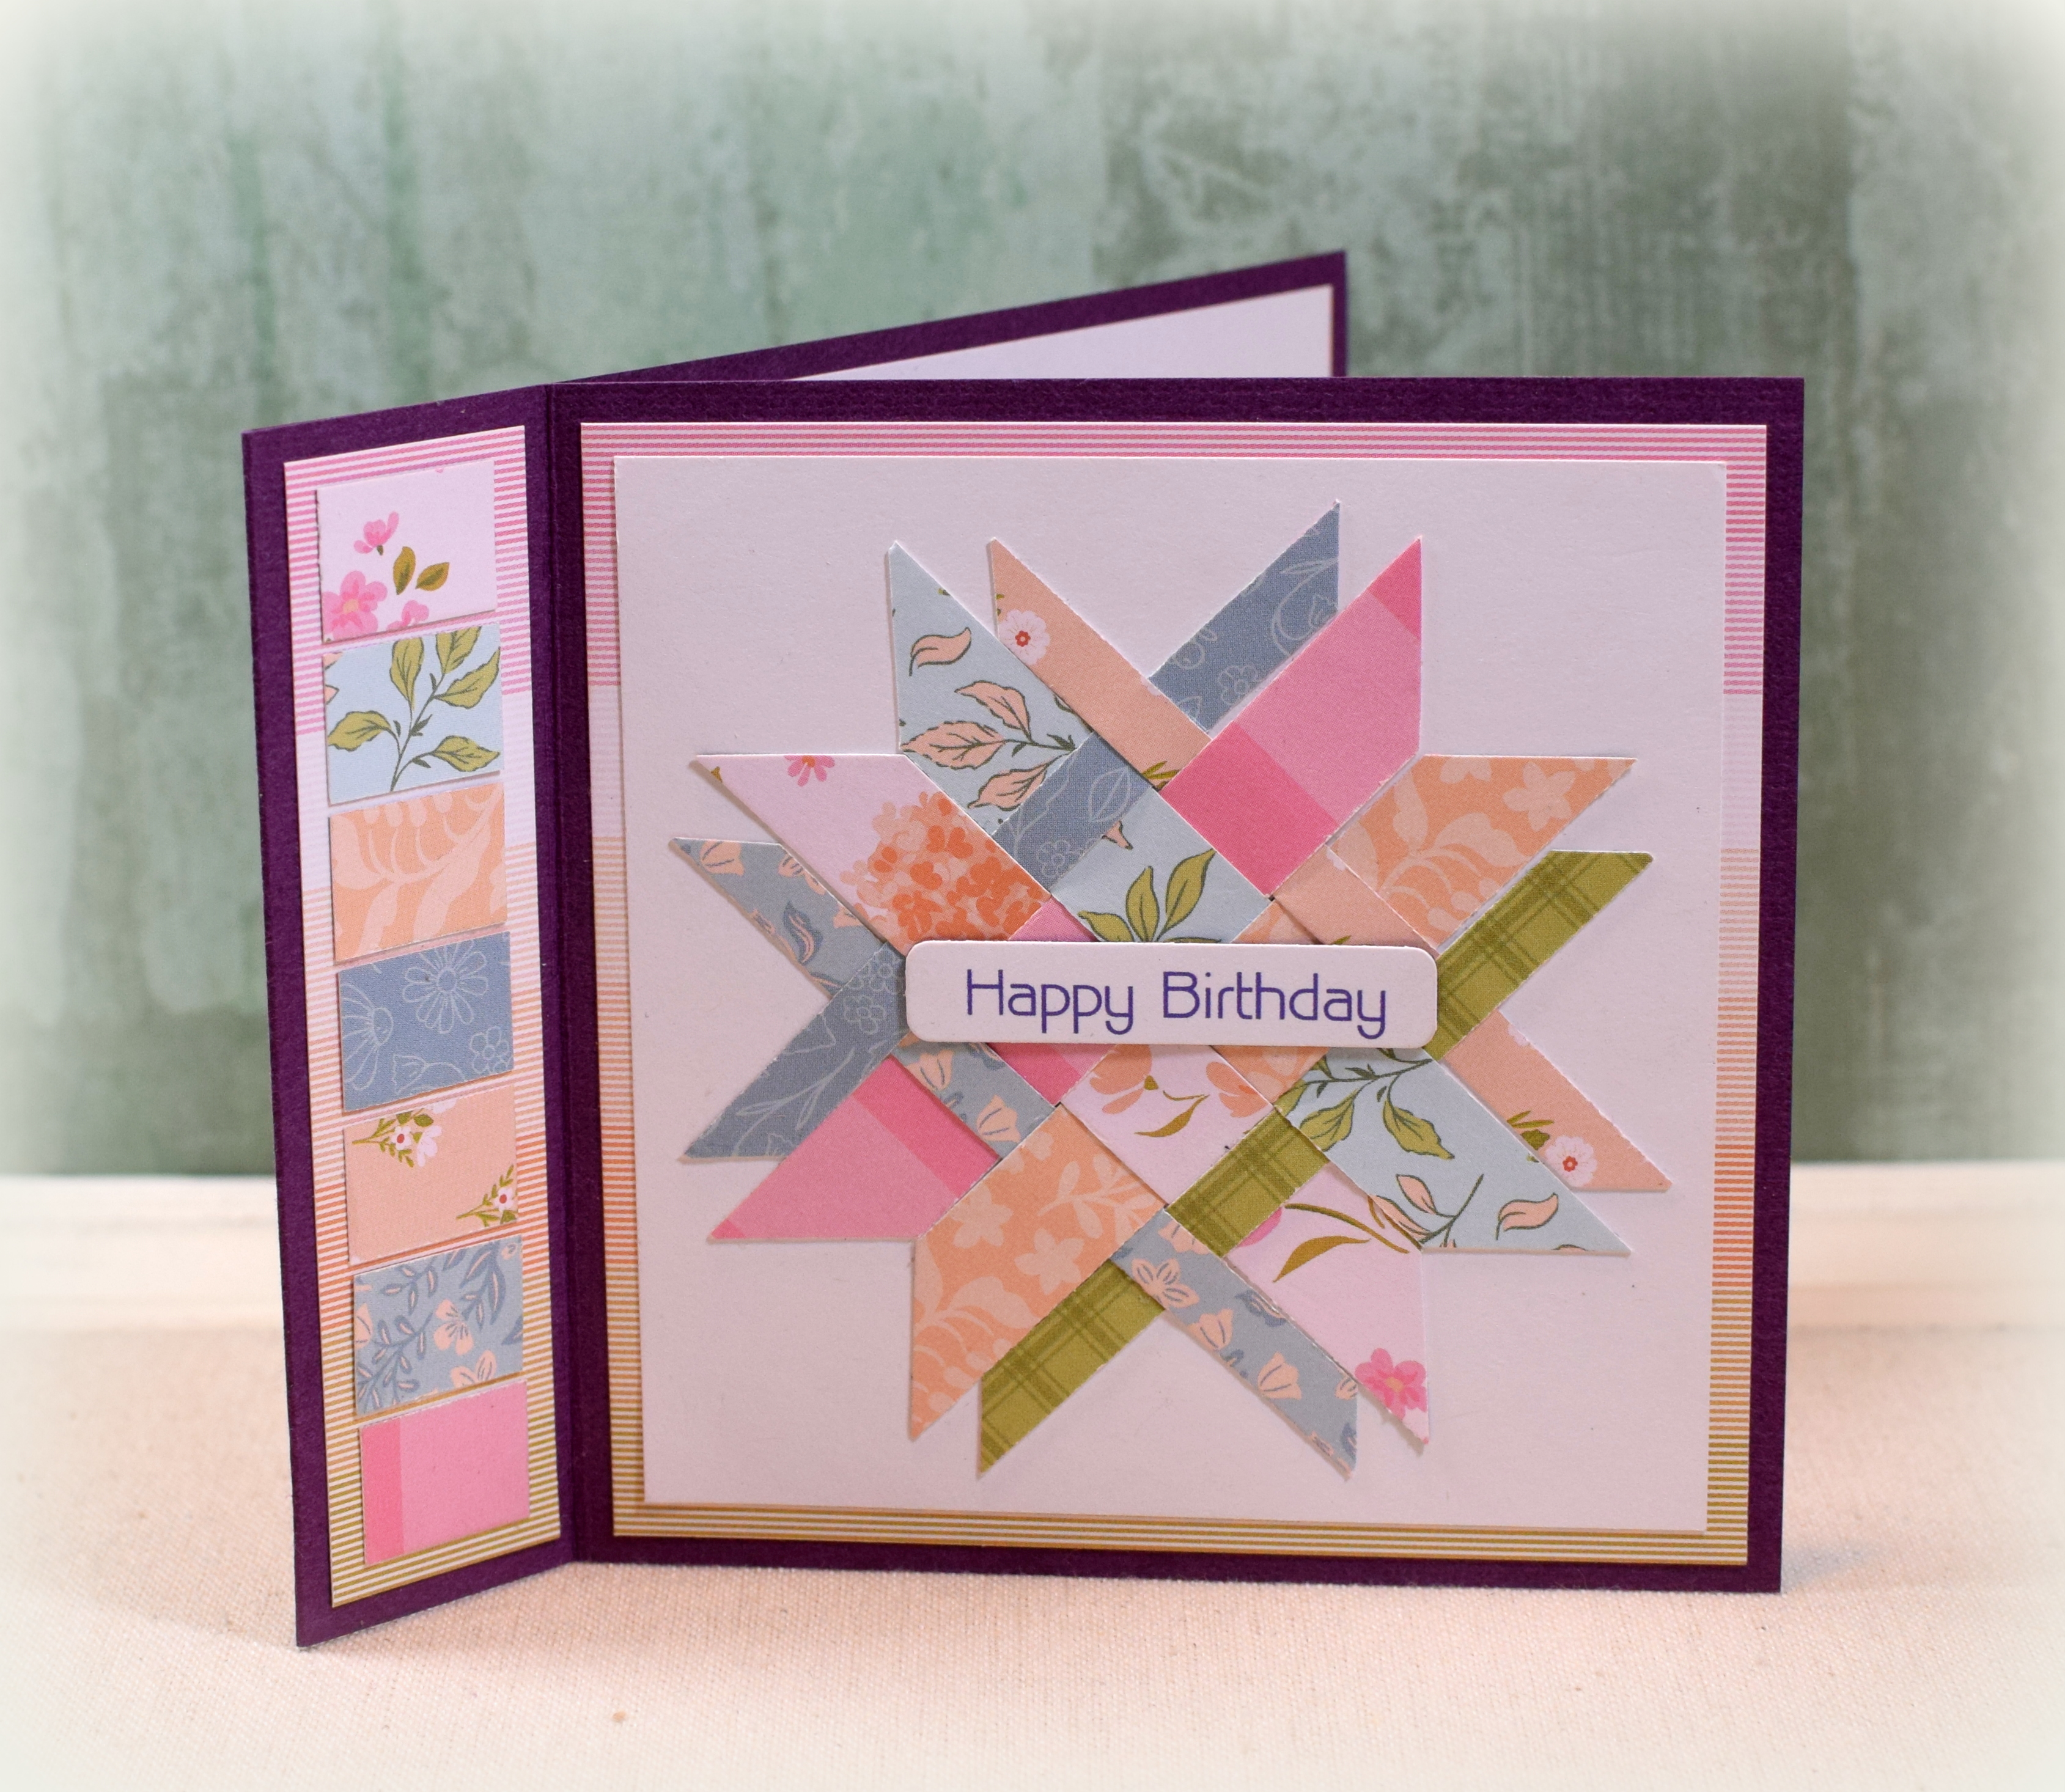
I embossed a white panel with the GKD Tapestry embossing folder, cut that with the die, and used the embossed hearts for this one. The greeting was created with the “Mini Expressions – Happy Anniversary die” (#CEDME031) from Creative Expressions. A fourth card!
Every time the die goes through the machine, you have the makings for another card or 3! The hardest part was knowing when to stop – lol! (I still have several leftover pieces that could be used later…)
Any solid, patterned, textured, or embossed paper and any cover die (especially with large areas) would work for this paper piecing technique. Try using lots of different colors or patterns on the same card for a fun look. So many possibilities!!
Thanks for checking out my card projects!
This content uses referral links as described in the disclosure policy on my sidebar.