Teal Thinking of You (Two-Tone Inking)

Thinking of You (Two-Tone Inking)

DSC_2542w.JPG

I saw this video where Gina K shows an inking technique she calls “Two-tone Inking” to create the look of layering stamps when using a single stamp and thought I’d give it a try.  It is basically a thumping technique, but instead of using markers, you use the edge of an ink pad to “thump” the second, darker color over the lighter ink on a stamp.

This technique will work with any solid or silhouette image stamp.  I used one of the flower images from the “Petal Prints, Two Step Stampin” set from Stampin’ Up (retired?).  (Even though this is a two step stamp set, I only used one of the layers for this card.)  First, I inked the stamp with GKD Sea Glass ink (the lighter color), and then I thumped over it with GKD Tranquil Teal.  It was suggested that you use the smaller ink cubes for this technique, but I only have the full size pad, and it worked fine.

I “smooshed” my background using GKD Seaglass ink and water.  I used some of this with a paintbrush for the splatters as well.  Tranquil Teal card stock was used for the mat panel.  The leaves (from the same Petal Prints stamp set) were “stamped off” with Sea Glass. The greeting can be found in the “Moments of Grace” set from Simon Says Stamp and was stamped with Tranquil Teal.

Over at the Modsquad Challenge Blog, the challenge this week is “A Time for Giving” where we are to “make a card to demonstrate GIVING such as kindness, thankfulness and friendship.”  This “Get Well” card was sent to let the recipient know she was in my thoughts and prayers as she recovered and to offer any help she might need until she gets back on her feet.

Thanks for checking out my card project!

This content uses referral links as described in the disclosure policy on my sidebar.


Beach Scene Shaker Card

Beach Scene Shaker Card

DSC_2500ww

I wanted to make a thank you note for the generous couple who let us stay at their beach house last week and thought using sand and shells from “their beach” would be great in a shaker card for them.

I sponged the sand, sea, and sky with Gina K Tranquil Teal and Kraft inks on white card stock and then added the sand and water details with the same inks and stamps from the Stampin’ Up “Timeless Textures” set (retired?).  The sandpipers are from the Stampin’ Up “Wetlands” set (retired?), and the greeting is from the “Banners” set from Joy! Crafts.  Both were stamped with GKD Charcoal Brown ink.

I cut the beach scene panel with a stitched frame die (unbranded) and then backed the frame with a piece of acetate.  (I have to admit I was a bit nervous at first about cutting my “finished” sponged and stamped panel after spending all the time to create it, but I really like how the scene ended up being continuous across the raised frame and the inside portion of the shaker panel.)  I layered GKD Tranquil Teal and Recollections Kraft mats and cut a rectangle from the center (that was larger than the frame opening but smaller than the frame).  Those layers were then adhered behind the frame/acetate panel to create the raised portion of the shaker element and card front. (I added the mats in this way instead of directly to the card base because I wanted the card front to be flat instead of having the shaker panel sticking off the surface.)

To create the recessed, background piece of the shaker panel, a double layer of fun foam, cut with the same frame die, was glued to a scrap of card stock.  The portion of the sponged/stamped scene that was “left over” from the frame die cut was dropped into the opening of the stacked, foam frames.  The sand and shells were then added.

Before sealing up the shaker panel with the matted top layer, I gently wiped/patted the acetate with a dryer sheet to remove the static.  There was a lot, and the sand kept jumping up onto the acetate before it was “treated” – lol!  If you do this, just be careful not to scratch the acetate.  After the static was eliminated, the two panels were glued together trapping the sand and shells inside.

The finished shaker panel was adhered to a GKD Tranquil Teal base.  A white panel was added to the inside so I could write my message.

Over at the Modsquad Challenge Blog, the challenge this week is “A Time for Giving” where we are to “make a card to demonstrate GIVING such as kindness, thankfulness and friendship.”

Thanks for checking out my card project!


90th Birthday Spinner Card

90th Birthday Spinner Card

90th bday spinner card DSC_2522w

I made this card for my father-in-law who turned 90 this past summer and another one for my dad who turned 80.  Happy Birthday, Dad and Dad!

This card has a spinner pop-up element on the inside that was made with a die from the “Spinner Square Pop-Up” die set (#1042) by Karen Burniston.  There is a video tutorial that I found helpful in assembling this card.  (I also found a video for making this type of card without the die set in case you are interested.)

90th_bday_spinner_card (gif)


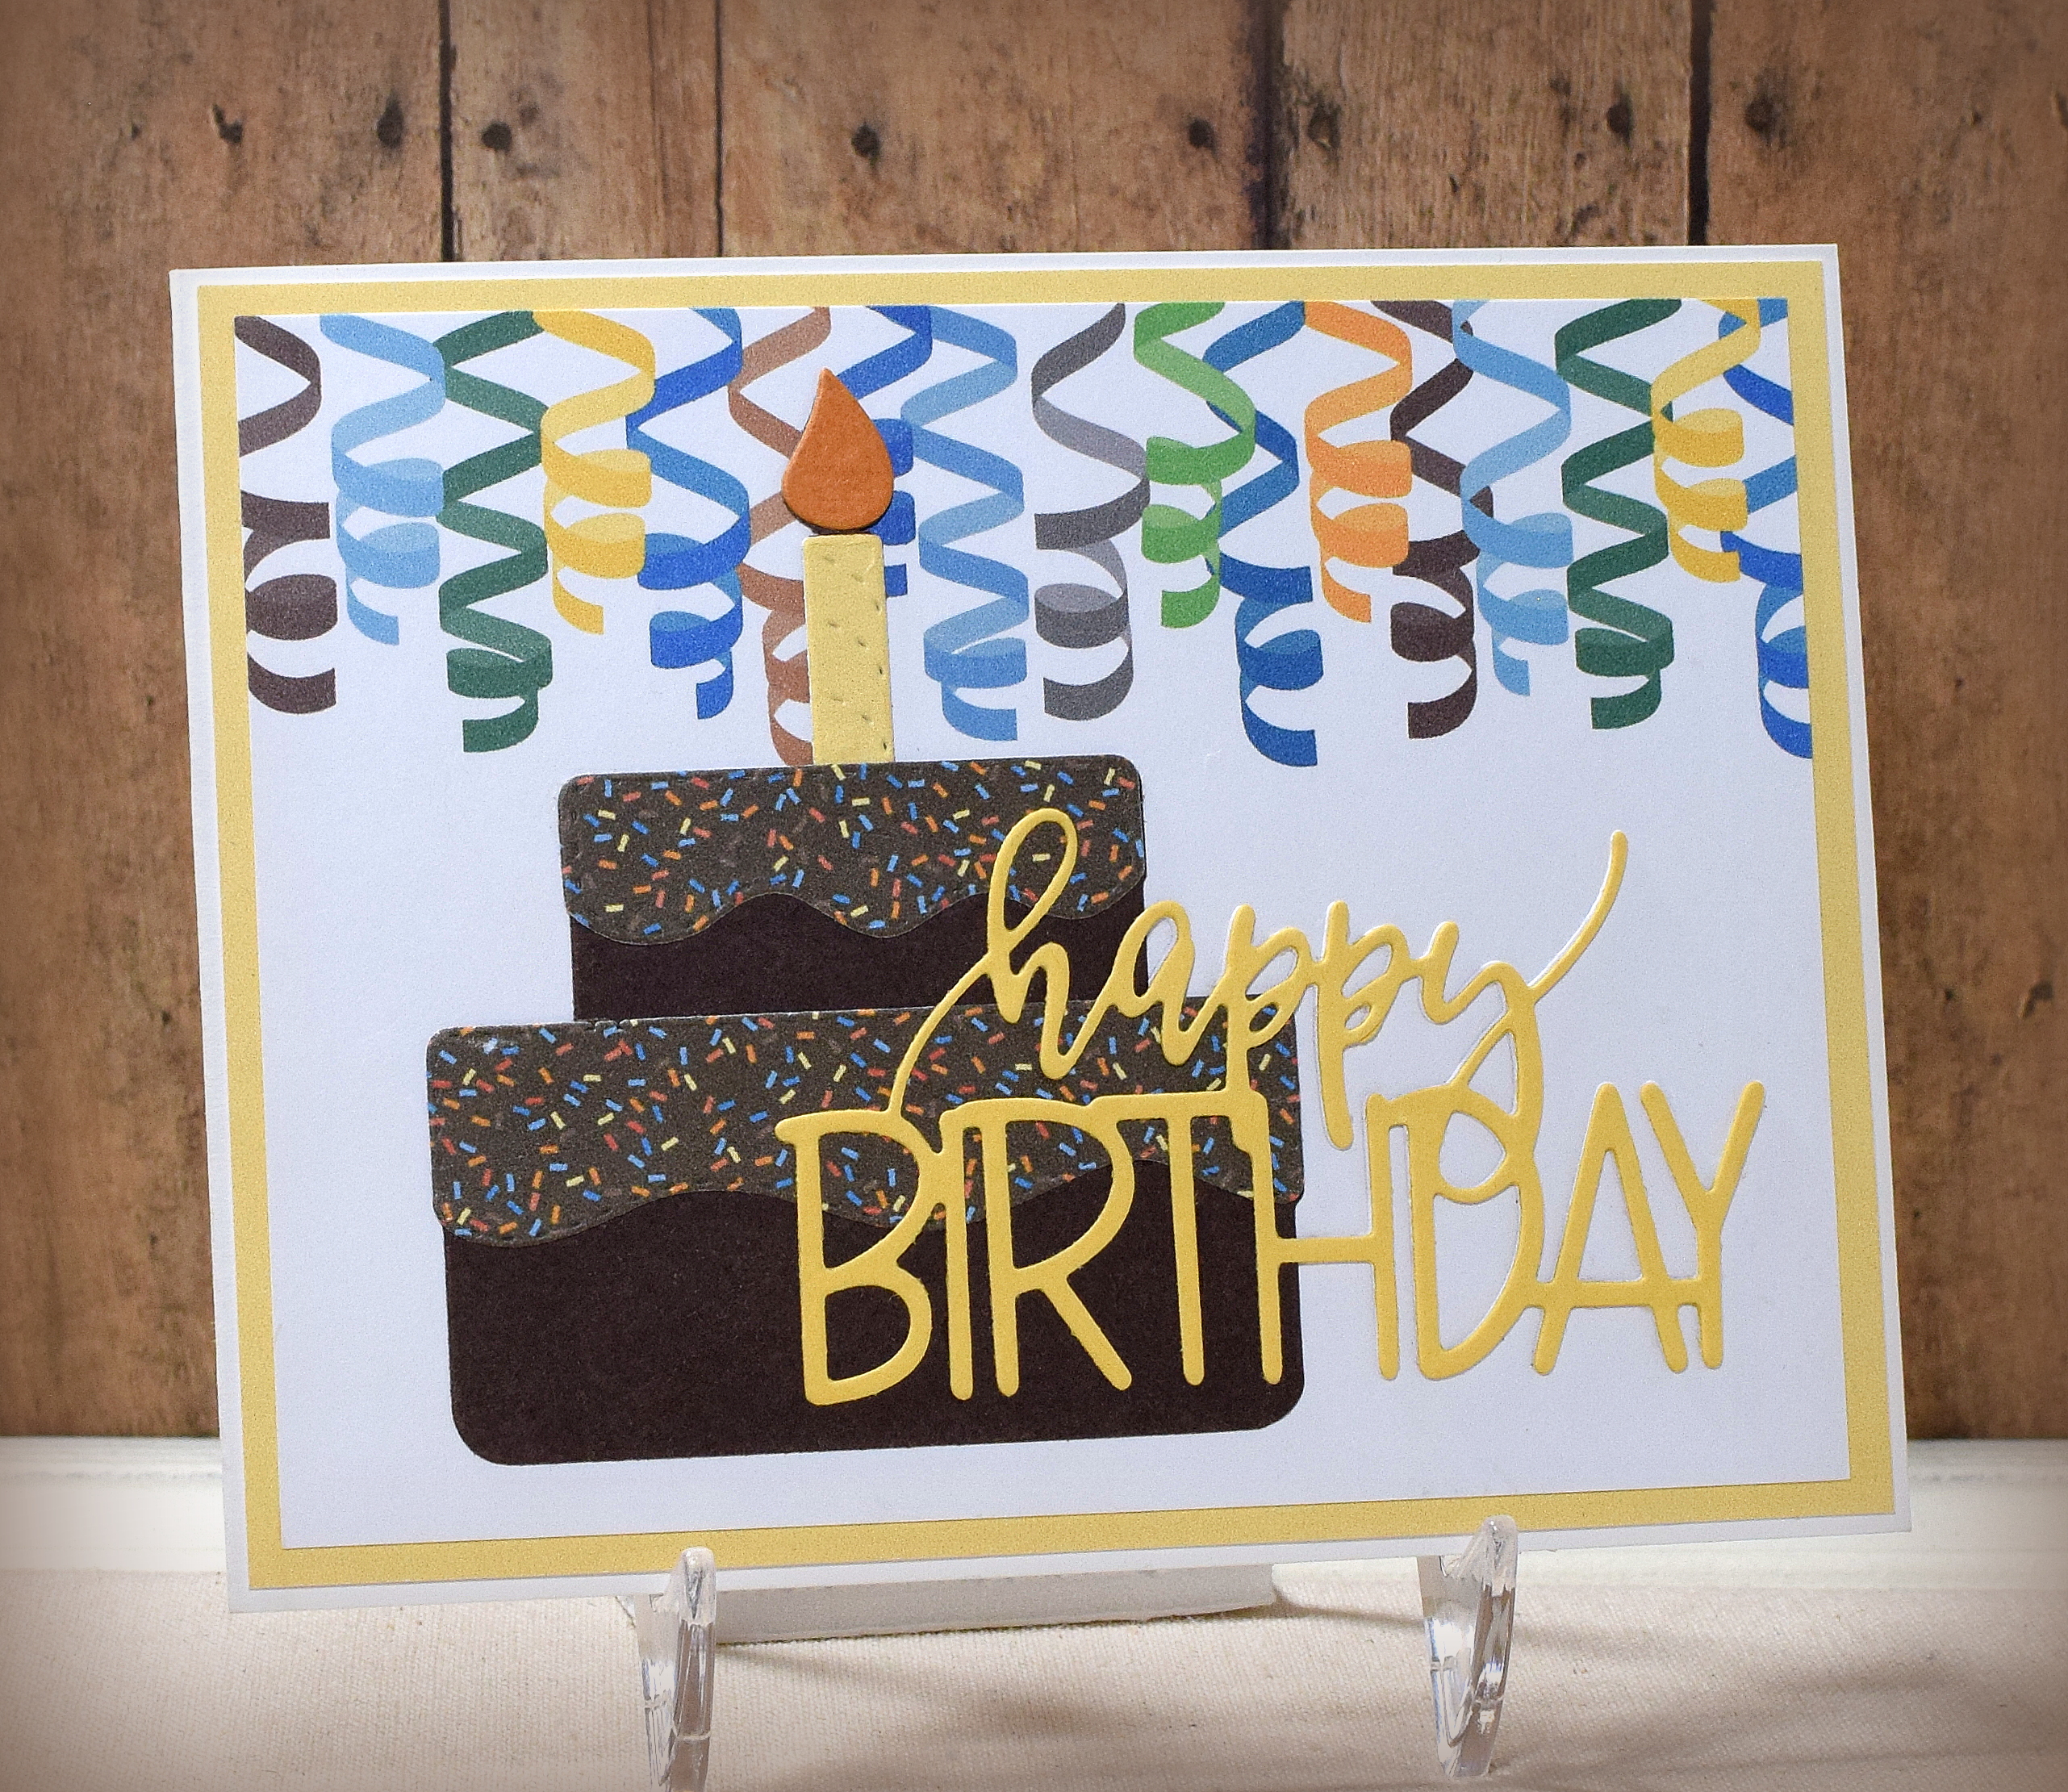
This set contains the spinner/pop-up die along with some decorative squares, a border, and photo corners.  There is no theme to this set which makes it very versatile but also requires additional supplies and more thinking/planning – lol!!.  (The cake and greeting on the front and the numbers/balloons and stars on the inside did not come with this set.)

Here is the inside of the card:

90th bday spinner card DSC_2534w

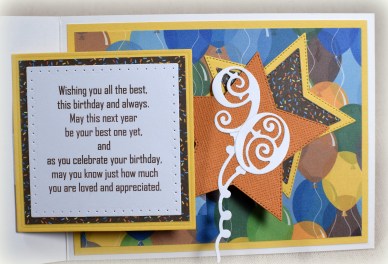
I made the number balloons by cutting off the balloons (of a balloon die cut) from their strings and replacing them with the number die cuts.  (I  made “80” balloons for my dad’s card.)  I added these to a die cut star that I attached to the swinging arm element hiding behind the sentiment panel.

The patterned paper I used came from two digital paper packs I purchased on Etsy:  “Celebration Masculine” by JLaurieStudios and “Birthday Party Boy” by POPprintonpaper.  I also used Gina K Designs Sweet Corn, Core’dinations Valentia, and white card stock.

I used several birthday-themed dies to complete my card design:  The Birthday Cake die set (unbranded – looks like this one one but smaller?), Sizzix Happy Birthday 3-D Drop-ins Thinlits Dies (Stephanie Barnard), Stitched Nesting Stars (unbranded), Numbers (unbranded), and Balloons (unbranded).

The sentiment was computer generated.  I was planning to use one of the stamps from the “Tucked In: Birthday” mini stamp set from Papertrey Ink, but both ended up being too big for the panel on which they were to be stamped.  (I should have checked that before creating the card!)  After a brief panic, I decided to type it instead.  In this way, I was able to adapt/combine parts of both of those messages for my sentiment.

Thanks for checking out my card project!

This content uses referral links as described in the disclosure policy on my sidebar.


Glad to be Back!

Glad to be Back!

Wow, it has been a while!

It was a busy, but fun, summer.  I enjoyed spending time with my kids while they were home from college, visiting out-of-town family and friends, and doing a little traveling.  I attended a scrapbook expo out in Lancaster, PA with one of my closest friends since forever, and was inspired to get back into scrapbooking (after a long, long break).  I’ve also been very busy planning and preparing for my Part 2 Card Making Class offered through the Haddonfield Adult School program.  All of these things kept me away from my site here and from having the time to visit and comment on all of your sites that I follow (although I have been enjoying your posts when I receive email notifications).

Things seem to be settling down now that summer is over, and I hope to be posting (and visiting) soon!

Thanks for checking out my post!

(image above is a google image and not my own)

A Few Quick Cards to Share…

A Few Quick Cards to Share…

xxDSC_1340.jpg

I was cleaning my craft room recently and came across a few quick cards I had made a while back (and had kind of forgotten about!).

*

yDSC_1357

For this one, I embossed a piece of brown card stock with the Cuttlebug “Thanks” embossing folder (#37-1134) and then rubbed “Walnut Brown” Viva 3D-Stamp Paint over the whole panel.  Love, love, love the rich, metallic shine!

I cut a rectangle window from the embossed panel and another rectangle for the greeting (PSX E-2266) with dies from the Spellbinders “A2 Matting Basics” (A & B) die sets.  Gina K Designs Dark Chocolate ink was used for the greeting panel along with a Vintage Photo distress marker and a Ranger Distress Marker Spritzer Tool for the splattered dots.

*

xDSC_1348

For this next one, I added Gina K Designs Honey Mustard ink and water to my craft mat and dipped/dragged white card stock through it.  Then I used a paint brush to tap/splatter some Dark Chocolate ink and water over the panel.  I sponged the edges and stamped the leaves and greeting from the Momenta “Nature Set” (lot #0005702) with Dark Chocolate ink.  This panel was layered on another piece of white card stock and a Dark Chocolate base.

*

xDSC_1352     xDSC_1353

For these, I let the patterned paper do all the work…  I used portions of a piece of Recollections “Thoreau Flowers” (#505802) paper along with Stampin’ Up Tip Top Taupe and either Peach Ballini or Edible Eggplant card stock from Gina K Designs.

The birthday stamp is from the “Birthday Bash” set by Fiskars.  The greeting on the second one is from the “Various Verses” set (retired?) by Gina K Designs.  Both greetings were stamped with SU Tip Top Taupe ink.

*

Thanks for checking out my card projects!

This content uses referral links as described in the disclosure policy on my sidebar.