Rounded Squares Birthday Card

In browsing YouTube, I stumbled upon (and have been loving!) videos by Sam Calcott where she shows tons of ideas on using scraps of patterned paper. The idea for this card was found in this video.
The squares are 1 inch with 1 1/8 inch mats. To round the corners, I used my We R Memory Keepers 1-2-3 Envelope Punch Board. My finished card is 5 1/2 x 5 1/2 inches with a 5 inch panel for all my elements. (Hint: place the 4 “pink” squares, point to point, on the card first. Then add the others.)
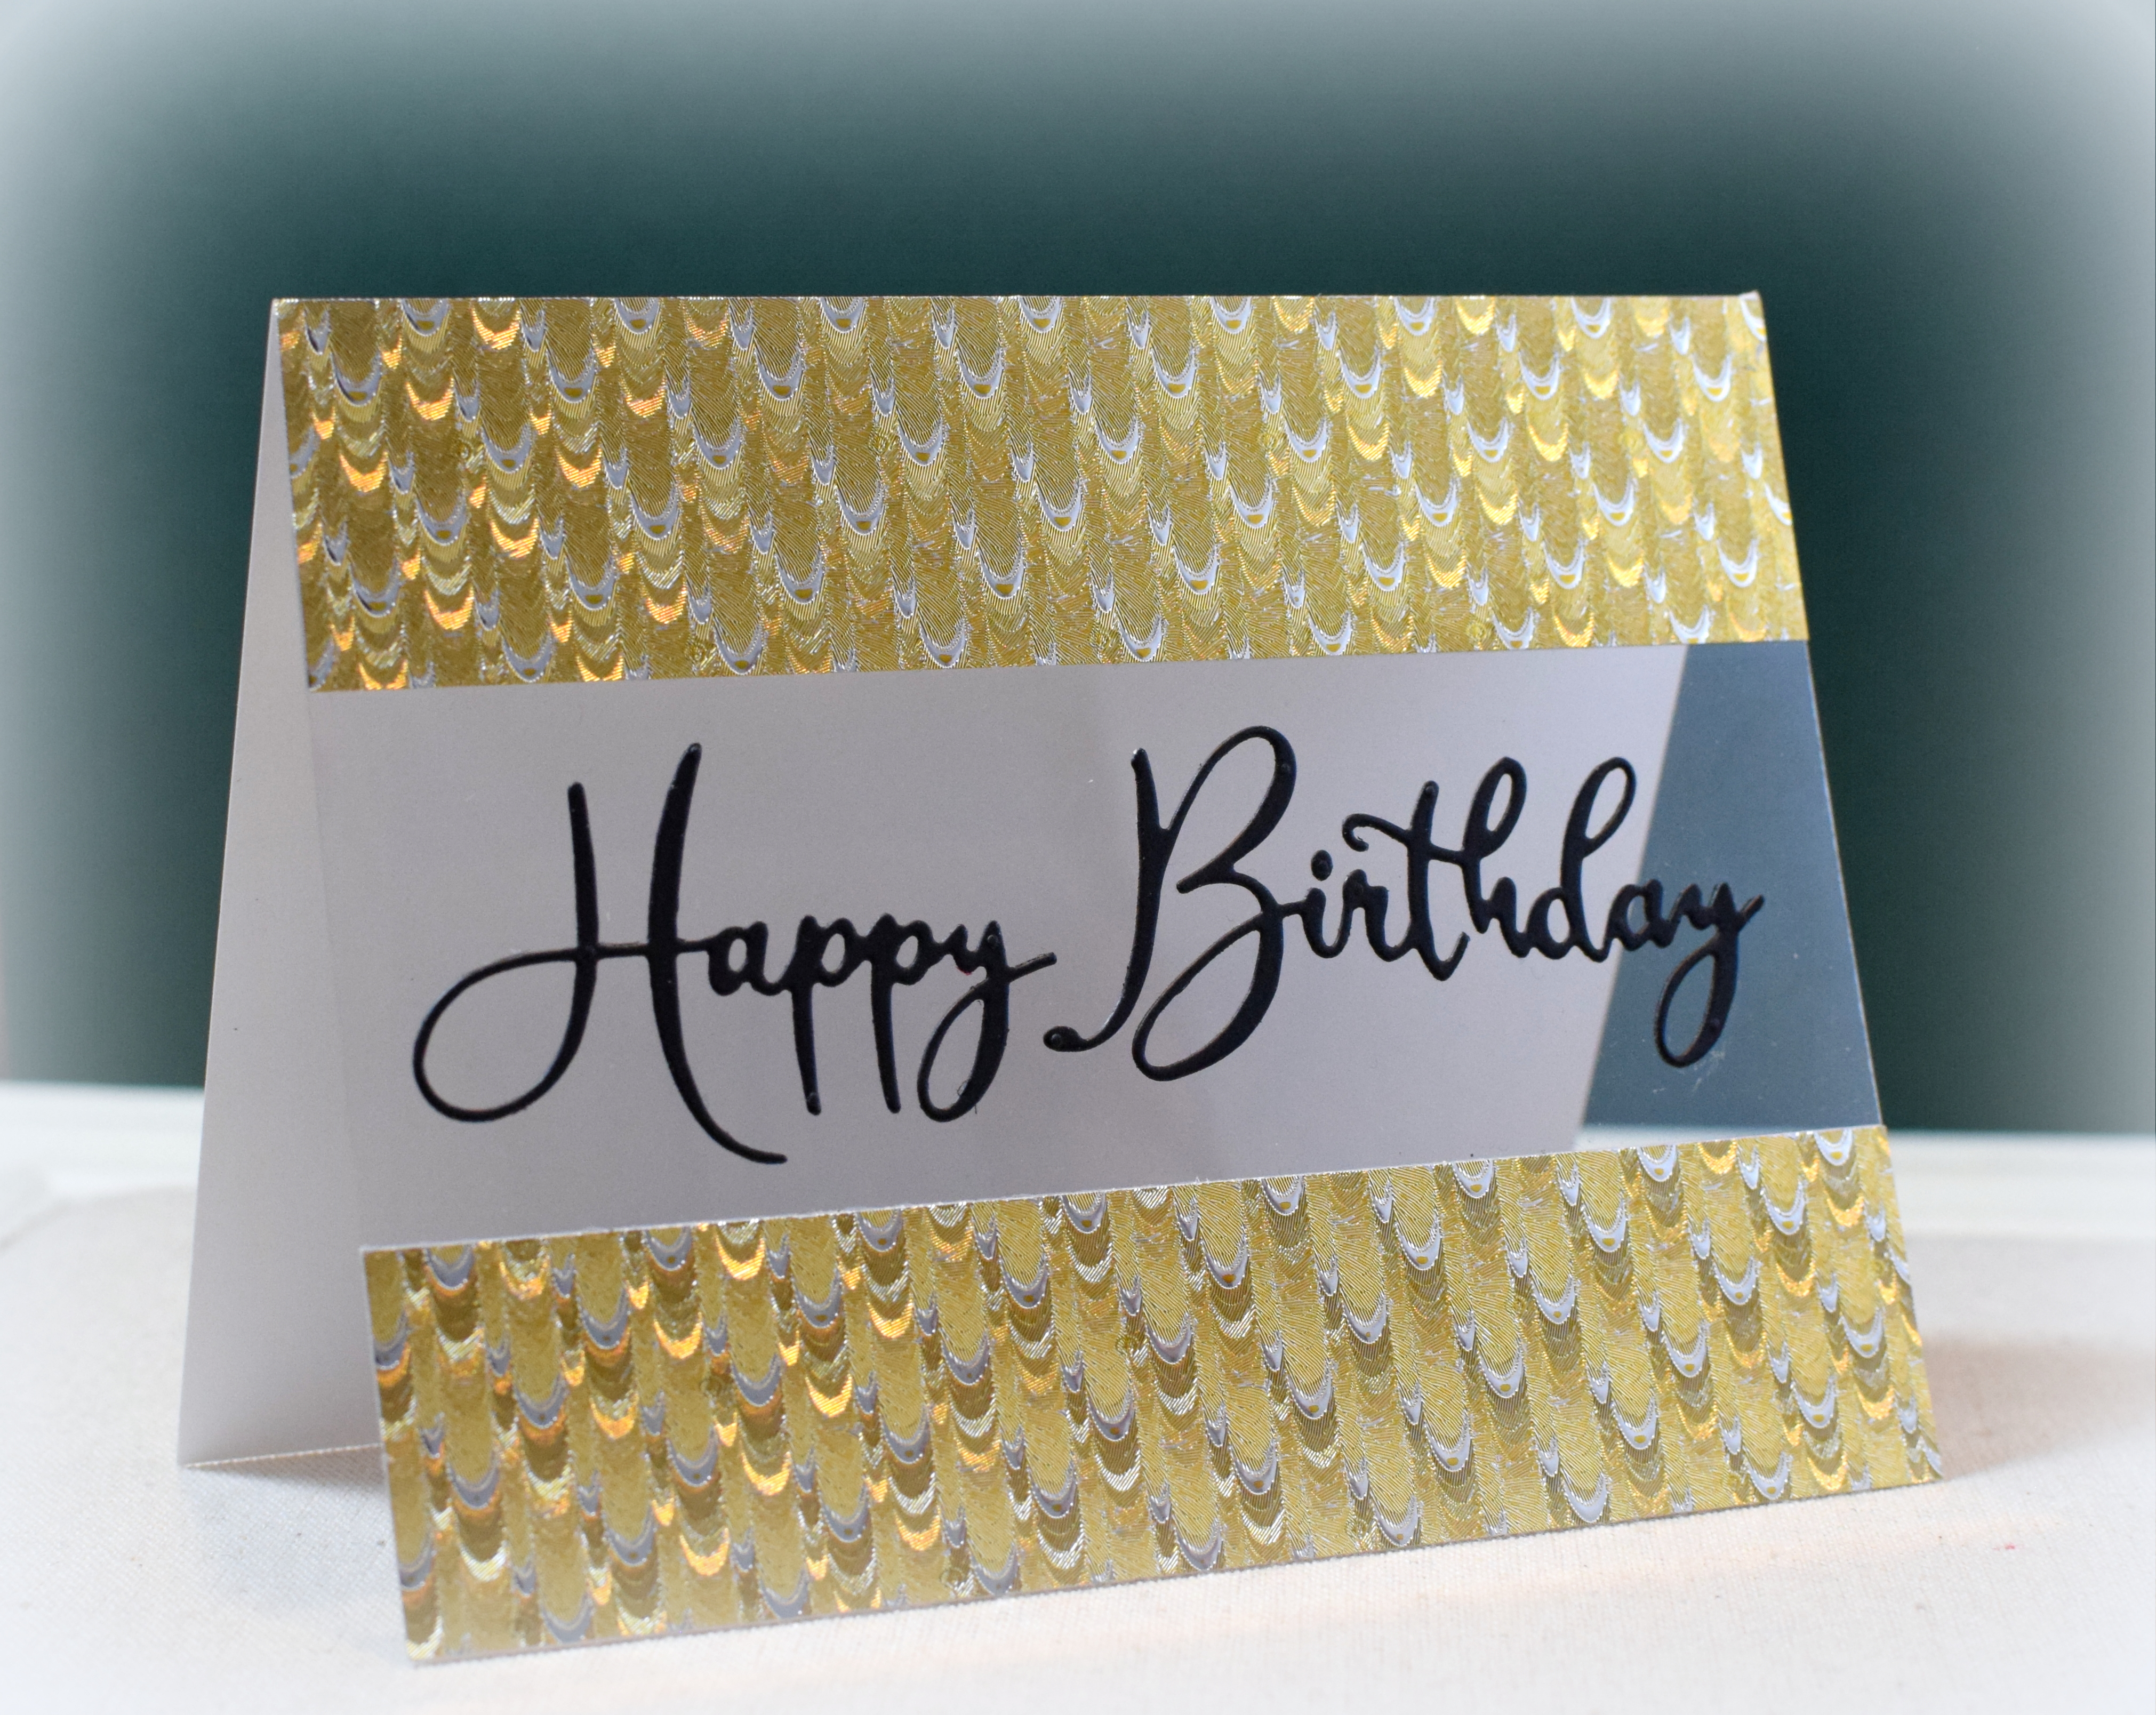
The greeting was cut using the “Happy Birthday Script” die (TAD0304) by A-Muse Studio. I punched the small flowers in the centers with the “Flowers & Flourishes” Edger Punch by EK Success and the dots with the “Bubbles” Border Punch by Fiskars (no longer available?). The rounded squares were popped up with foam tape.
Here’s a photo with less direct light:

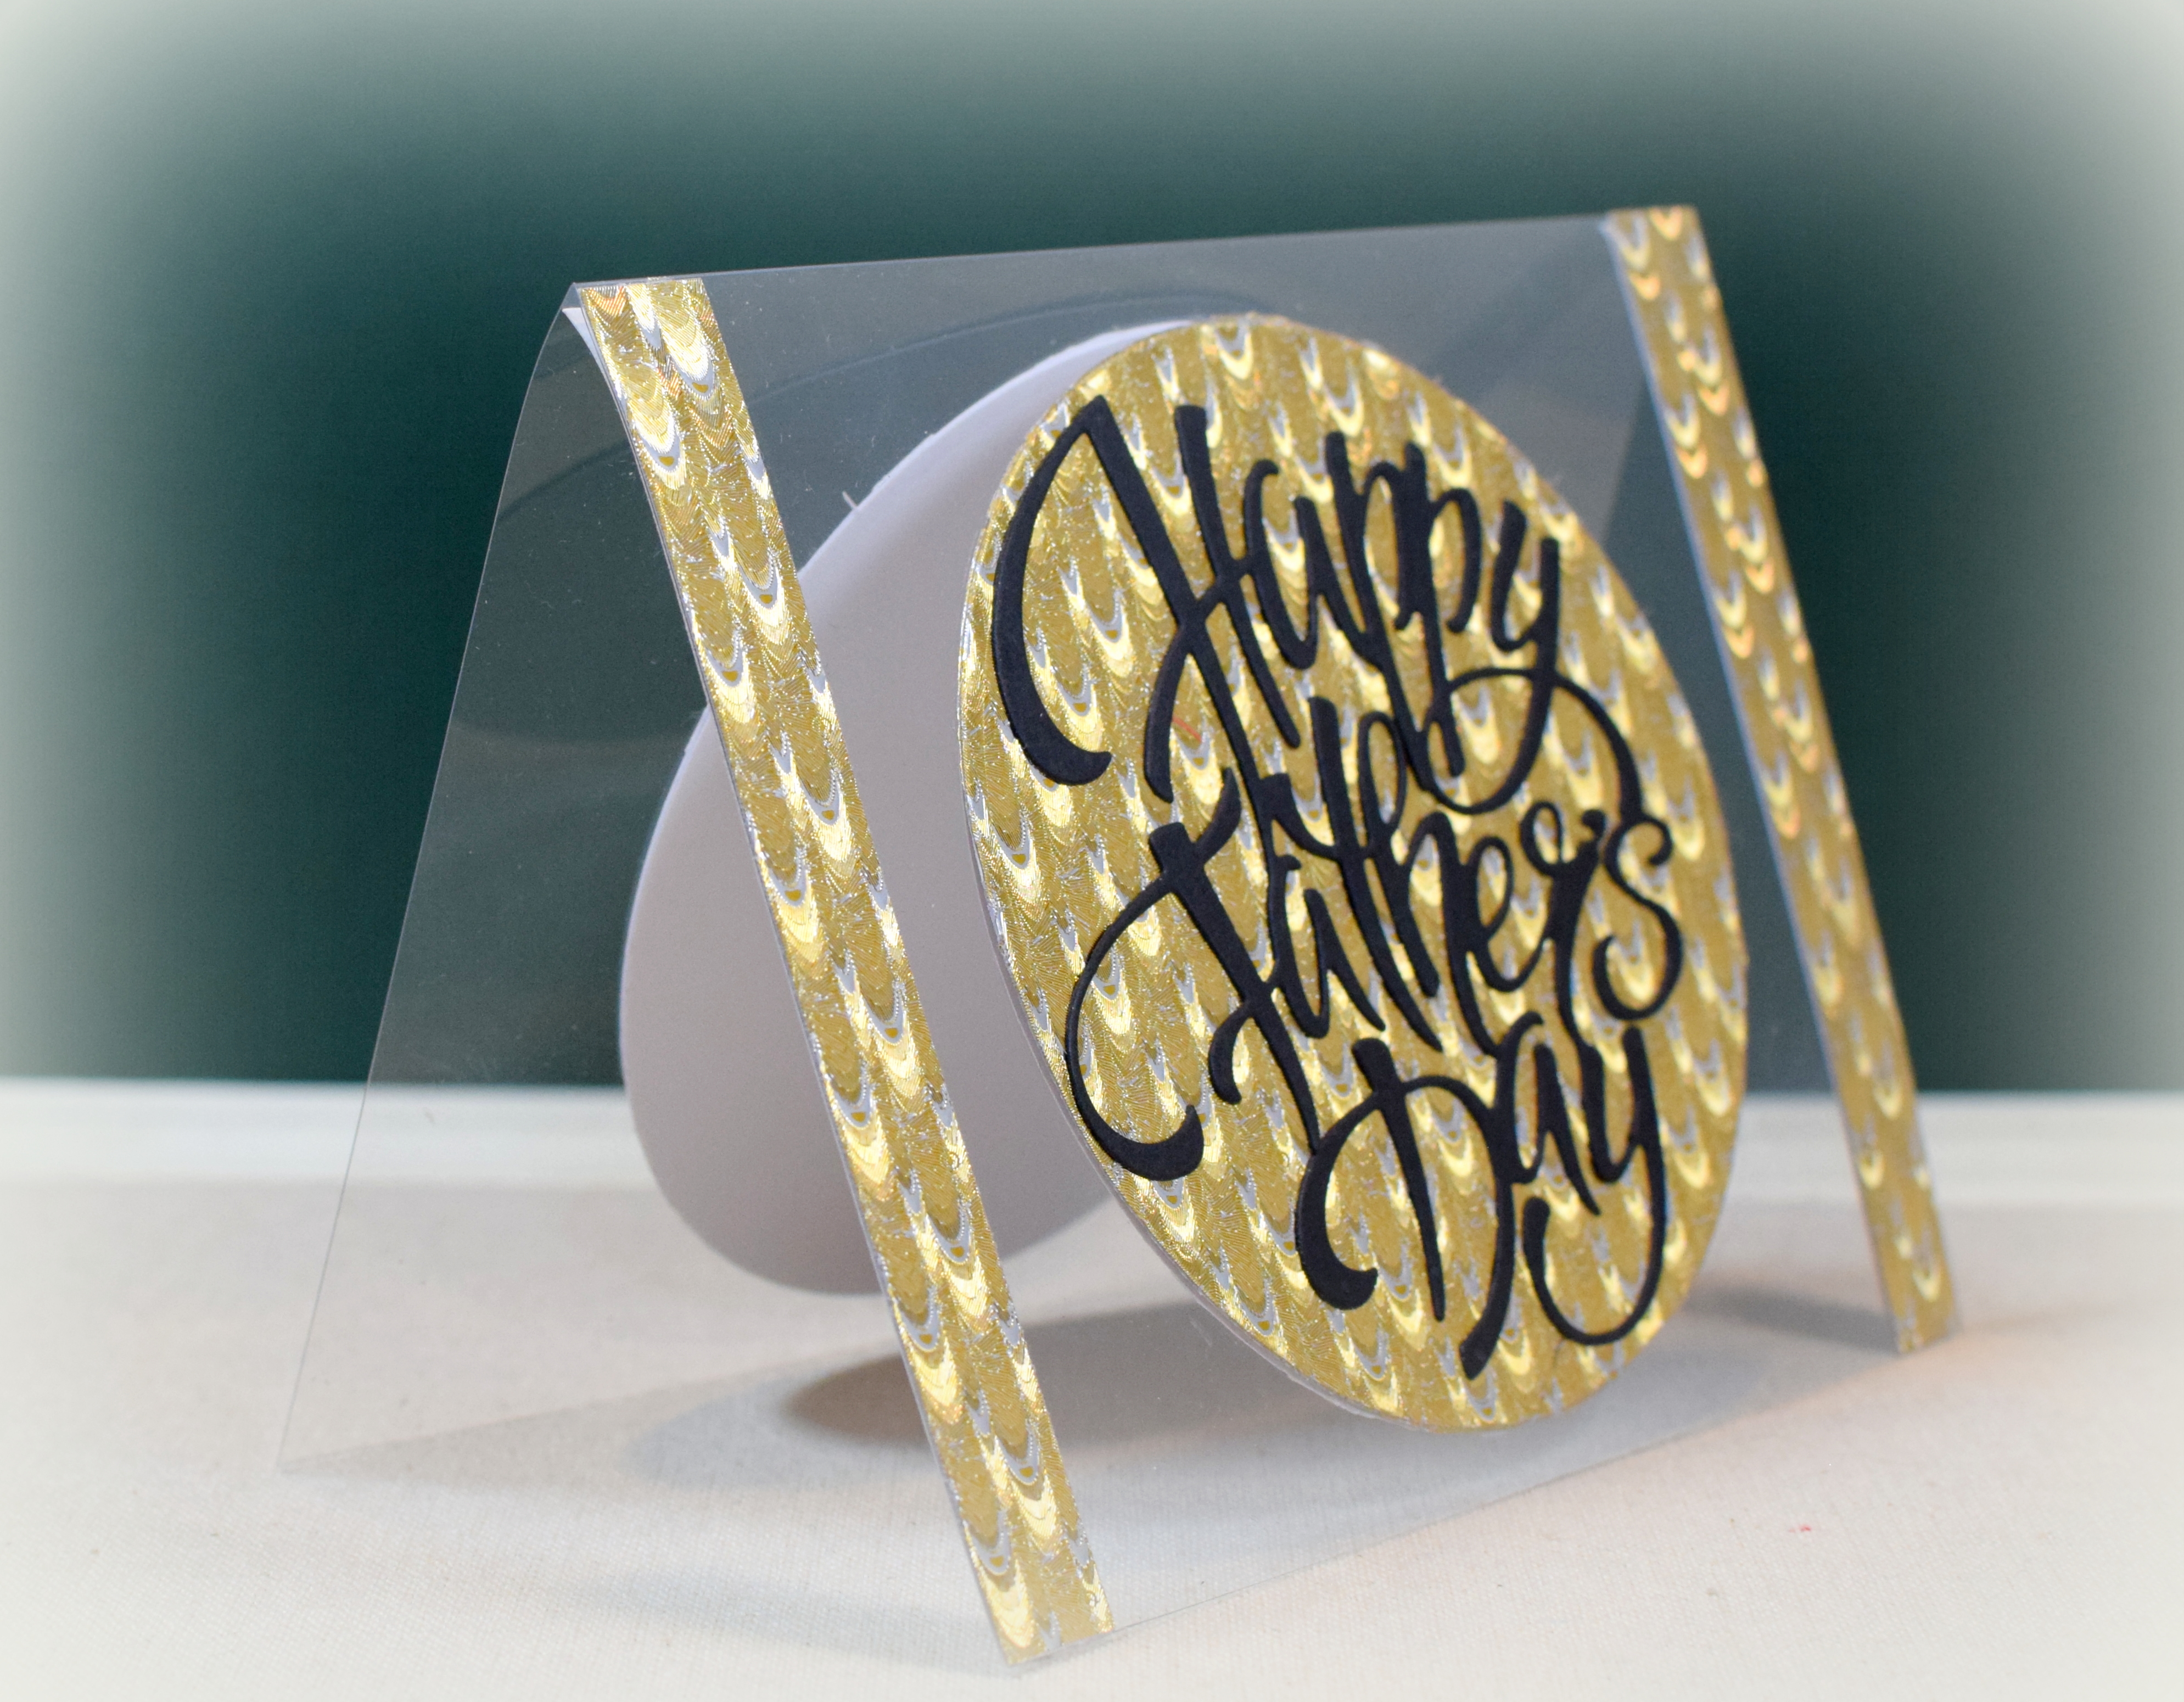
The scraps used for this card were leftover after making my Twisted Easel Mother’s Day Card which came from the “Our Family Tree” paper pad from The Paper Studio and silver card stock.
I made an envelope for this card with my envelope punch board. (Start with an 8 7/8 inch square and make initial punch at 4 3/8 inches.) Because this is square, I will have to take it to the post office to mail.
Thanks for checking out my card project!
This content uses referral links as described in the disclosure policy on my sidebar.