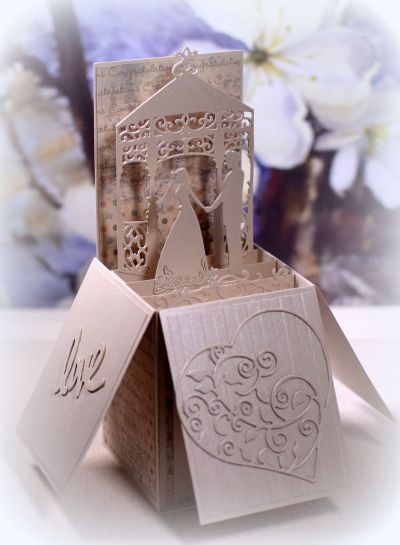
“I Do” Wedding Box Card (with photo of new card design added)
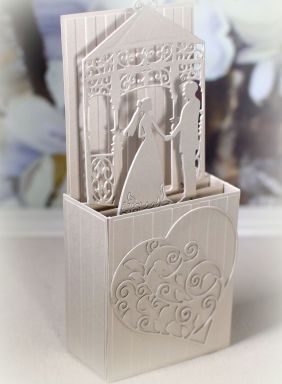
You’ll see as you read further, that I was not happy with the dimensions of the “finished” design that I originally posted. After posting that version of the card, I went back and reworked the design, and I’ve amended this post to include the “new finished” card (above).
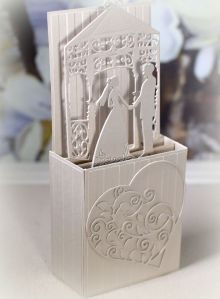
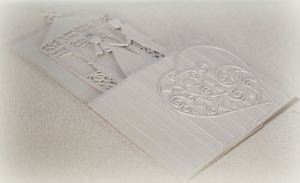
Here’s the version I thought was my finished card at the end of day 1 (and the card I originally posted for this post):
This version is still quite different from my original idea!
When I first sat down to make a wedding card, I knew I wanted to try a white on white, monochromatic card. I’ve tried this on several occasions in the past and always ended up adding another color. I was determined to stick with one color this time, and that’s about all that was left from my original idea for this initial version!
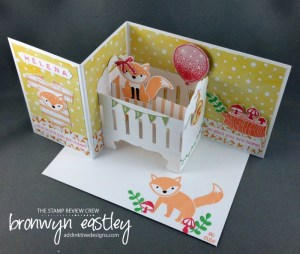
My first thought was to attach a few wedding themed die cuts to an embossed card front. In order to help my die cut layers stand out from one another, I cut them several times and stacked/glued them together creating chipboard-like cuts. They were so sturdy that I started thinking that they could very easily stand on their own and then tried to create a z-fold card inspired by this sample I found online:
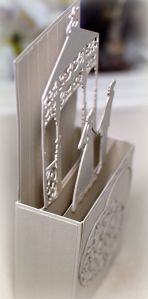
Isn’t it just the cutest?! Anyway, I created my pop-up mechanism (similar to the crib above with the three parallel panels but made with very short, plain strips instead) and attached the gazebo and the bride and groom die cuts to it. (I planned to use the heart on the front when the card was closed.) The problem was that I wanted my inner pop-up pieces to be completely hidden when my card was closed, and I just couldn’t figure out how to make that work with this z-fold type card base and the size of my pop-up structure.
So my next thought was to use my pop-up mechanism to create a box card. It ended up skinnier than most box cards (because it was supposed to be in the z-fold!), and it also became super tall when I decided to put the heart on the front flap.
I was not quite ready to give up on the z-fold design, so I glued the flaps down (mistake?!) and wasted quite a bit more paper and time trying to come up with a card base that would work with my box card. No luck so I finally decided to leave it a “skinny” box card and call it a day. (It’s the weird size that is still bugging me. Sigh…..)
The card stock was from the Recollections “Shimmer Champagne and Silver” pack. I embossed the background panels with the Sizzix/Stampin’ Up “Stripes” embossing folder. I used the “Gazebo” d-lites die from Spellbinders, the “Hollowout Heart” die from Whitelotous, and the “Bride and Groom” die from Otgo.
There is space on the back for a message to the bride and groom. This card folds flat for mailing, and when folded, it measures about 7.75×4.5 inches. I created a custom envelope for this card, but it would have fit (with extra room) into an A9 (5.75 x 8.75 inches) envelope.
Thanks for checking out my card project!
This content uses referral links as described in the disclosure policy on my sidebar.

Oh, my! What a gorgeous project. I love it. You do such awesome designs.
LikeLike
That is one heck of a project! What a very special card!
LikeLike
Pingback: “I Do” Wedding Box Card (take 2…and 3!) | I Played With Paper Today!