Magic Card Tutorial

I recently saw a card posted by David Maynard on StampTv that he called a magic card. I tried (and tried!) to figure out the trick and finally ended up asking him! He was nice enough to share the name of a You Tube video called “Magic Card With Dawn” which shows how it was made. (Thank you David and Dawn!)
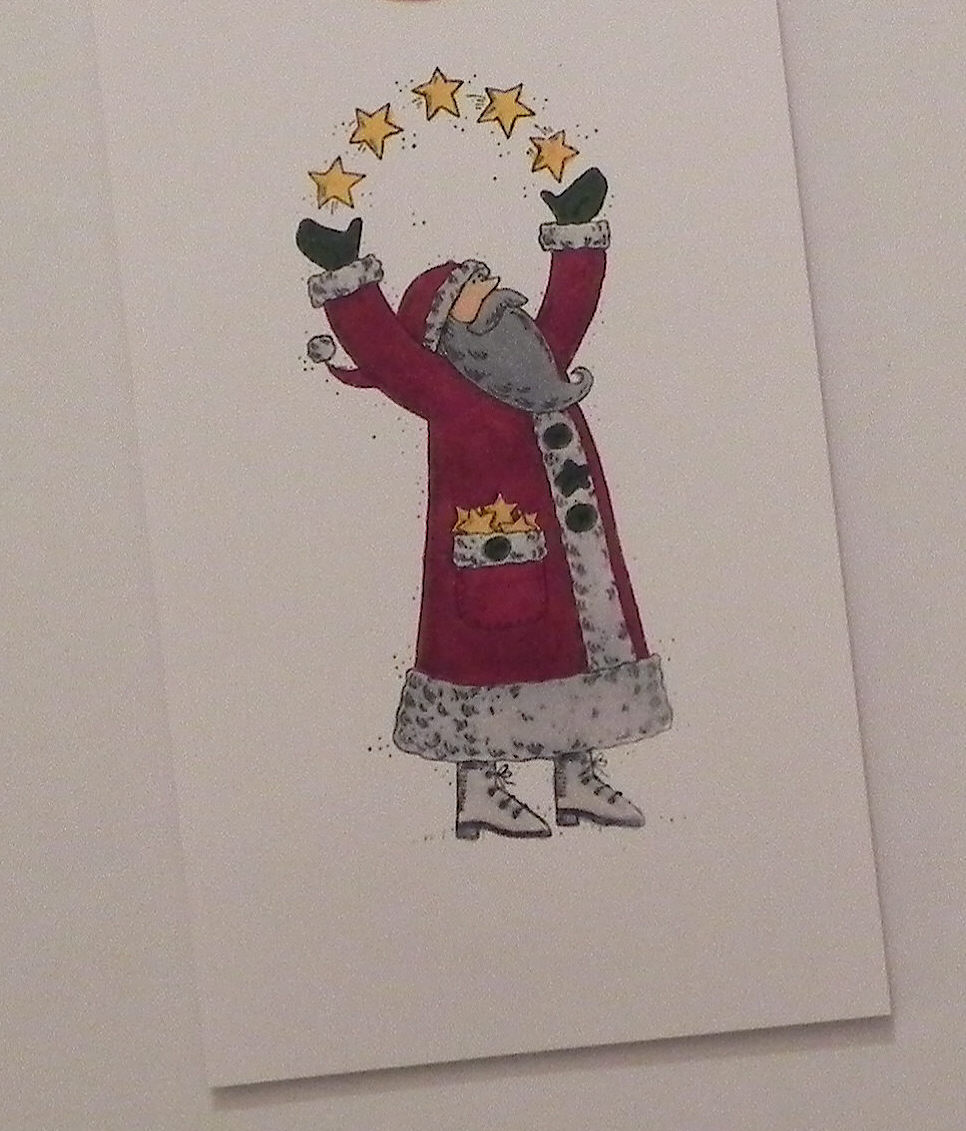
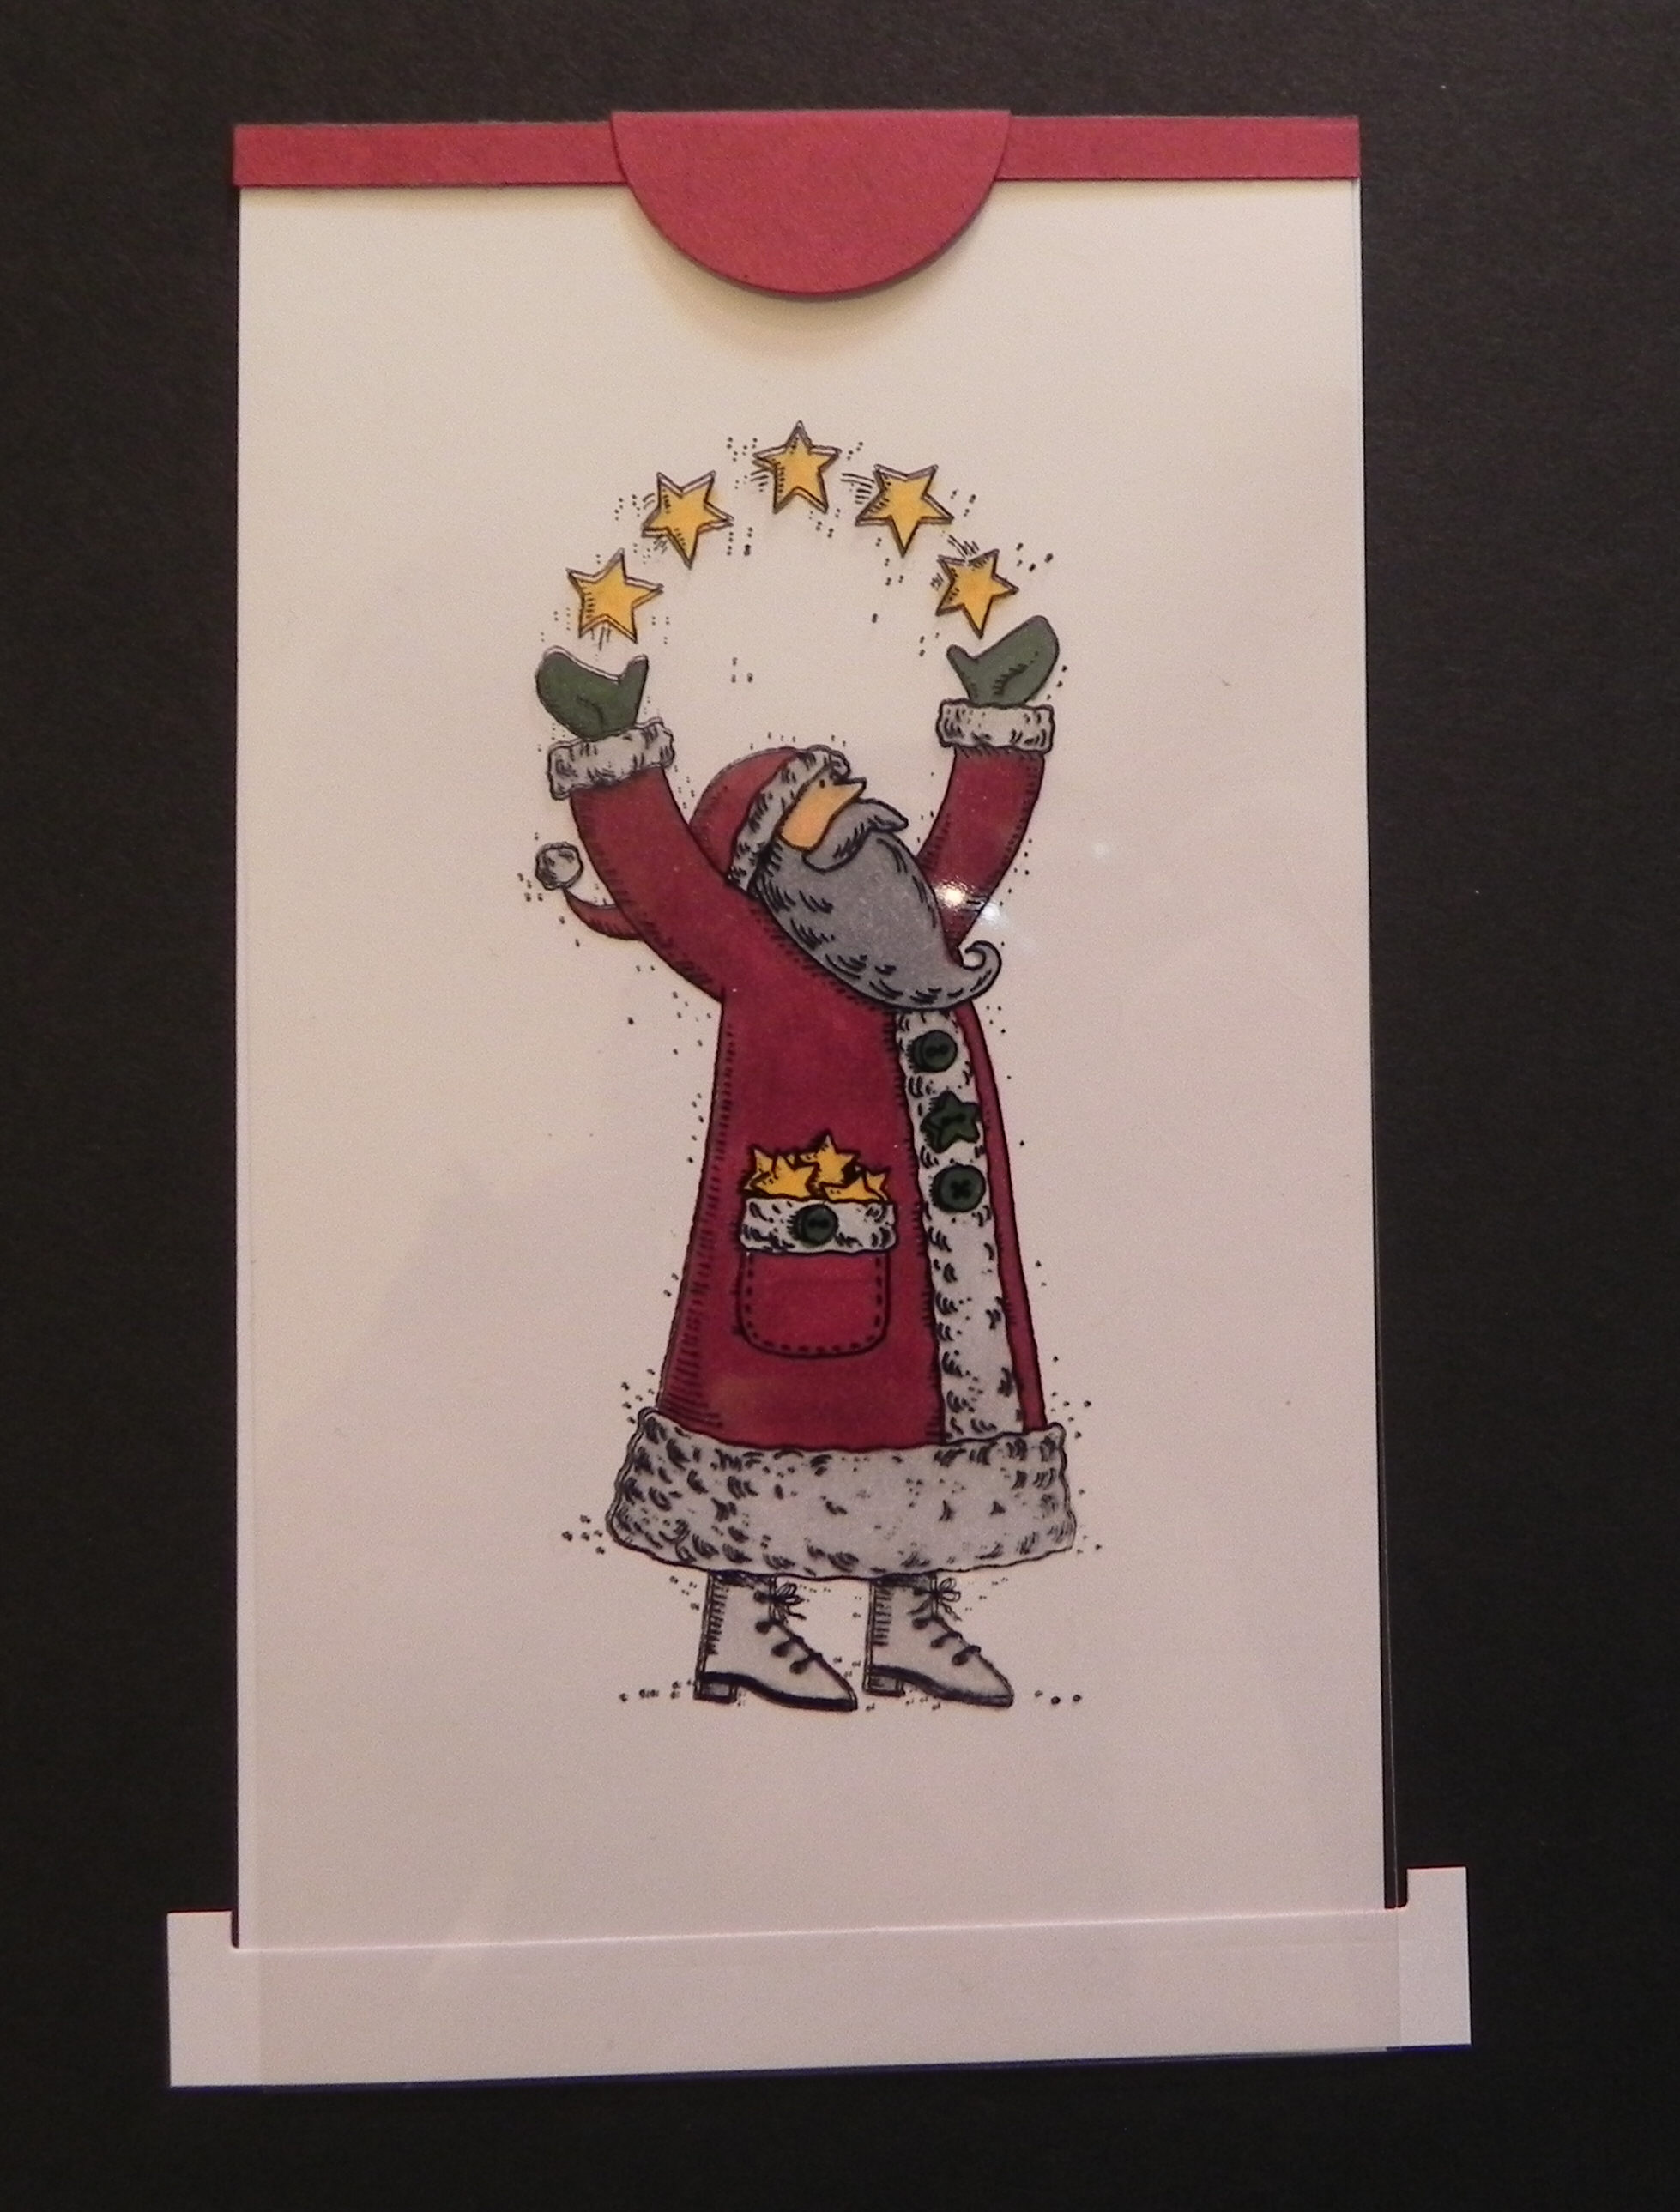
The stamp I chose to use for my card was much larger than theirs, so I needed to modify the instructions a bit. I’ve included them below. (This is my first attempt at making a step-by-step tutorial for a card project (from start to finish). Hopefully, it is clear!) There are 4 basic parts: the unit that contains the sliding stamped image, the folder it slides in and out of, the framed panel on the front of the card, and the card base itself.
(For those of you who just want to know how it worked, the magic happens in step 24!)
What you need:
1. card stock (at least one sheet of 12″ x 12″) – any color; this is for parts you won’t see in the final project
2. card stock for front panel (2) – I used white on my sample.
3. card stock for card base (1) – I used cranberry on my sample.
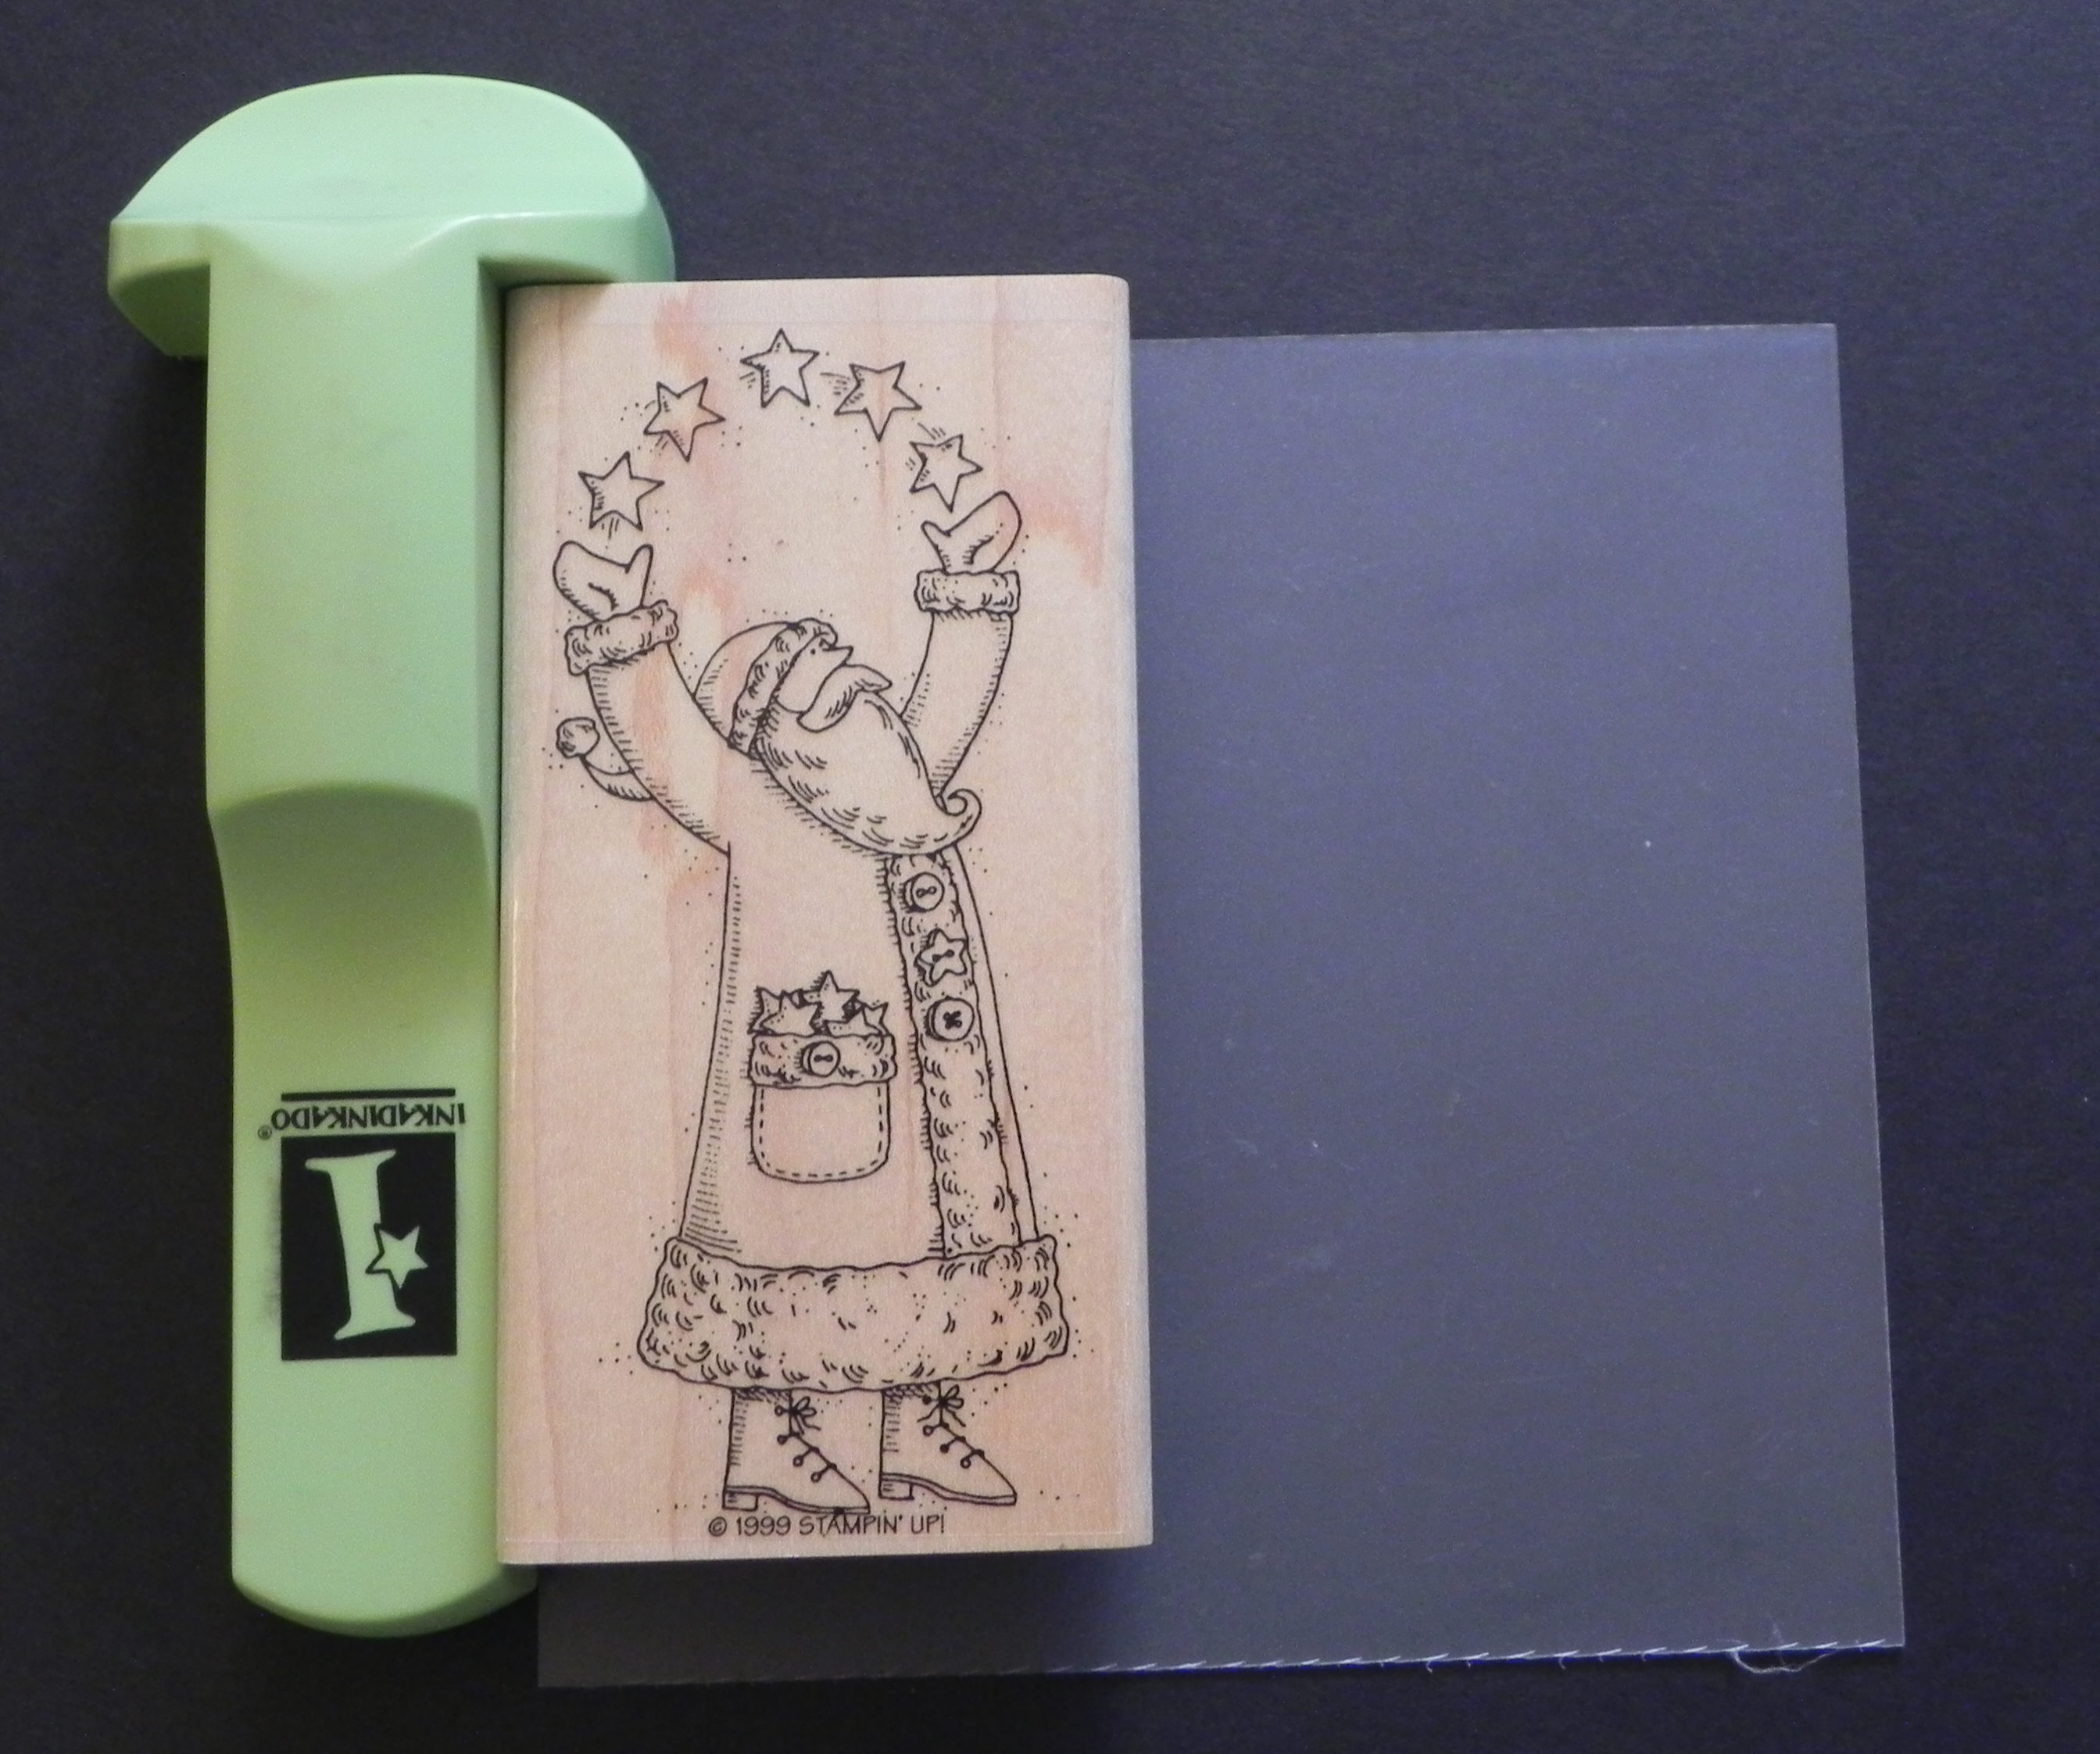
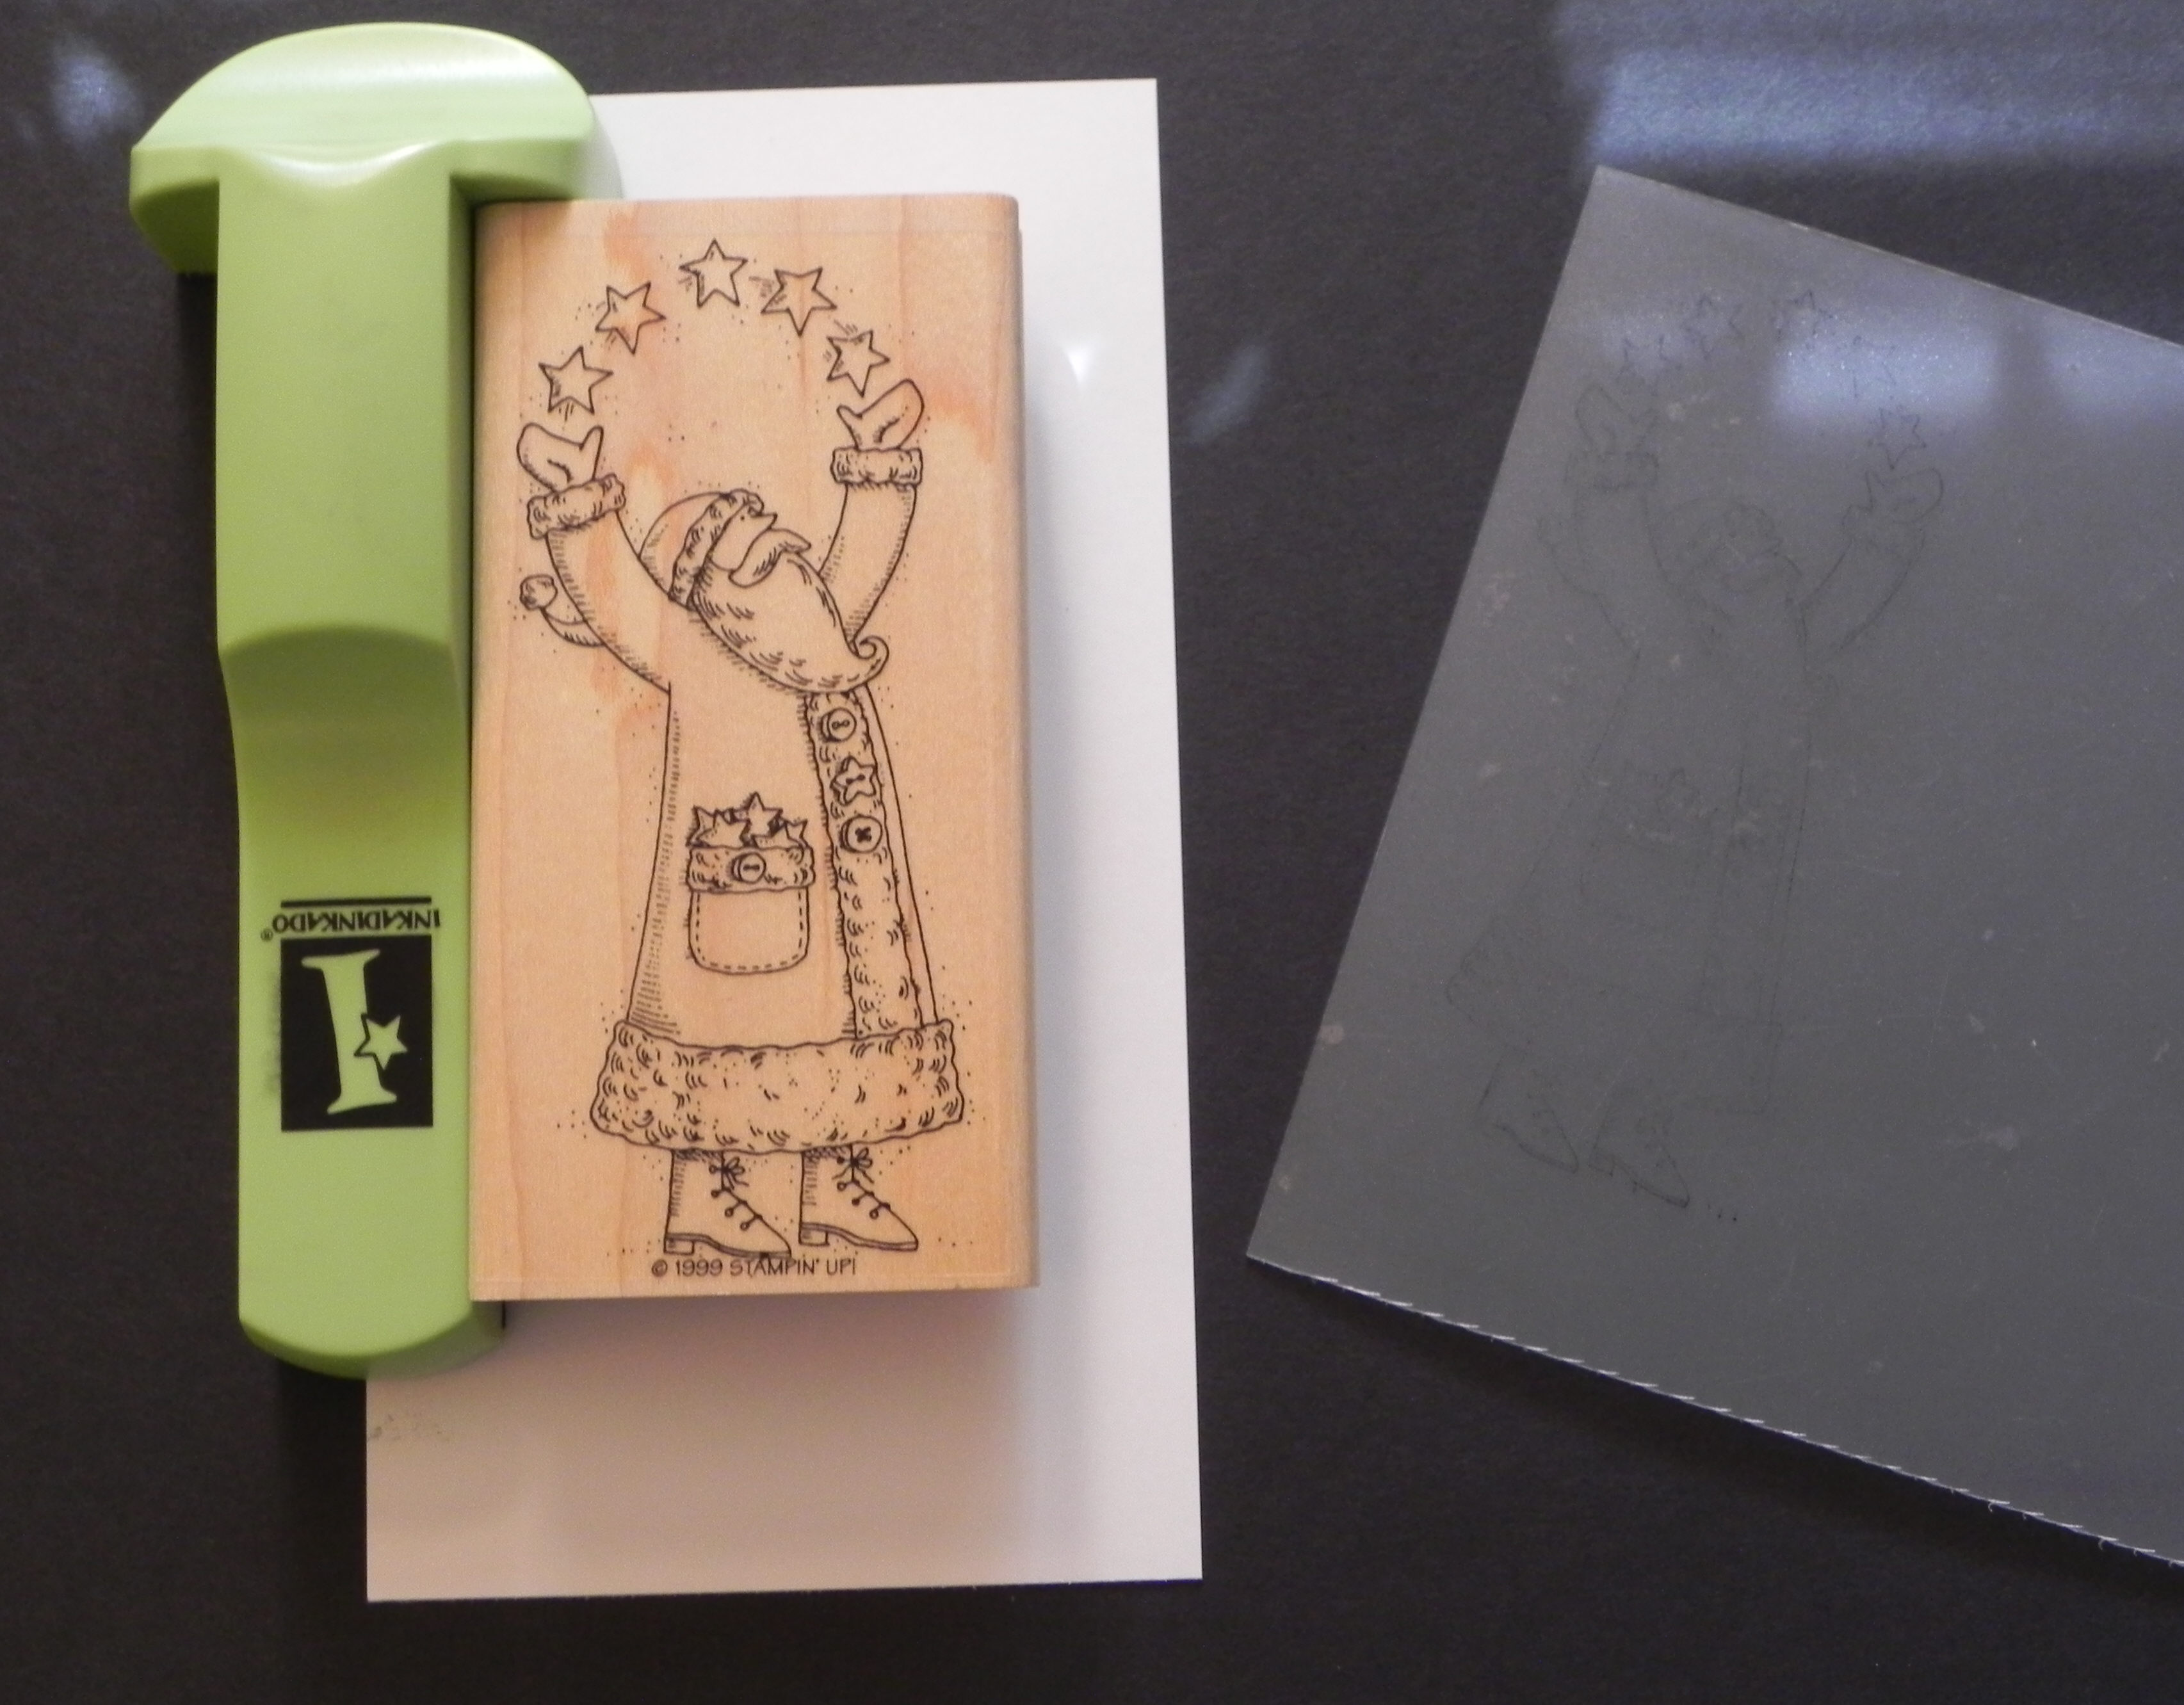
4. stamp(s) of your choice
5. black stazon ink
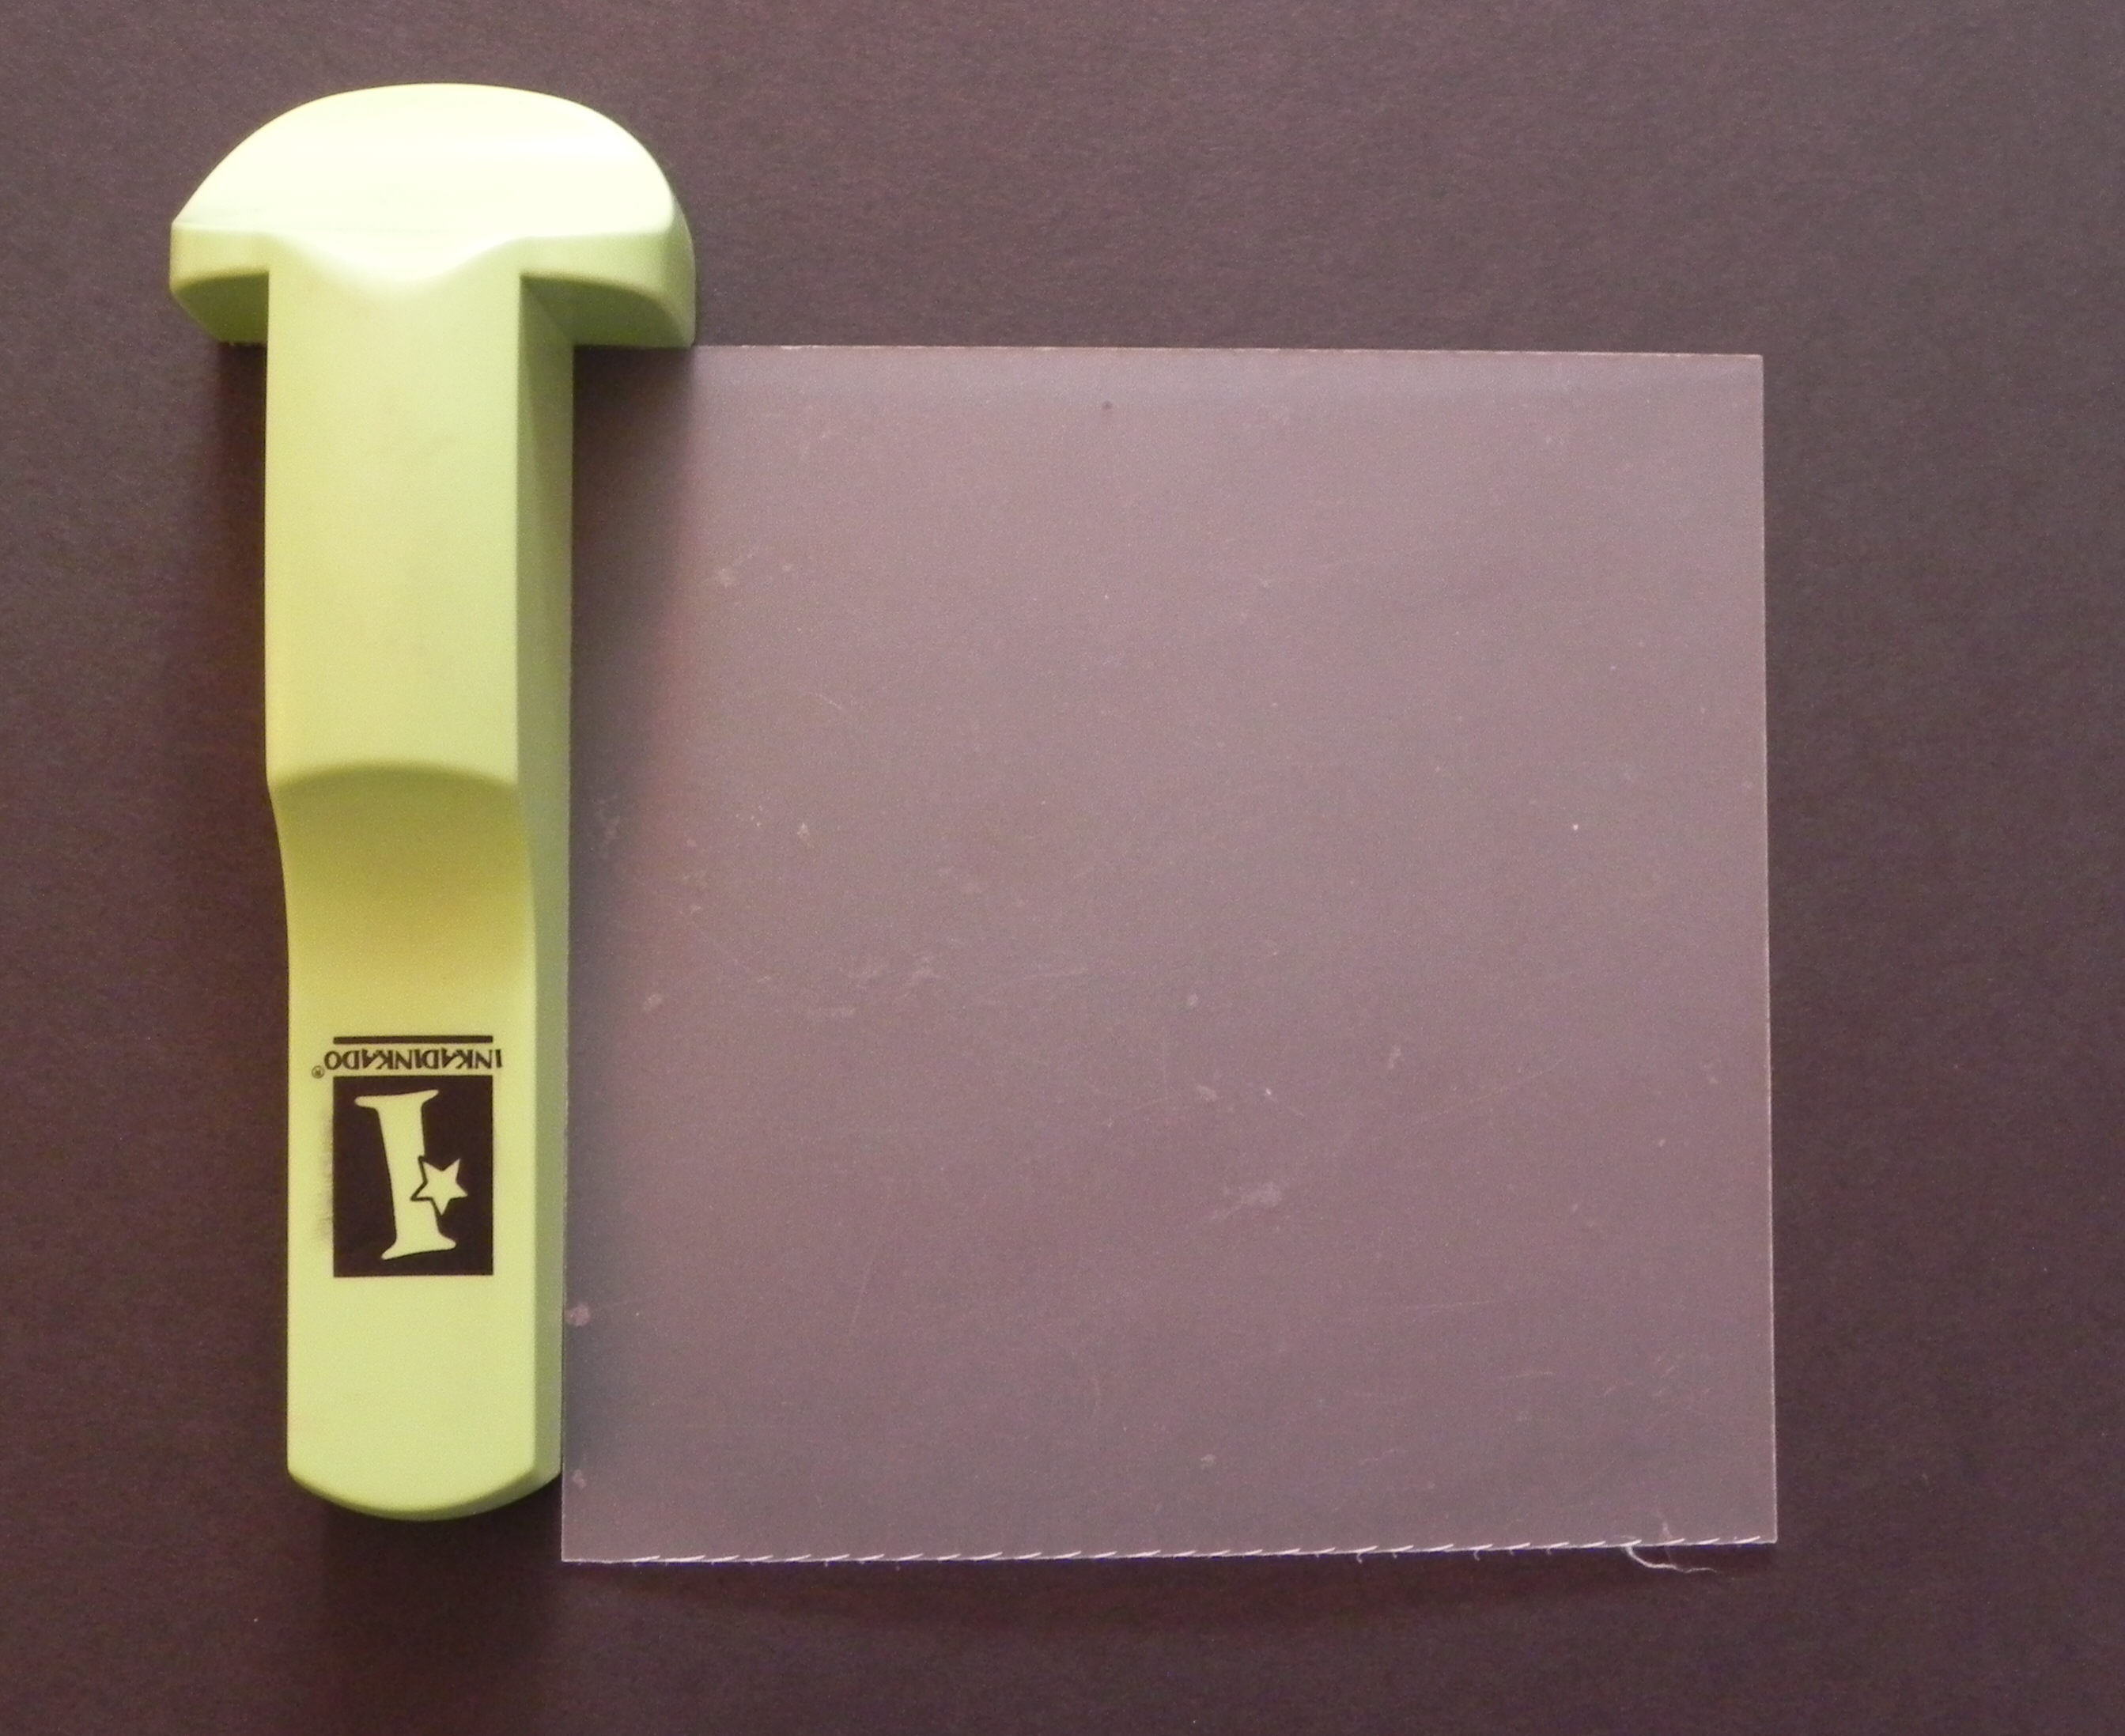
6. stamp-a-ma-jig with positioner sheet
7. something to color image(s) – I used Copic Markers.
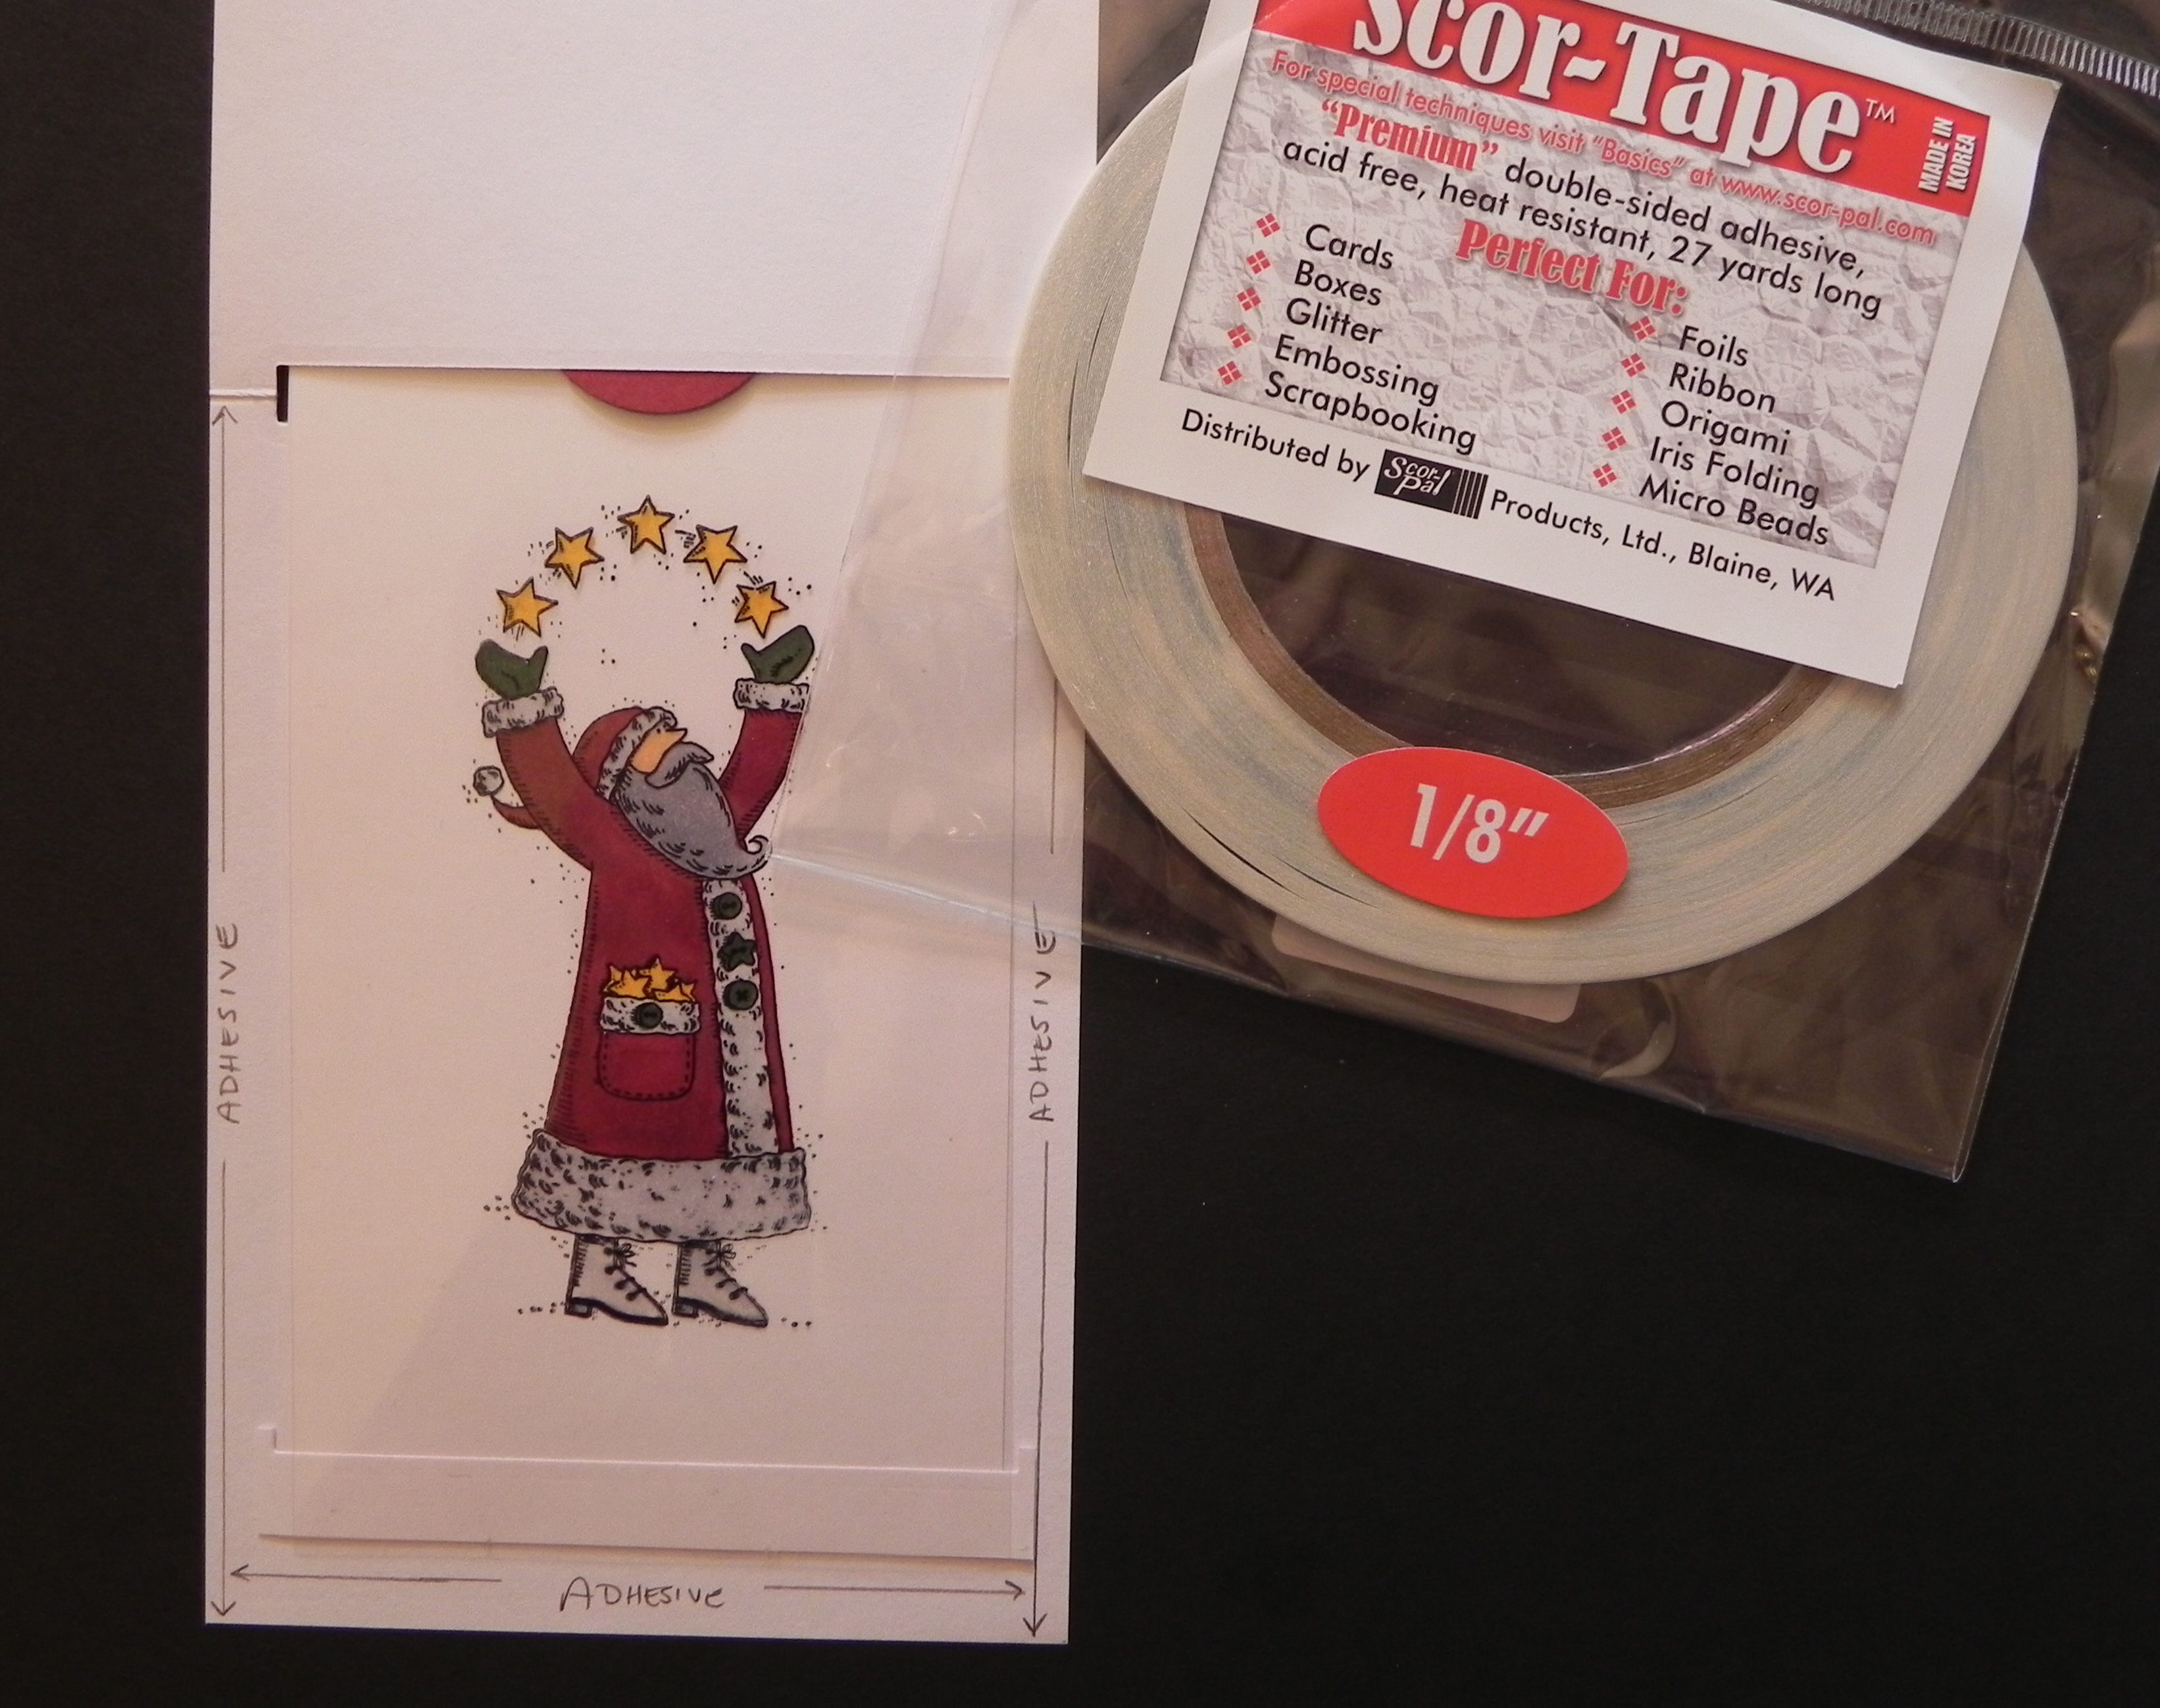
8. adhesive – I used “Tombow Monoadhesive” and 1/8″ double-sided “Scor Tape.”
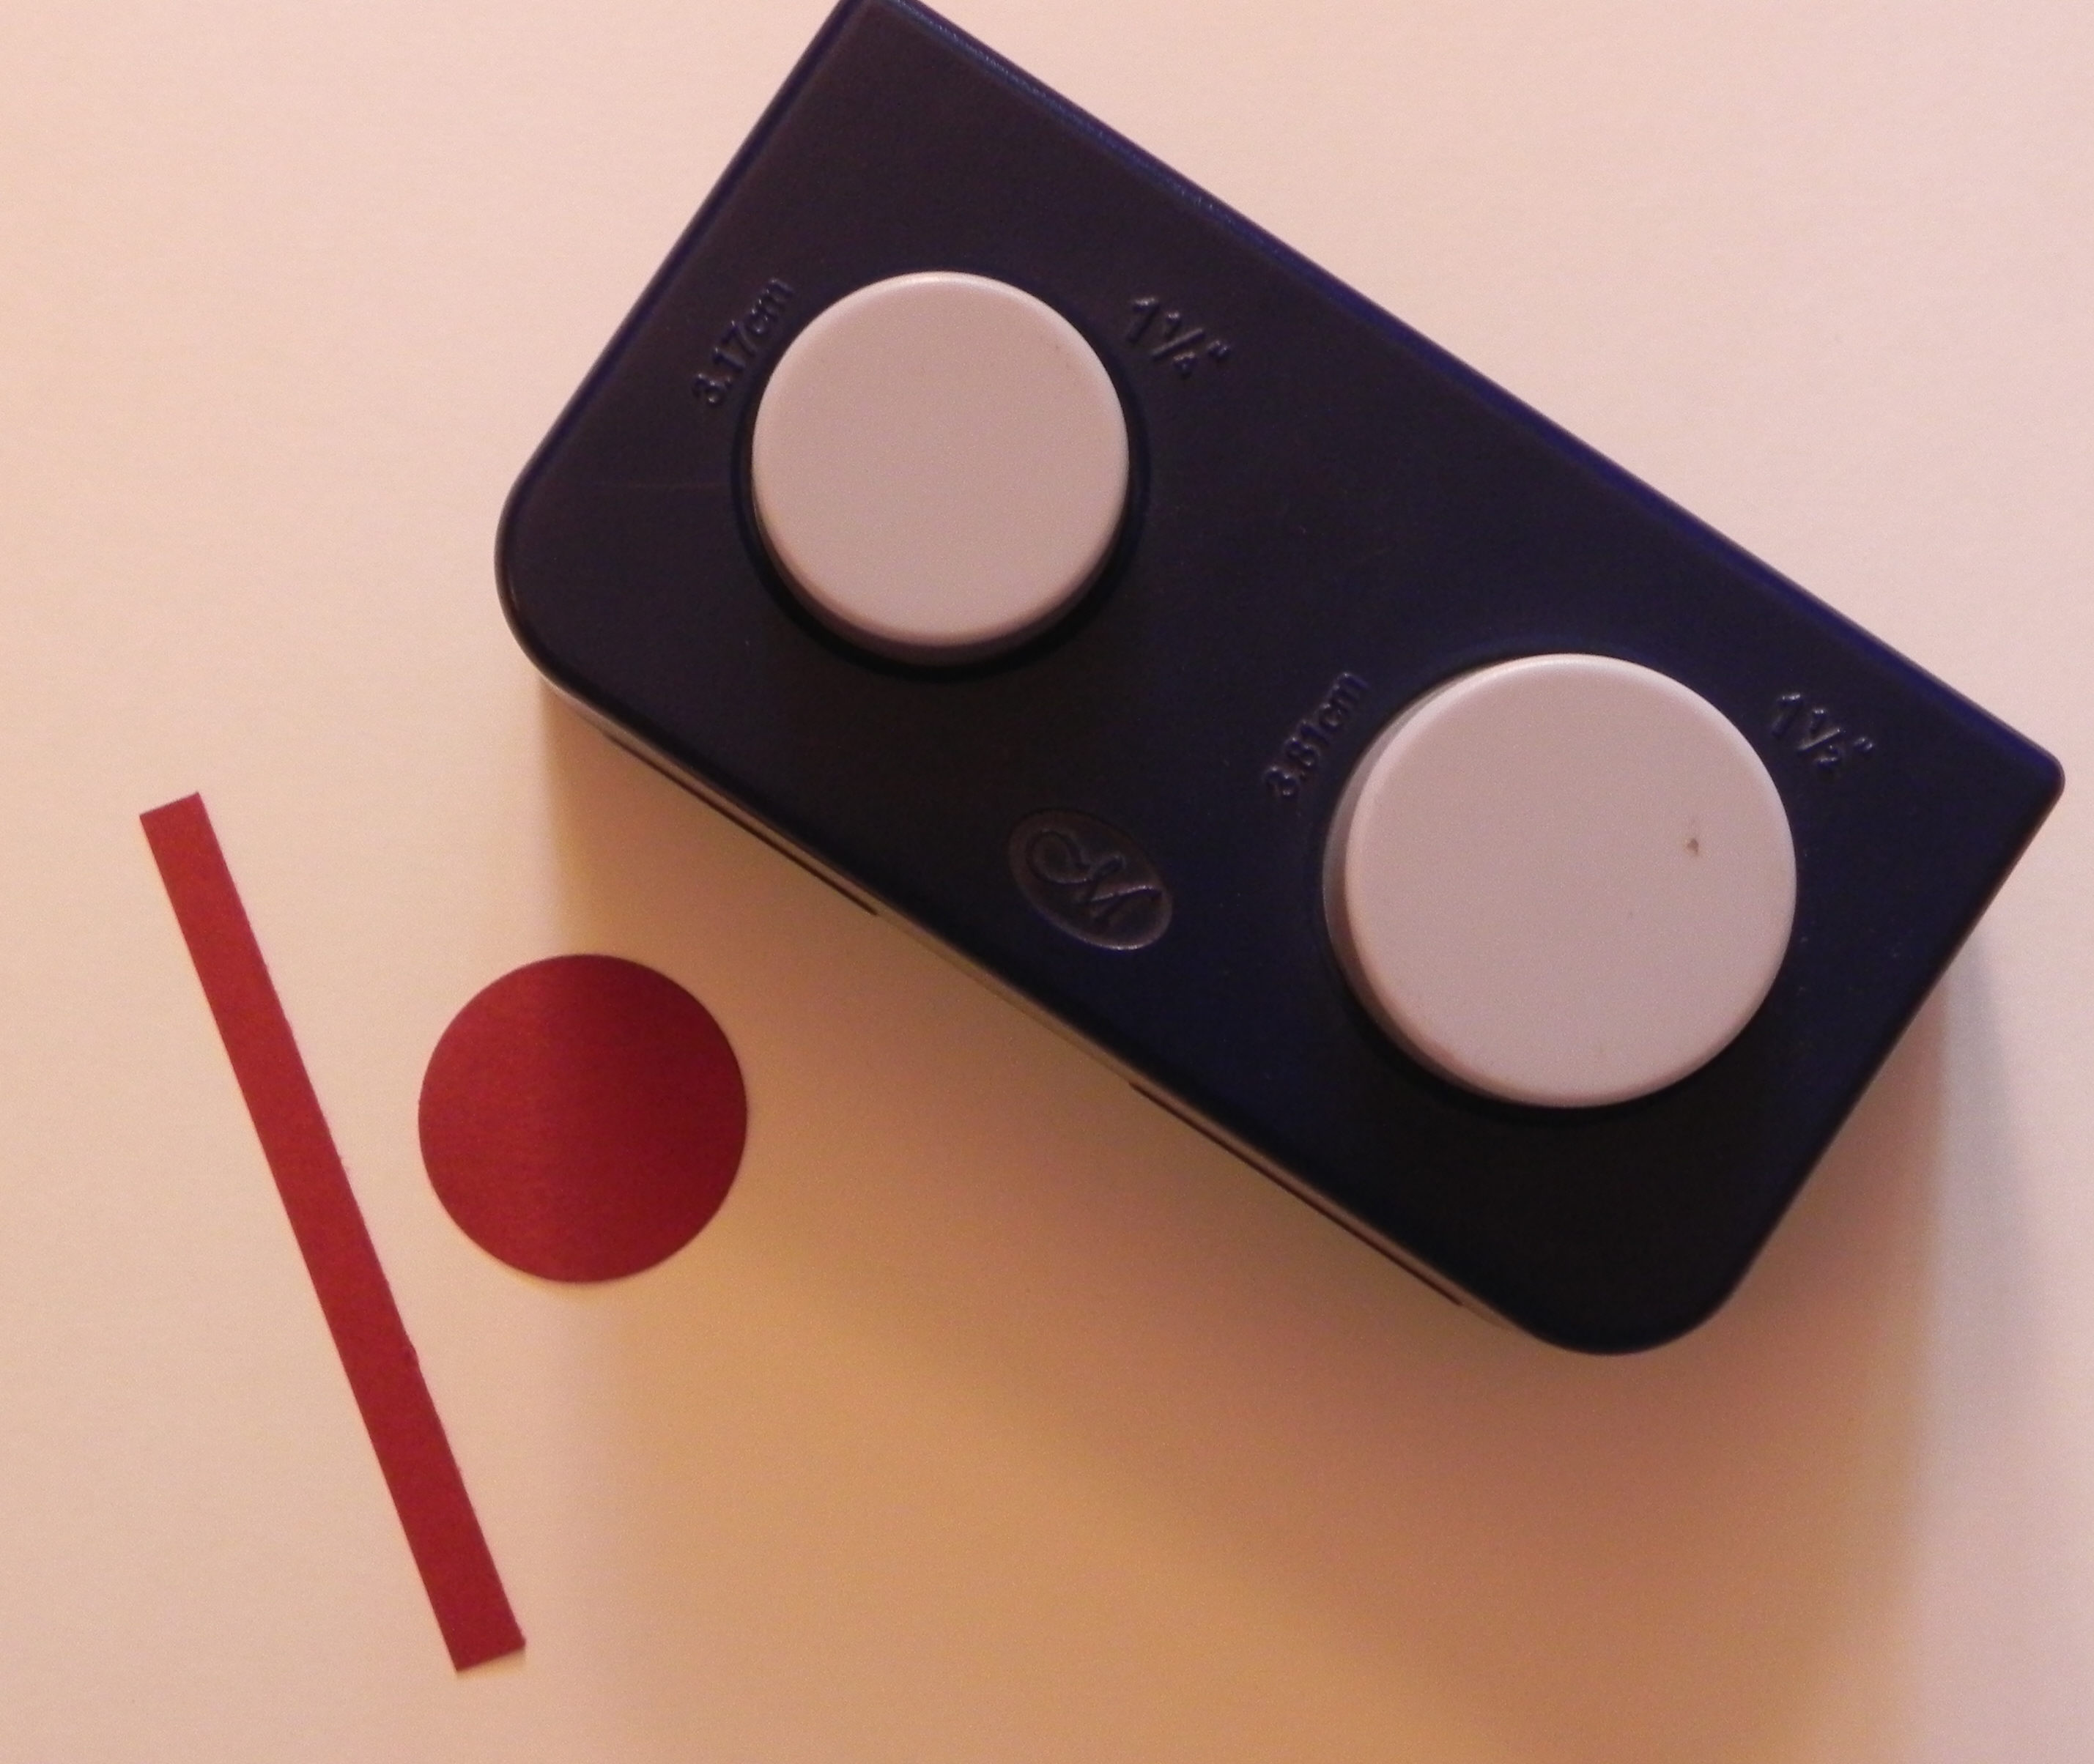
9. circle punch – I used a 1 1/4″ Creative Memories punch.
10. paper trimmer
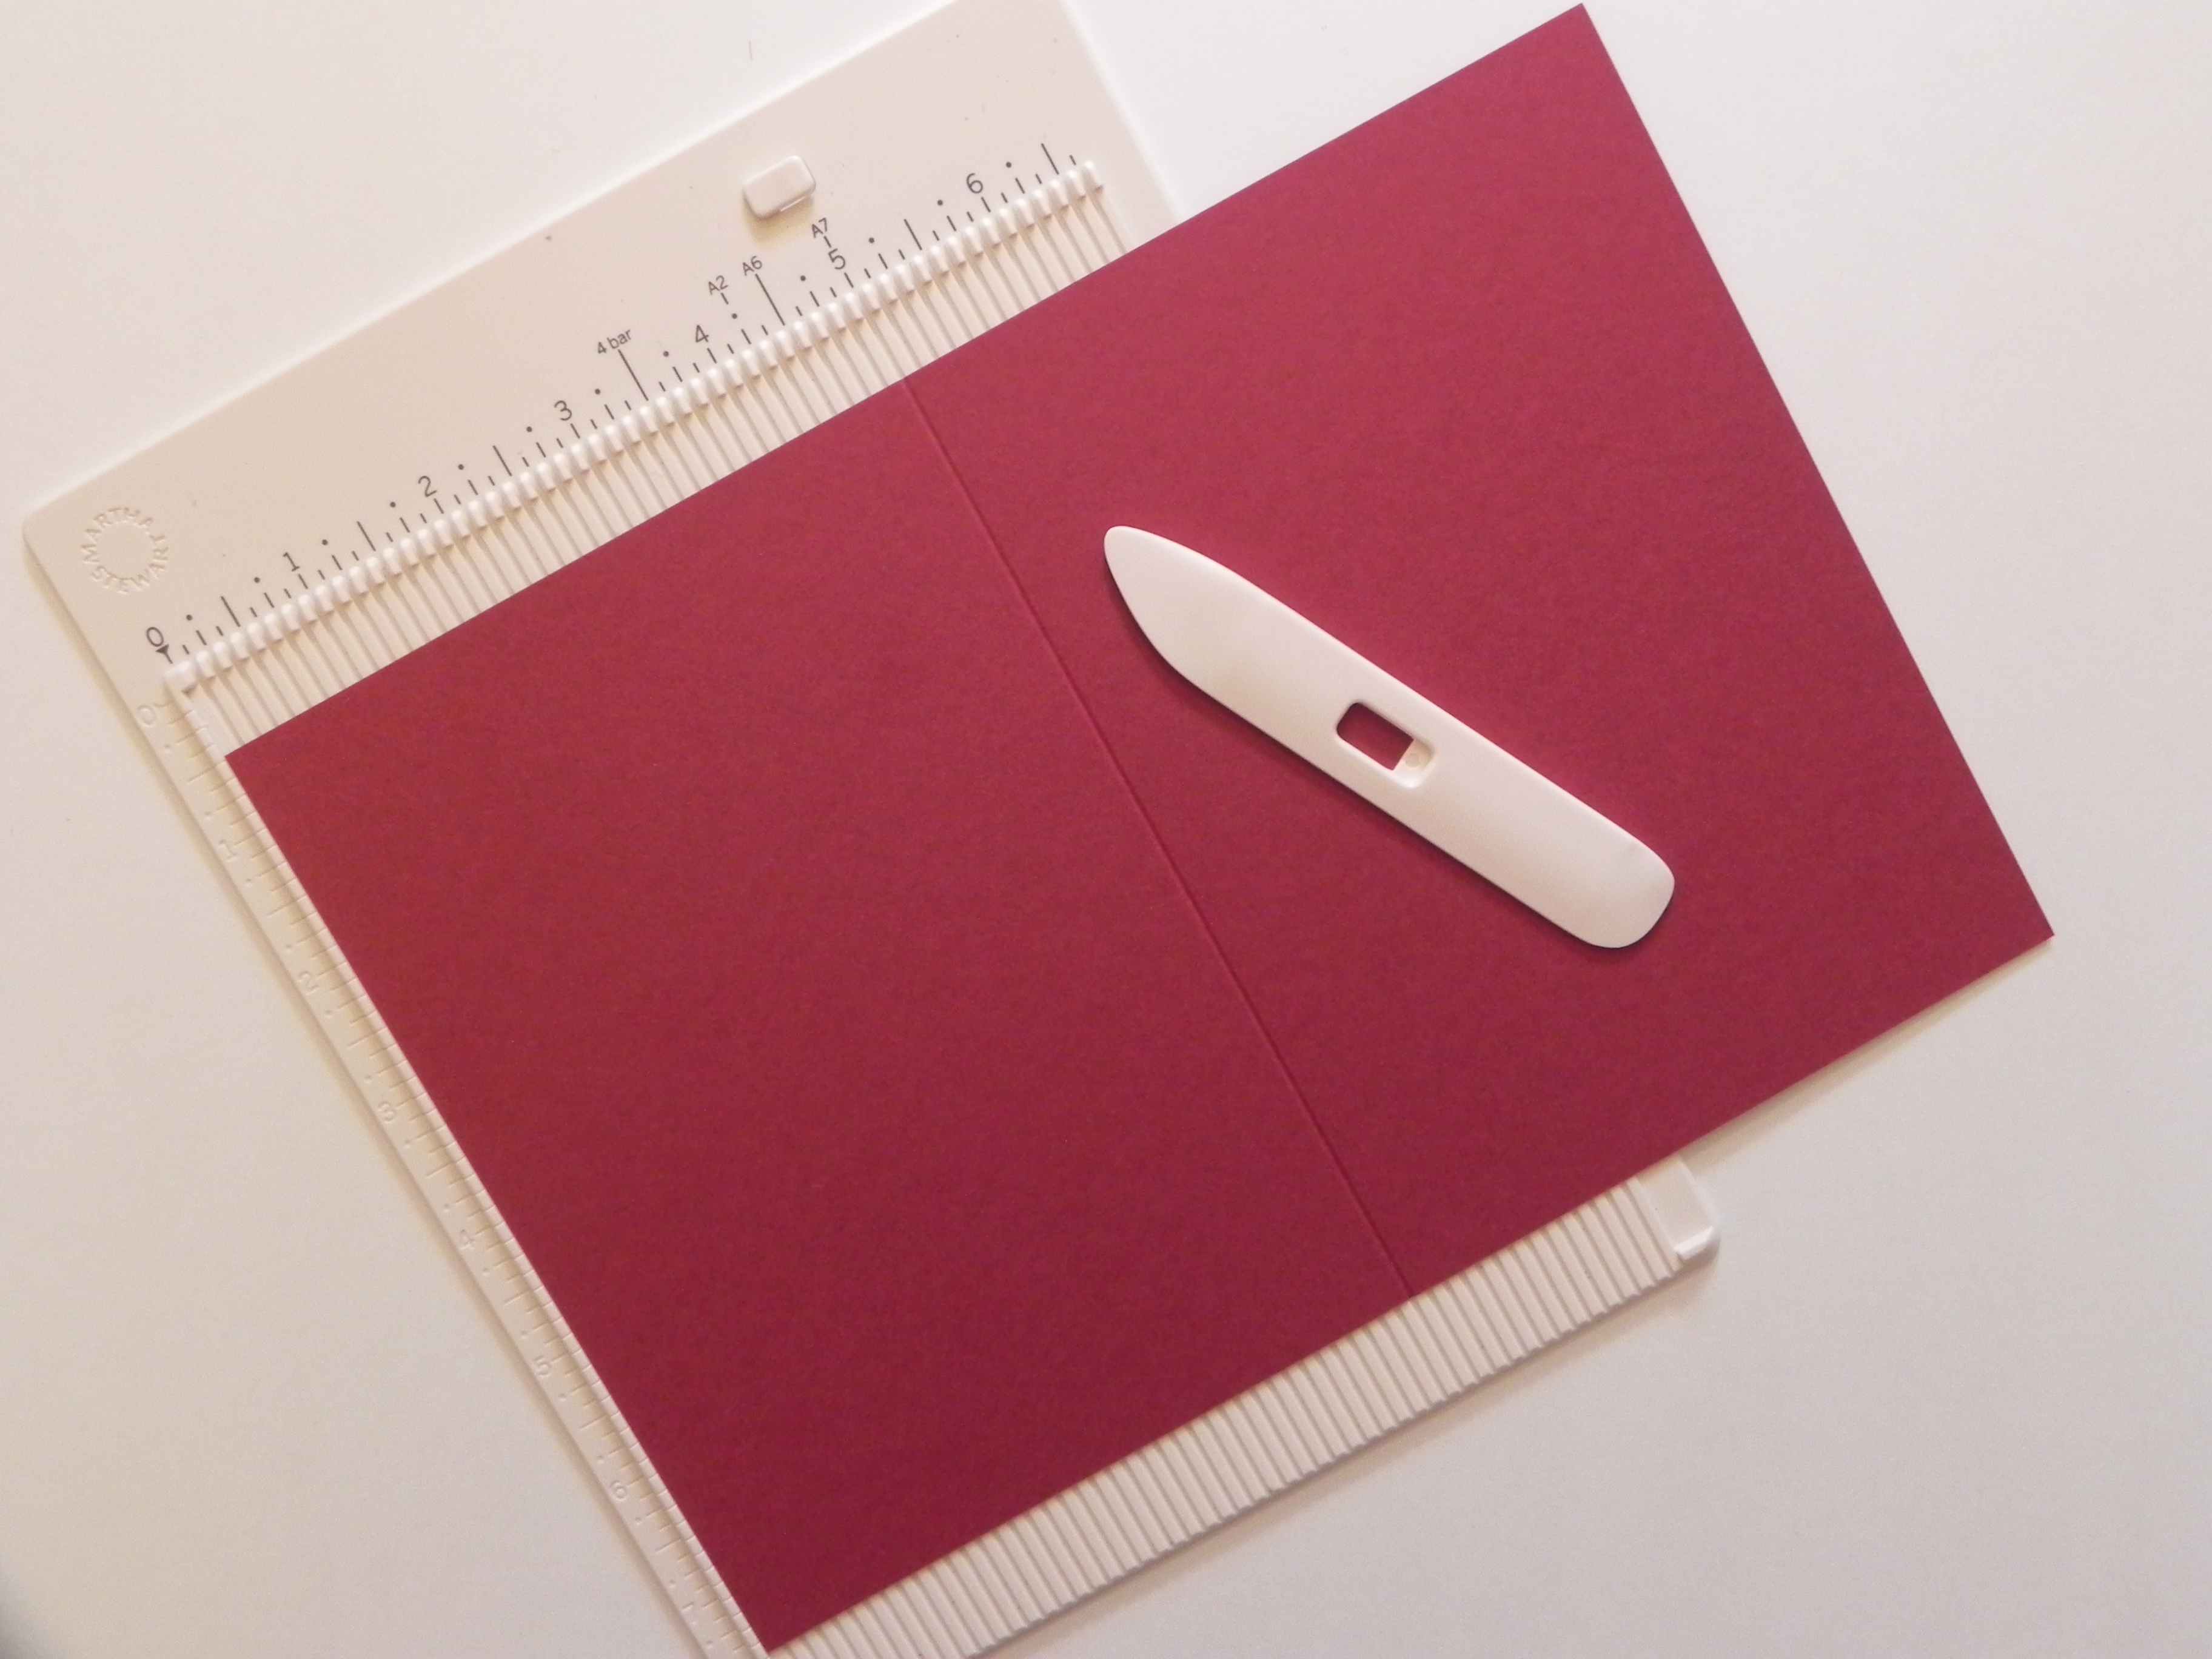
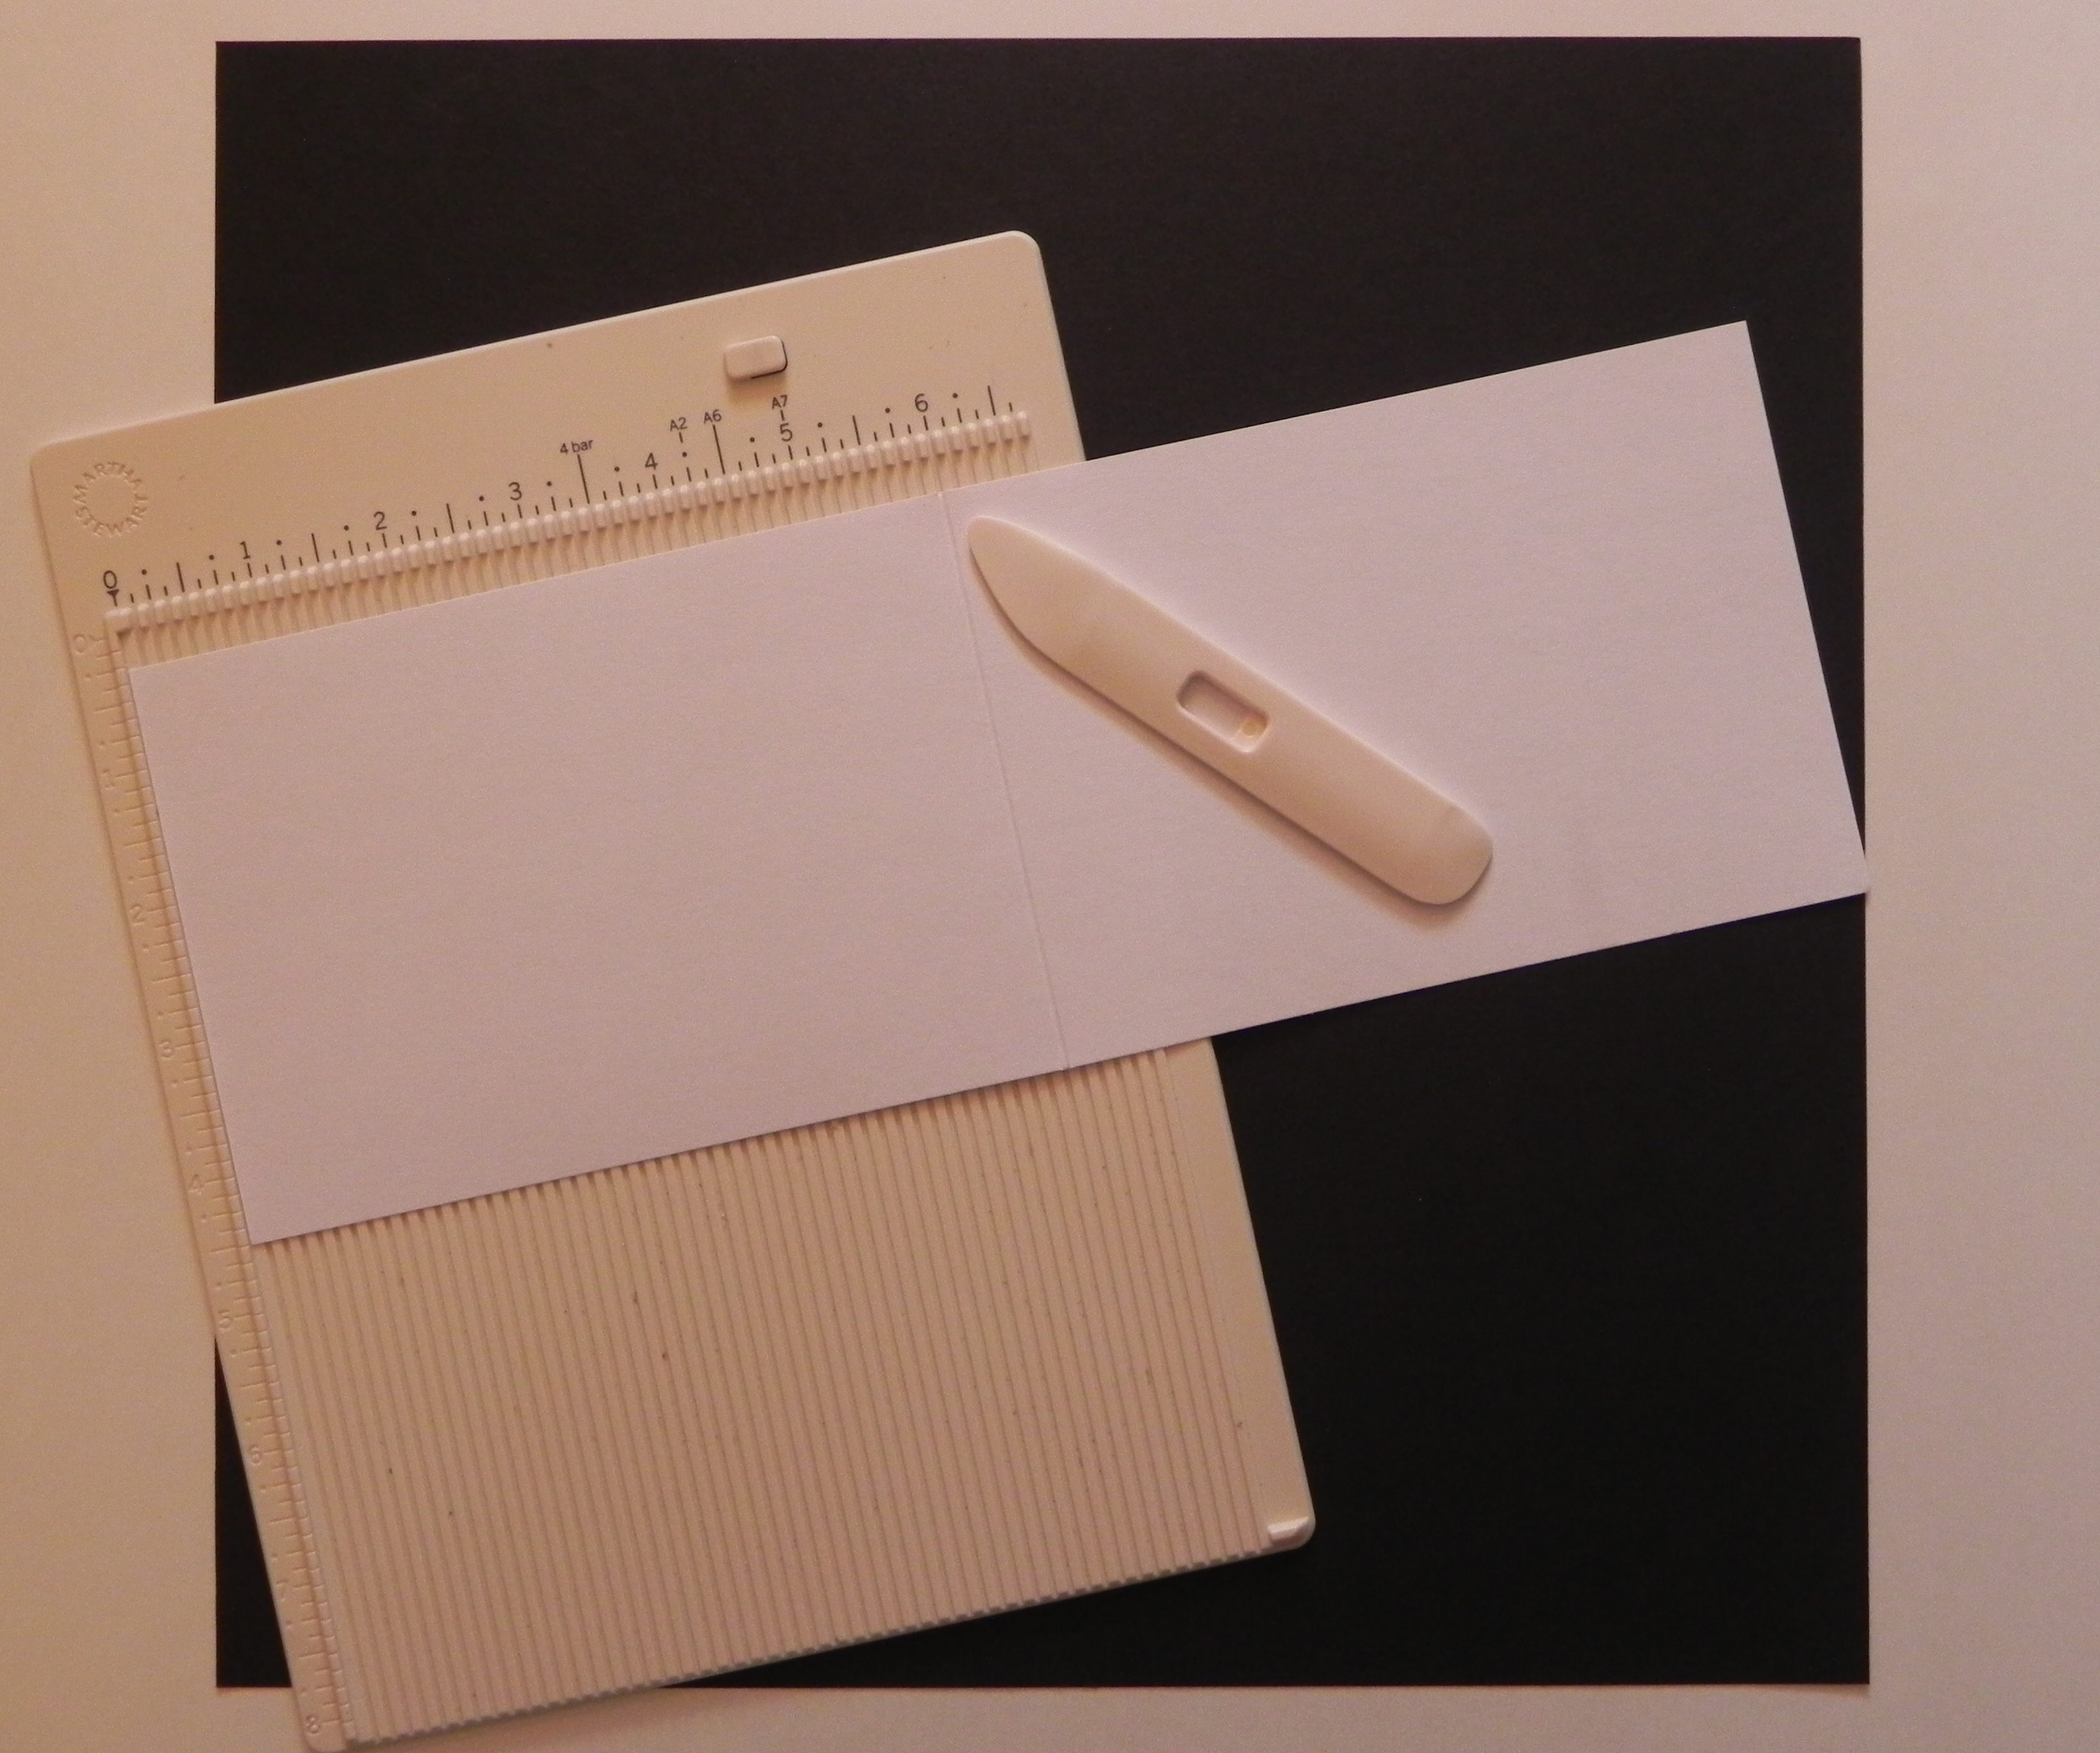
11. score tool – I used Martha Stewart Score Board.
12. manual die cutting machine – like Cuttlebug or Big Shot
13. rectangle dies – I used the Spellbinders A2 Matting Basics A. You will need one that fits around your stamp and the next size bigger.
14. white card stock and acetate on which to stamp images
How to do it:
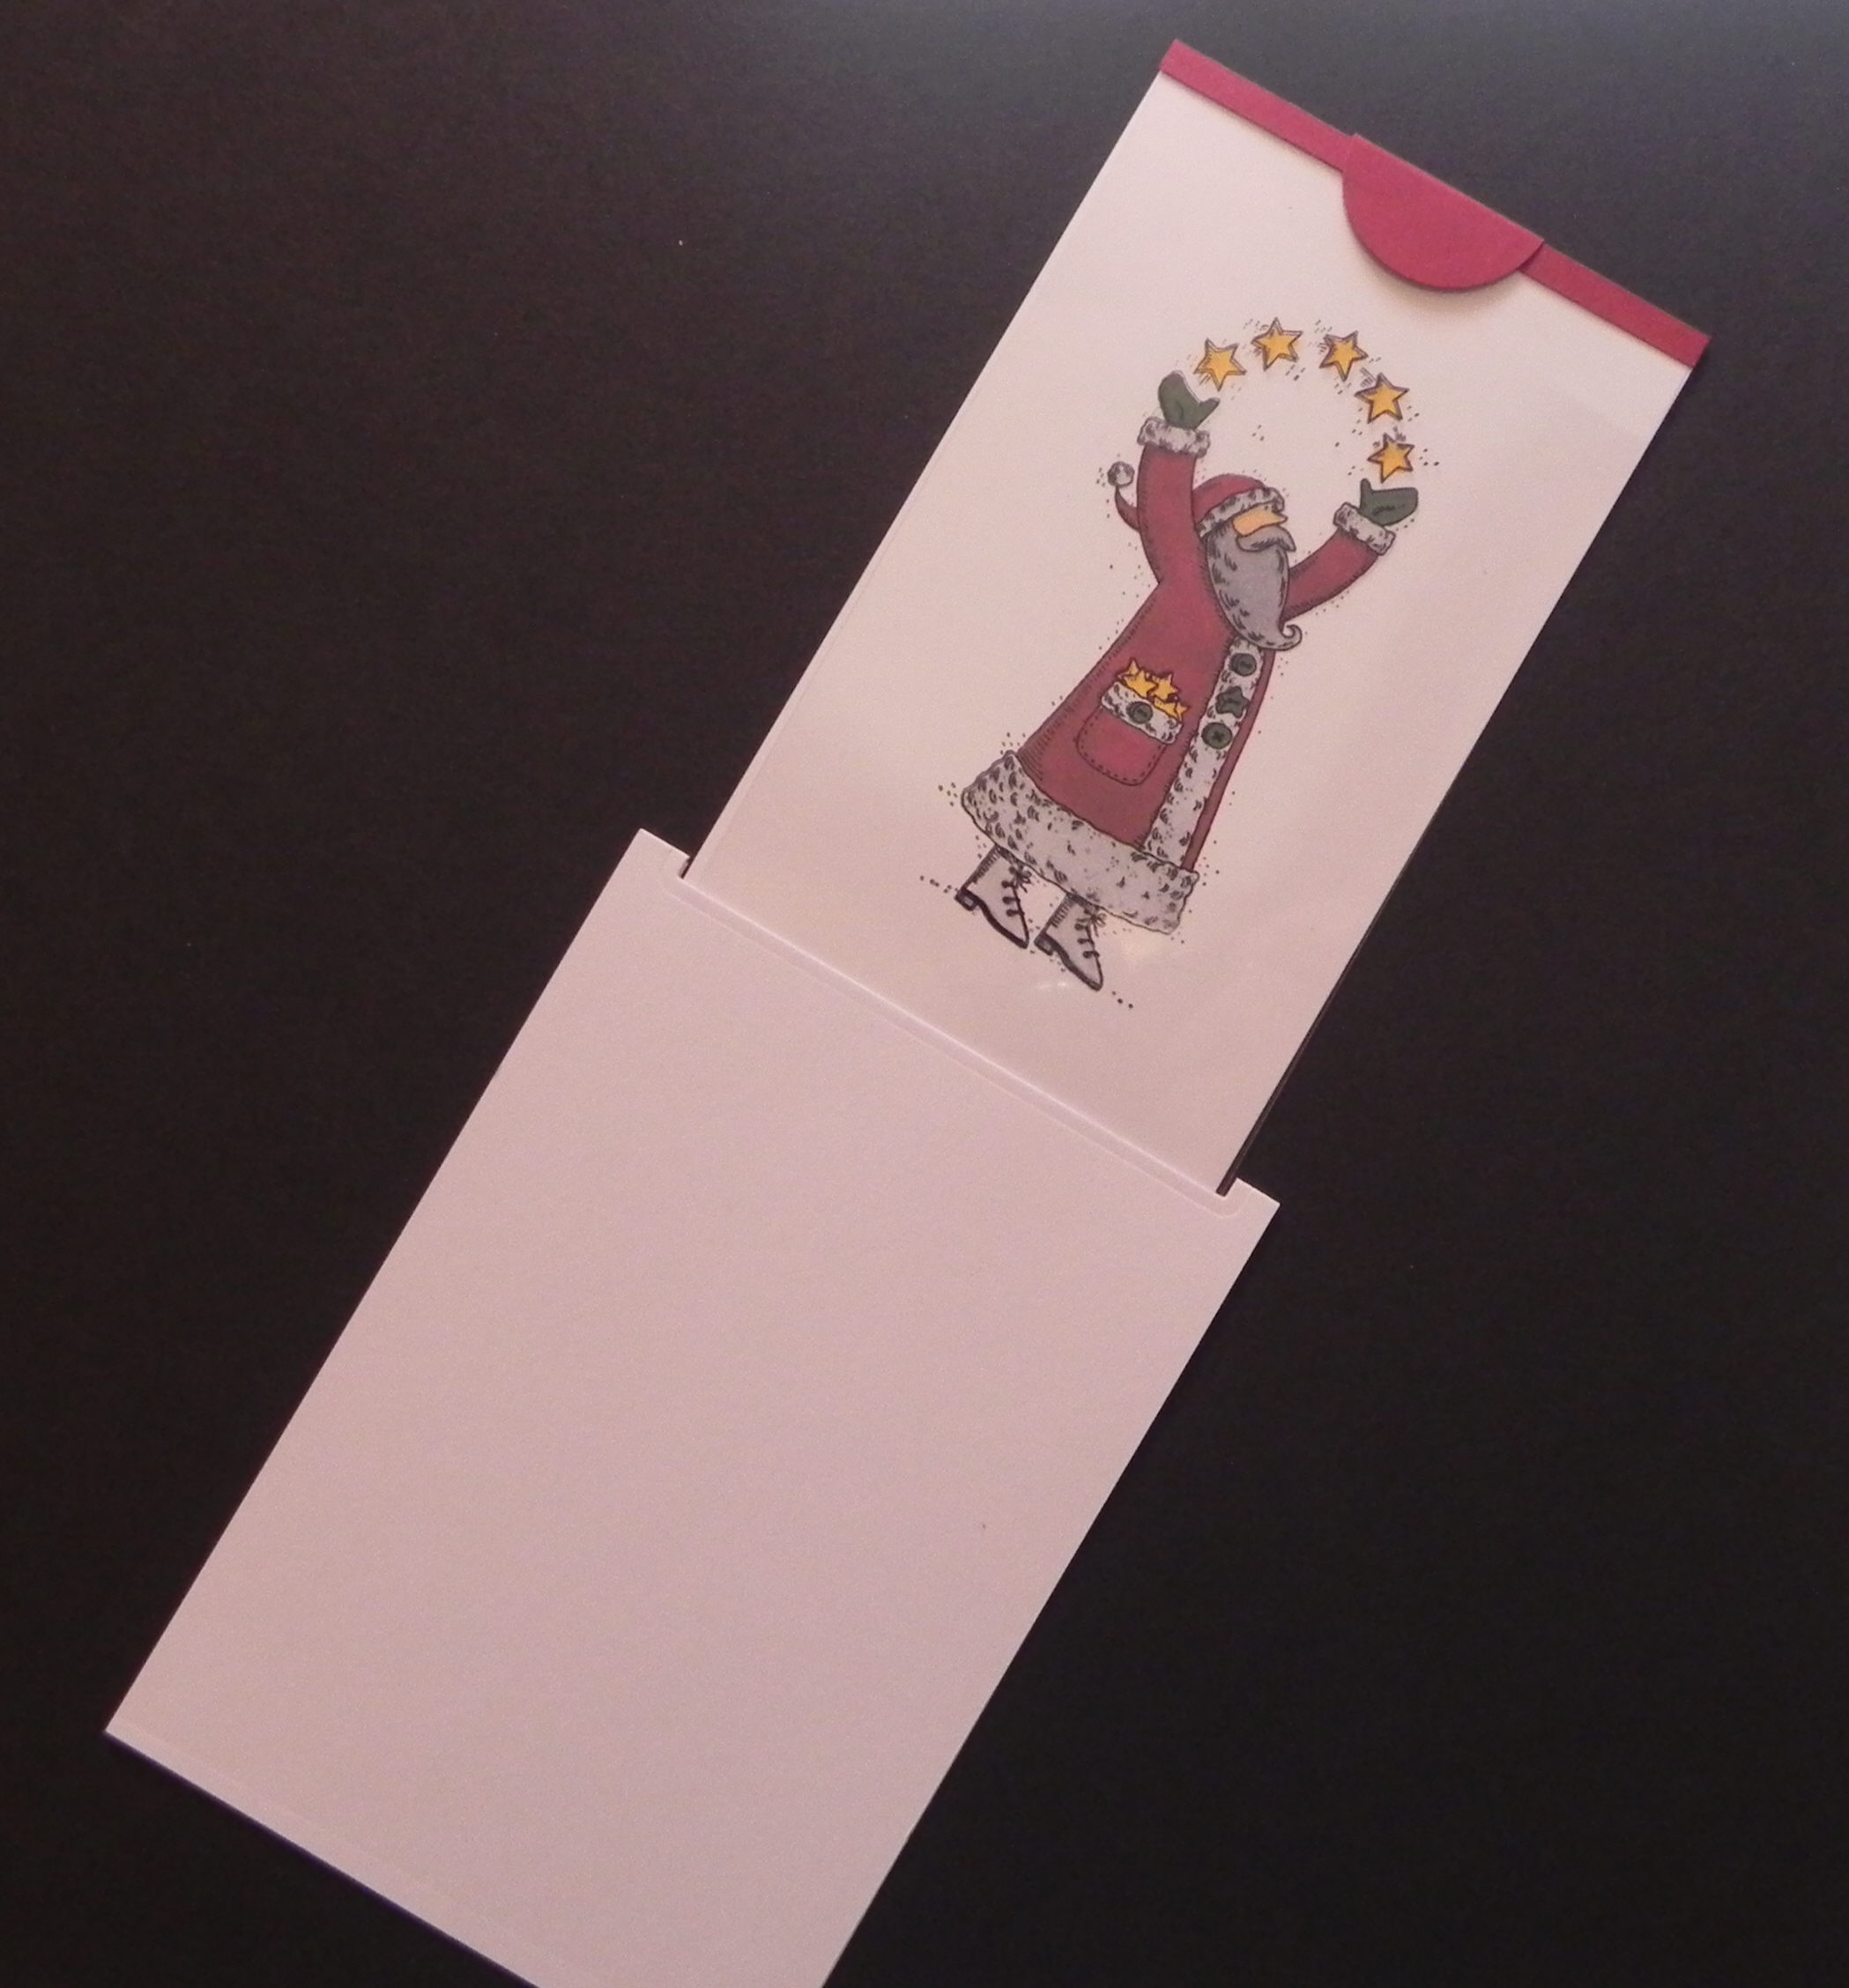
1. Cut card base 10″ x 7″ and score down center for a 5″ x 7″ card base.
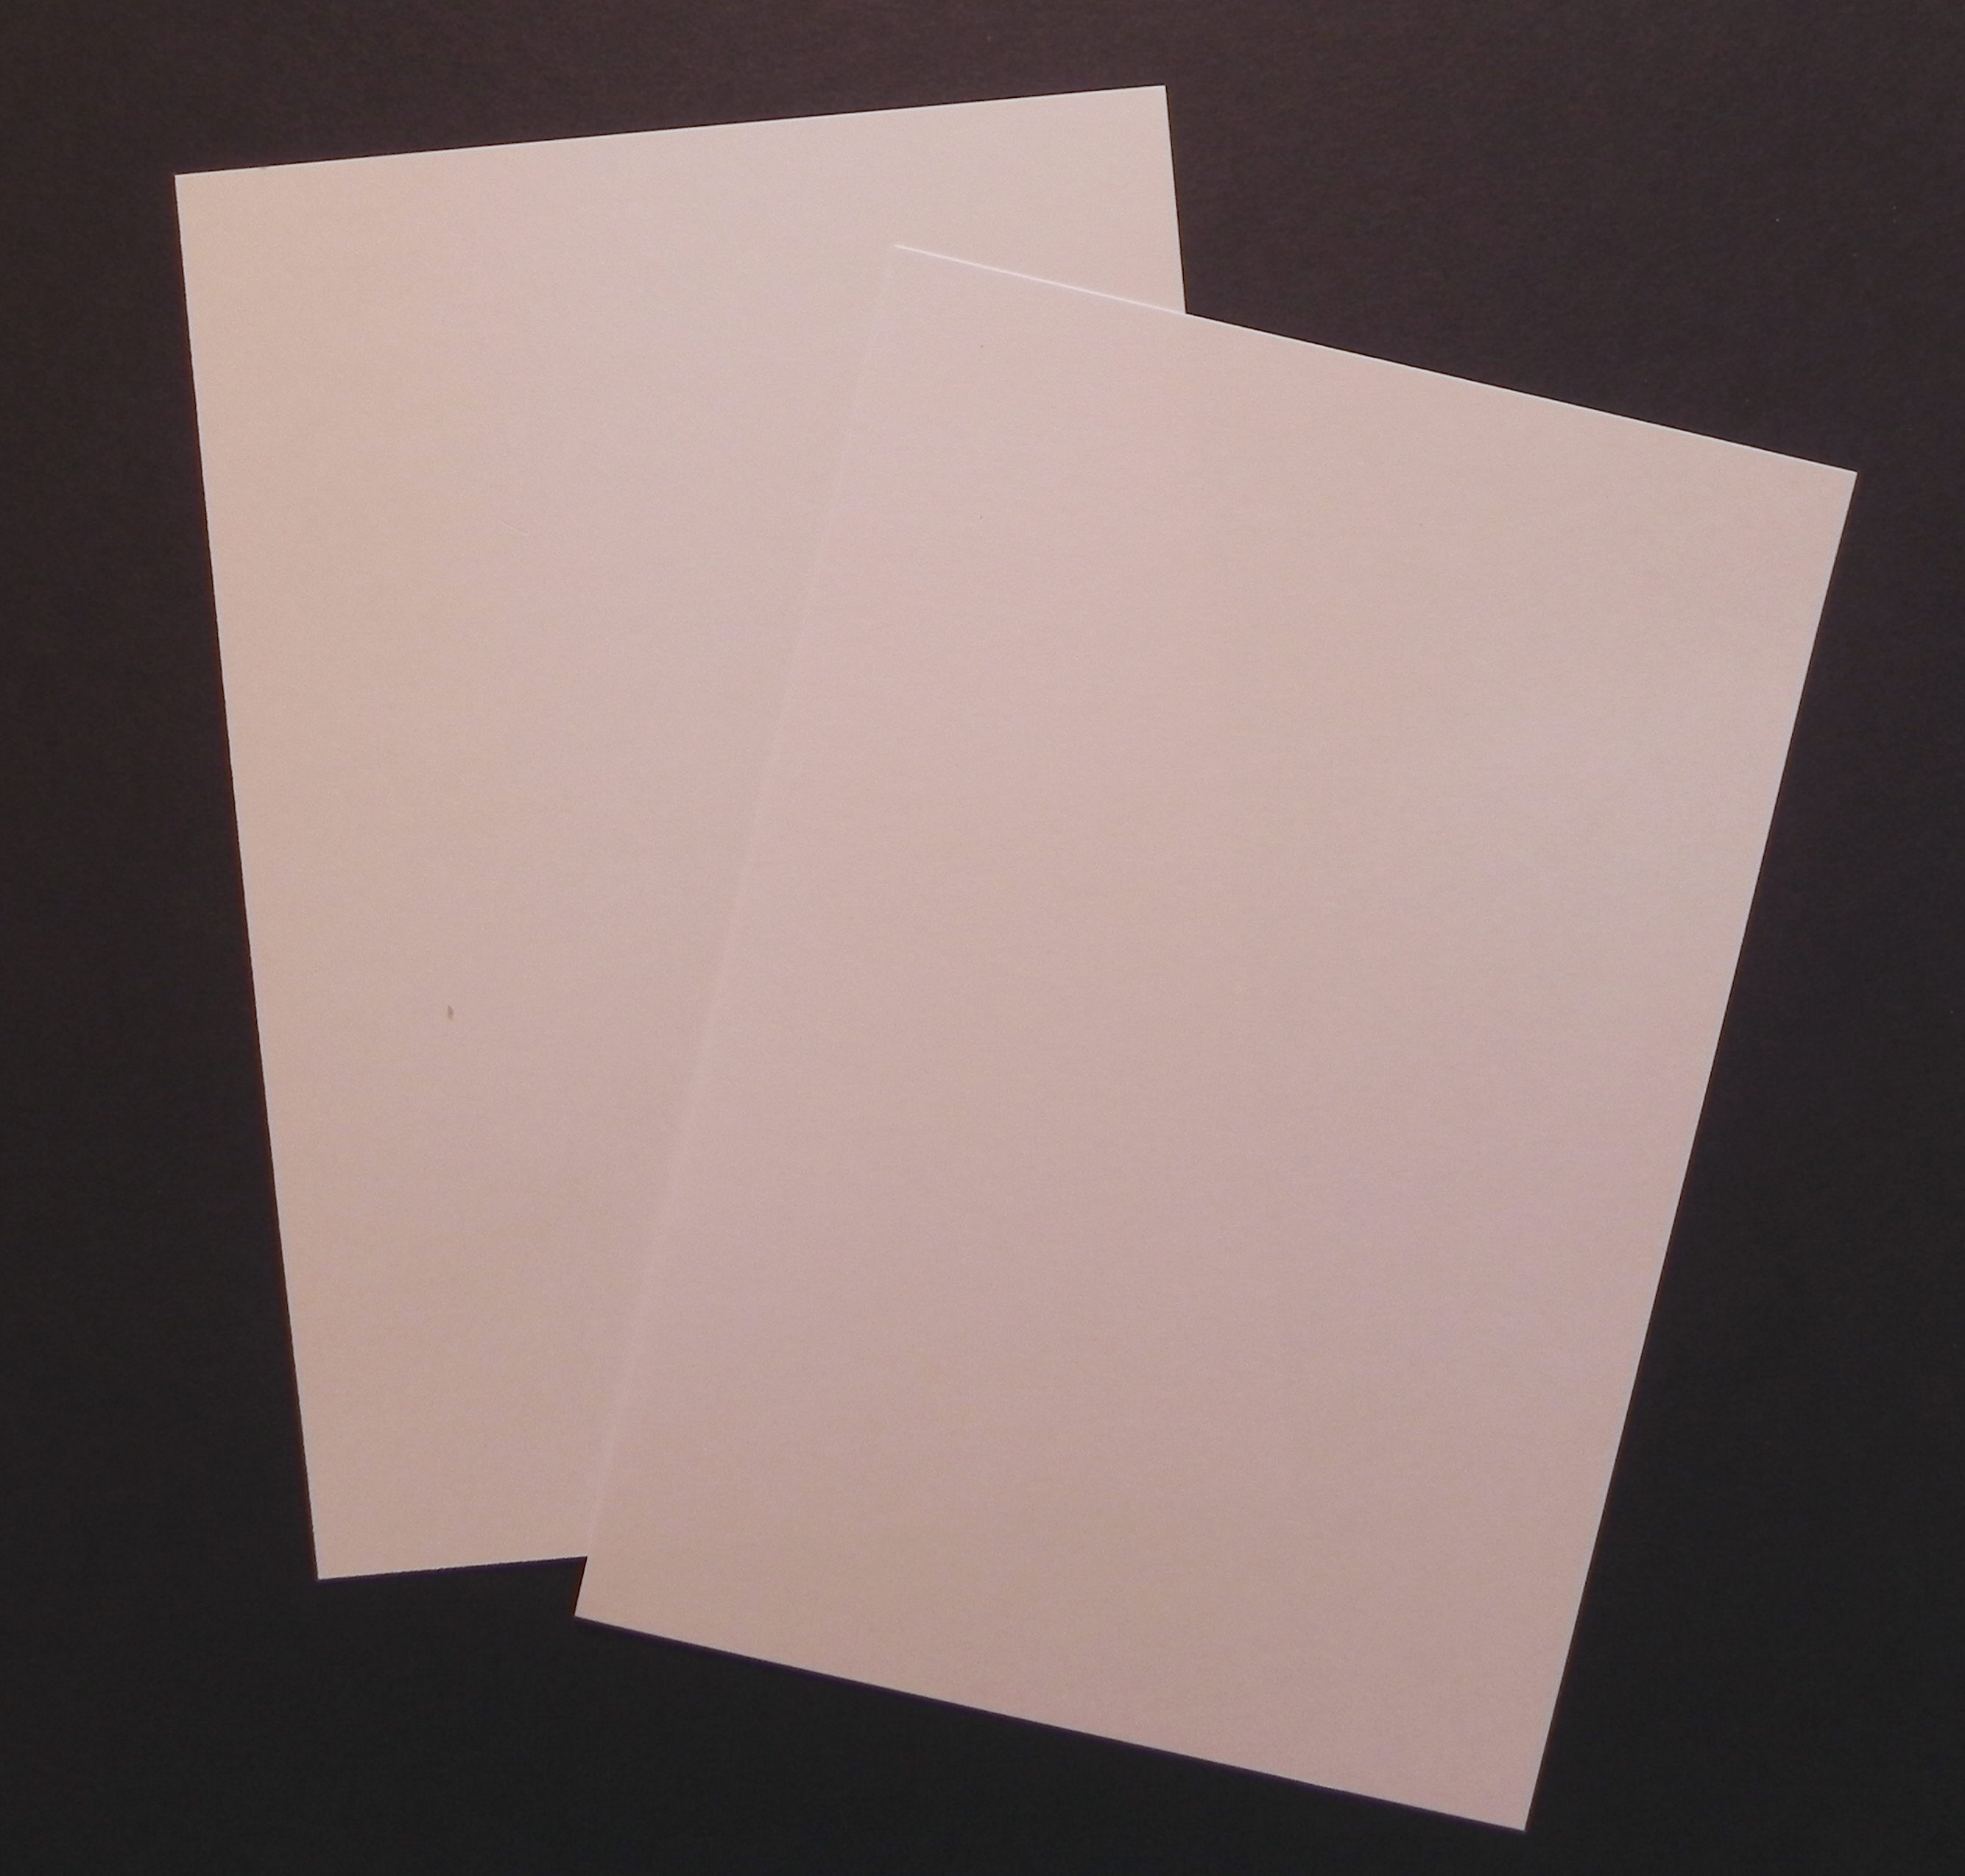
2. Cut 2 pieces of cardstock, each at 4 3/4″ x 6 3/4″ to create your front panel.
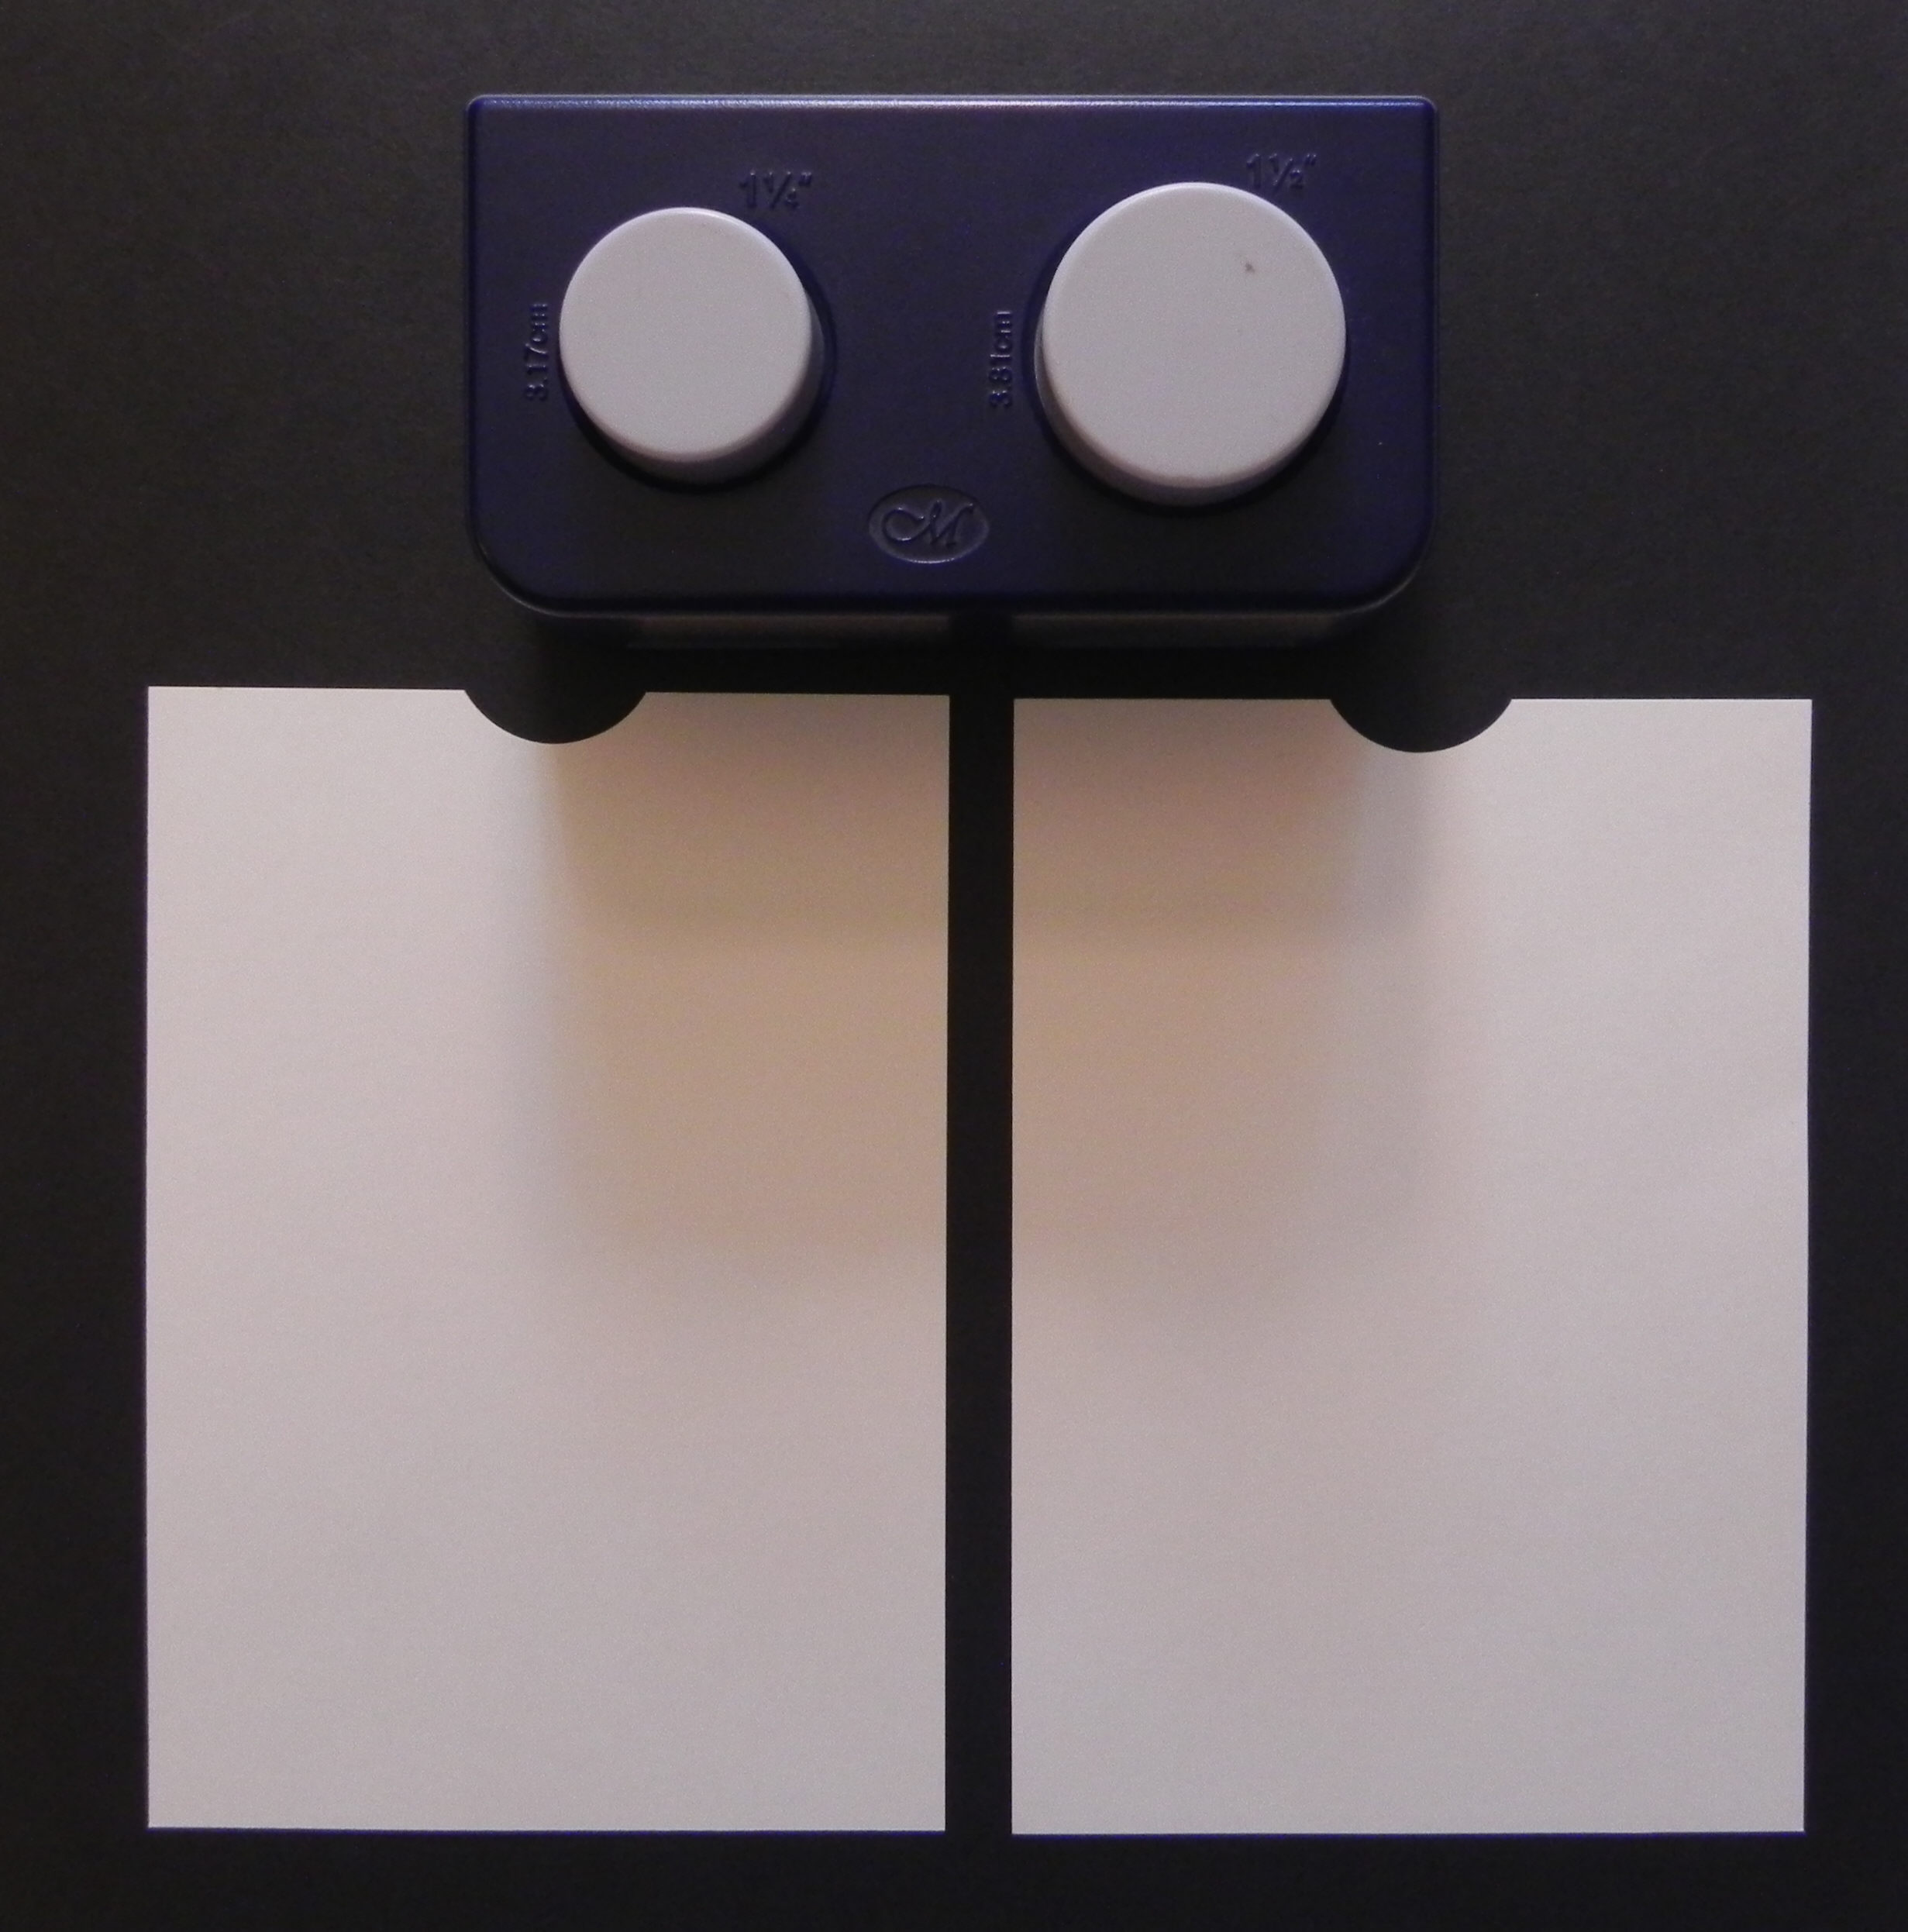
3. With circle punch, cut a semi-circle in the center of the top of one of the panels from step 2. Line up the 2 panels, trace the semicircle onto the 2nd sheet, and punch again. You need these to line up perfectly with each other. If your punch can go through 2 sheets at once, you can just cut them together.
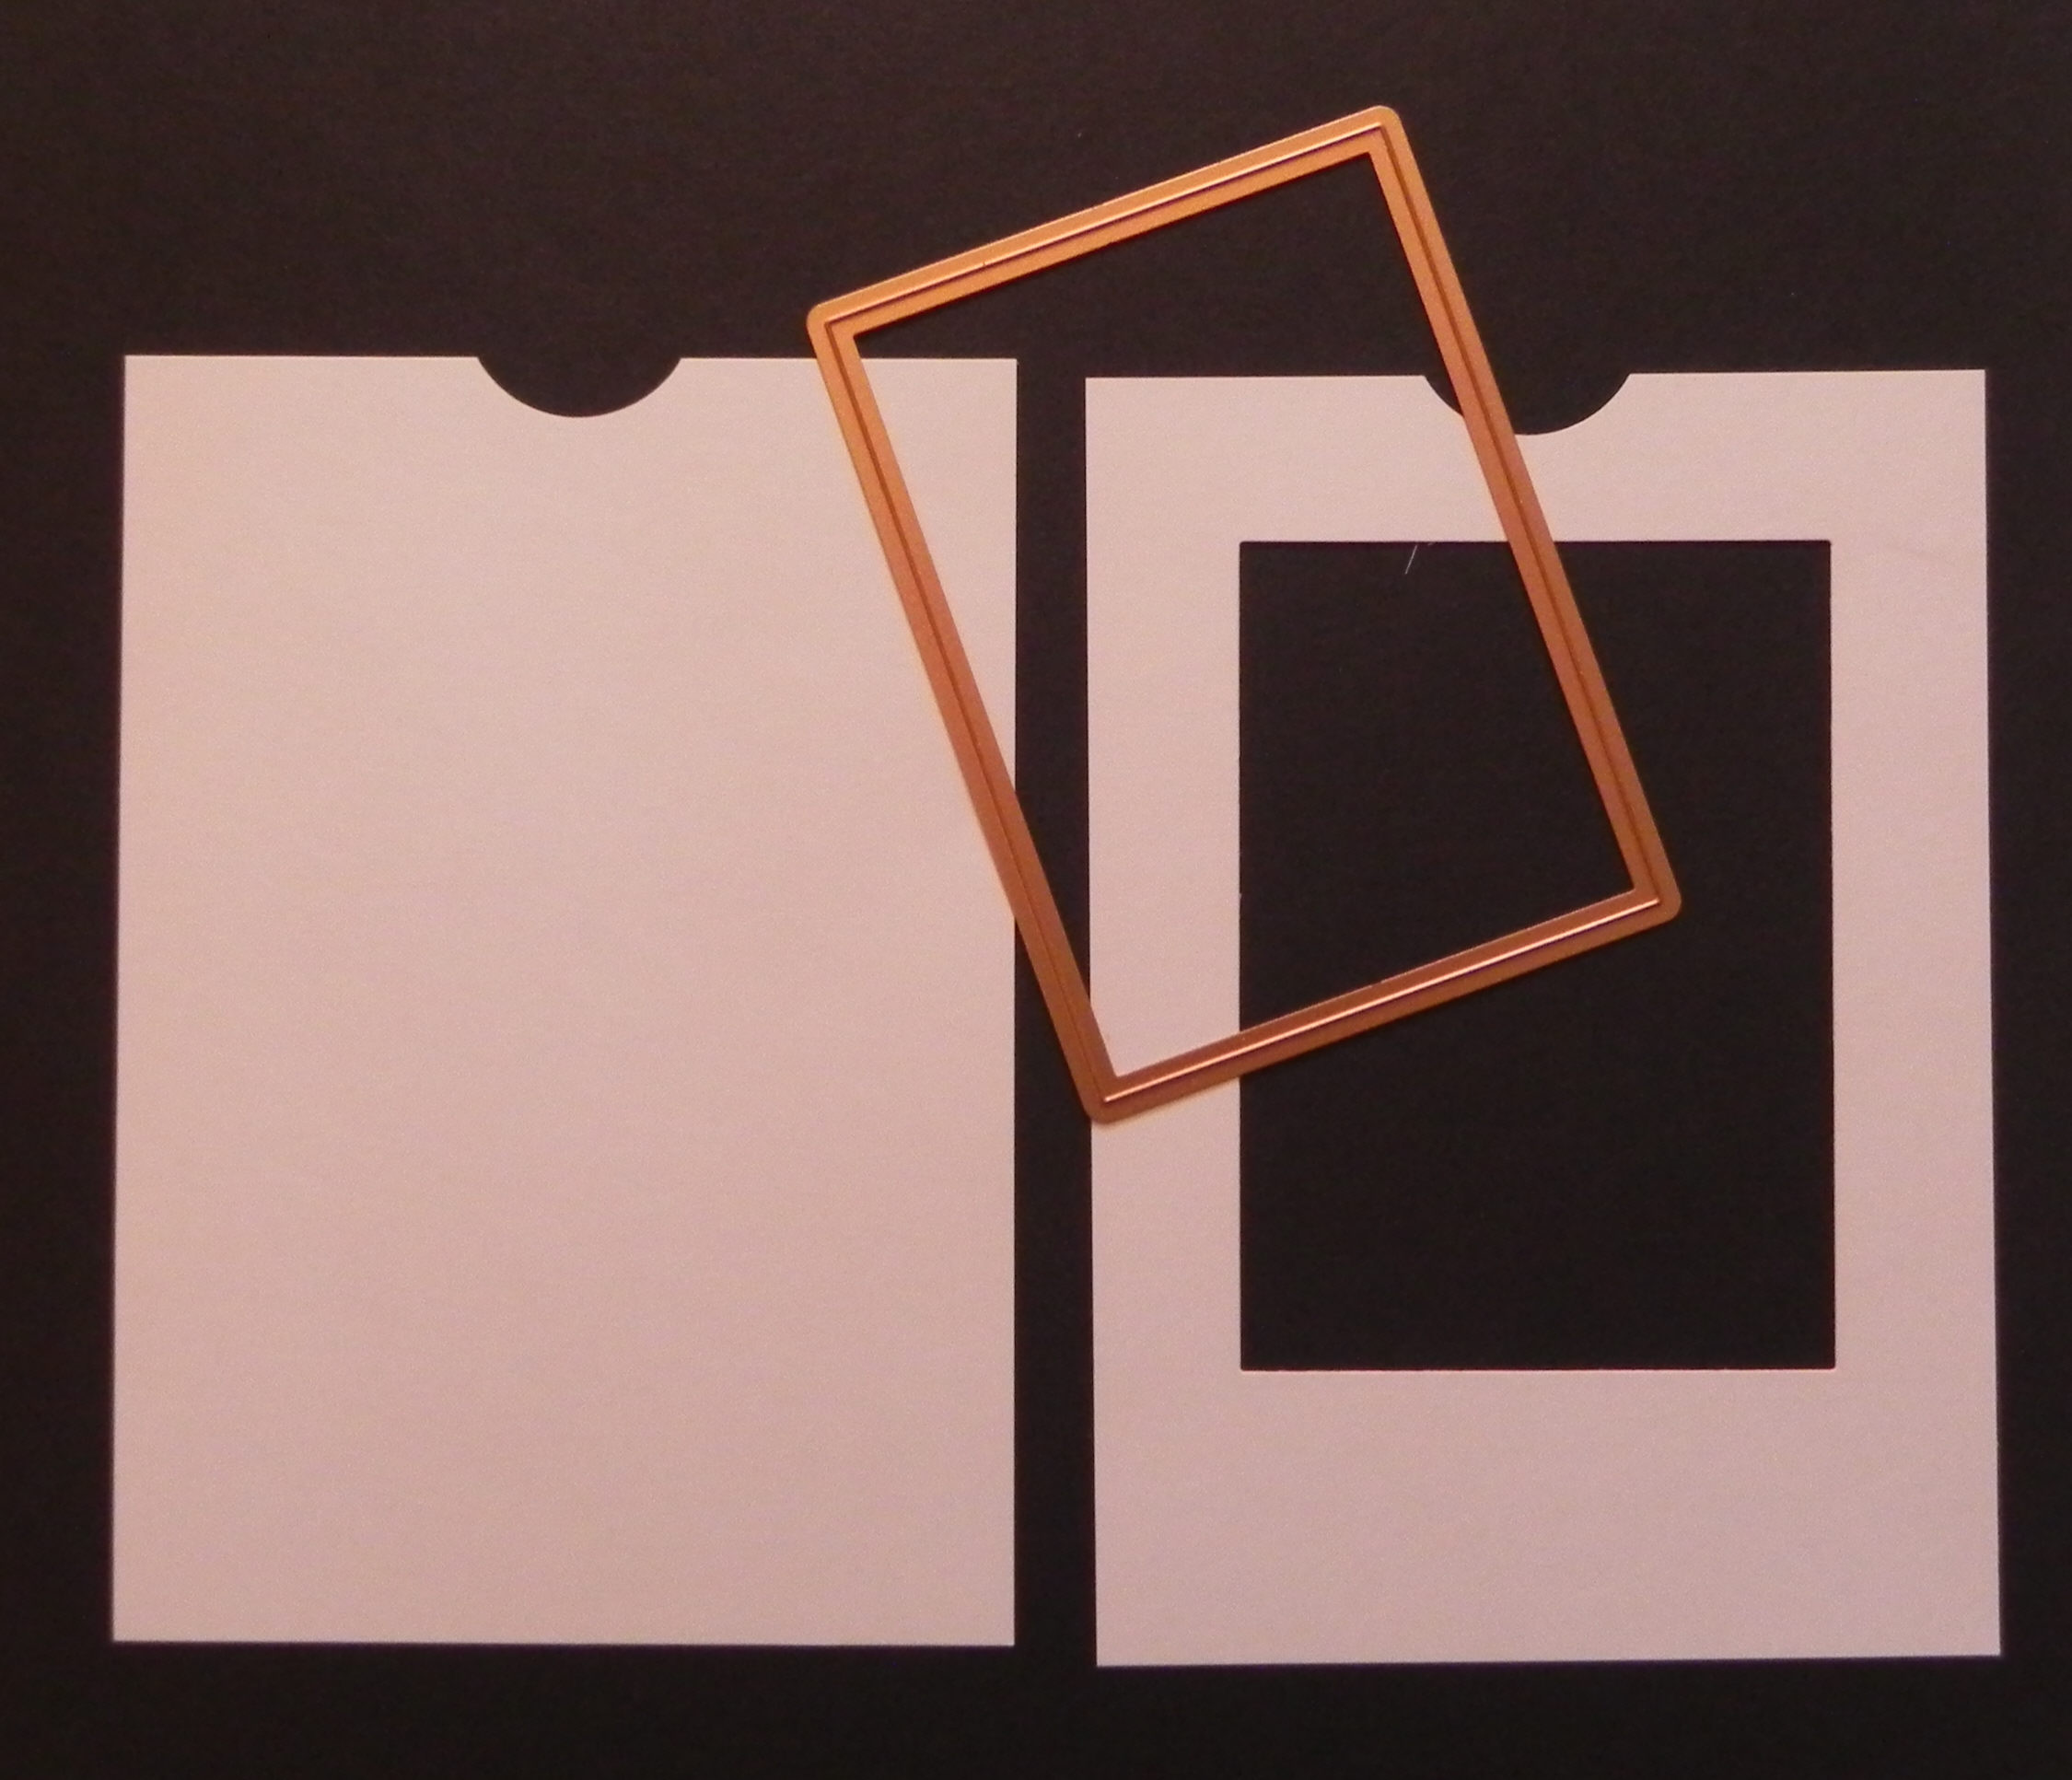
4. Using the smaller of your two rectangle dies, cut a window in only one of the panels, about 1 inch down from the top and centered on each side.
_________________________________________________________________
If desired, stamp a greeting or pattern on the panel with the rectangle cut-out.
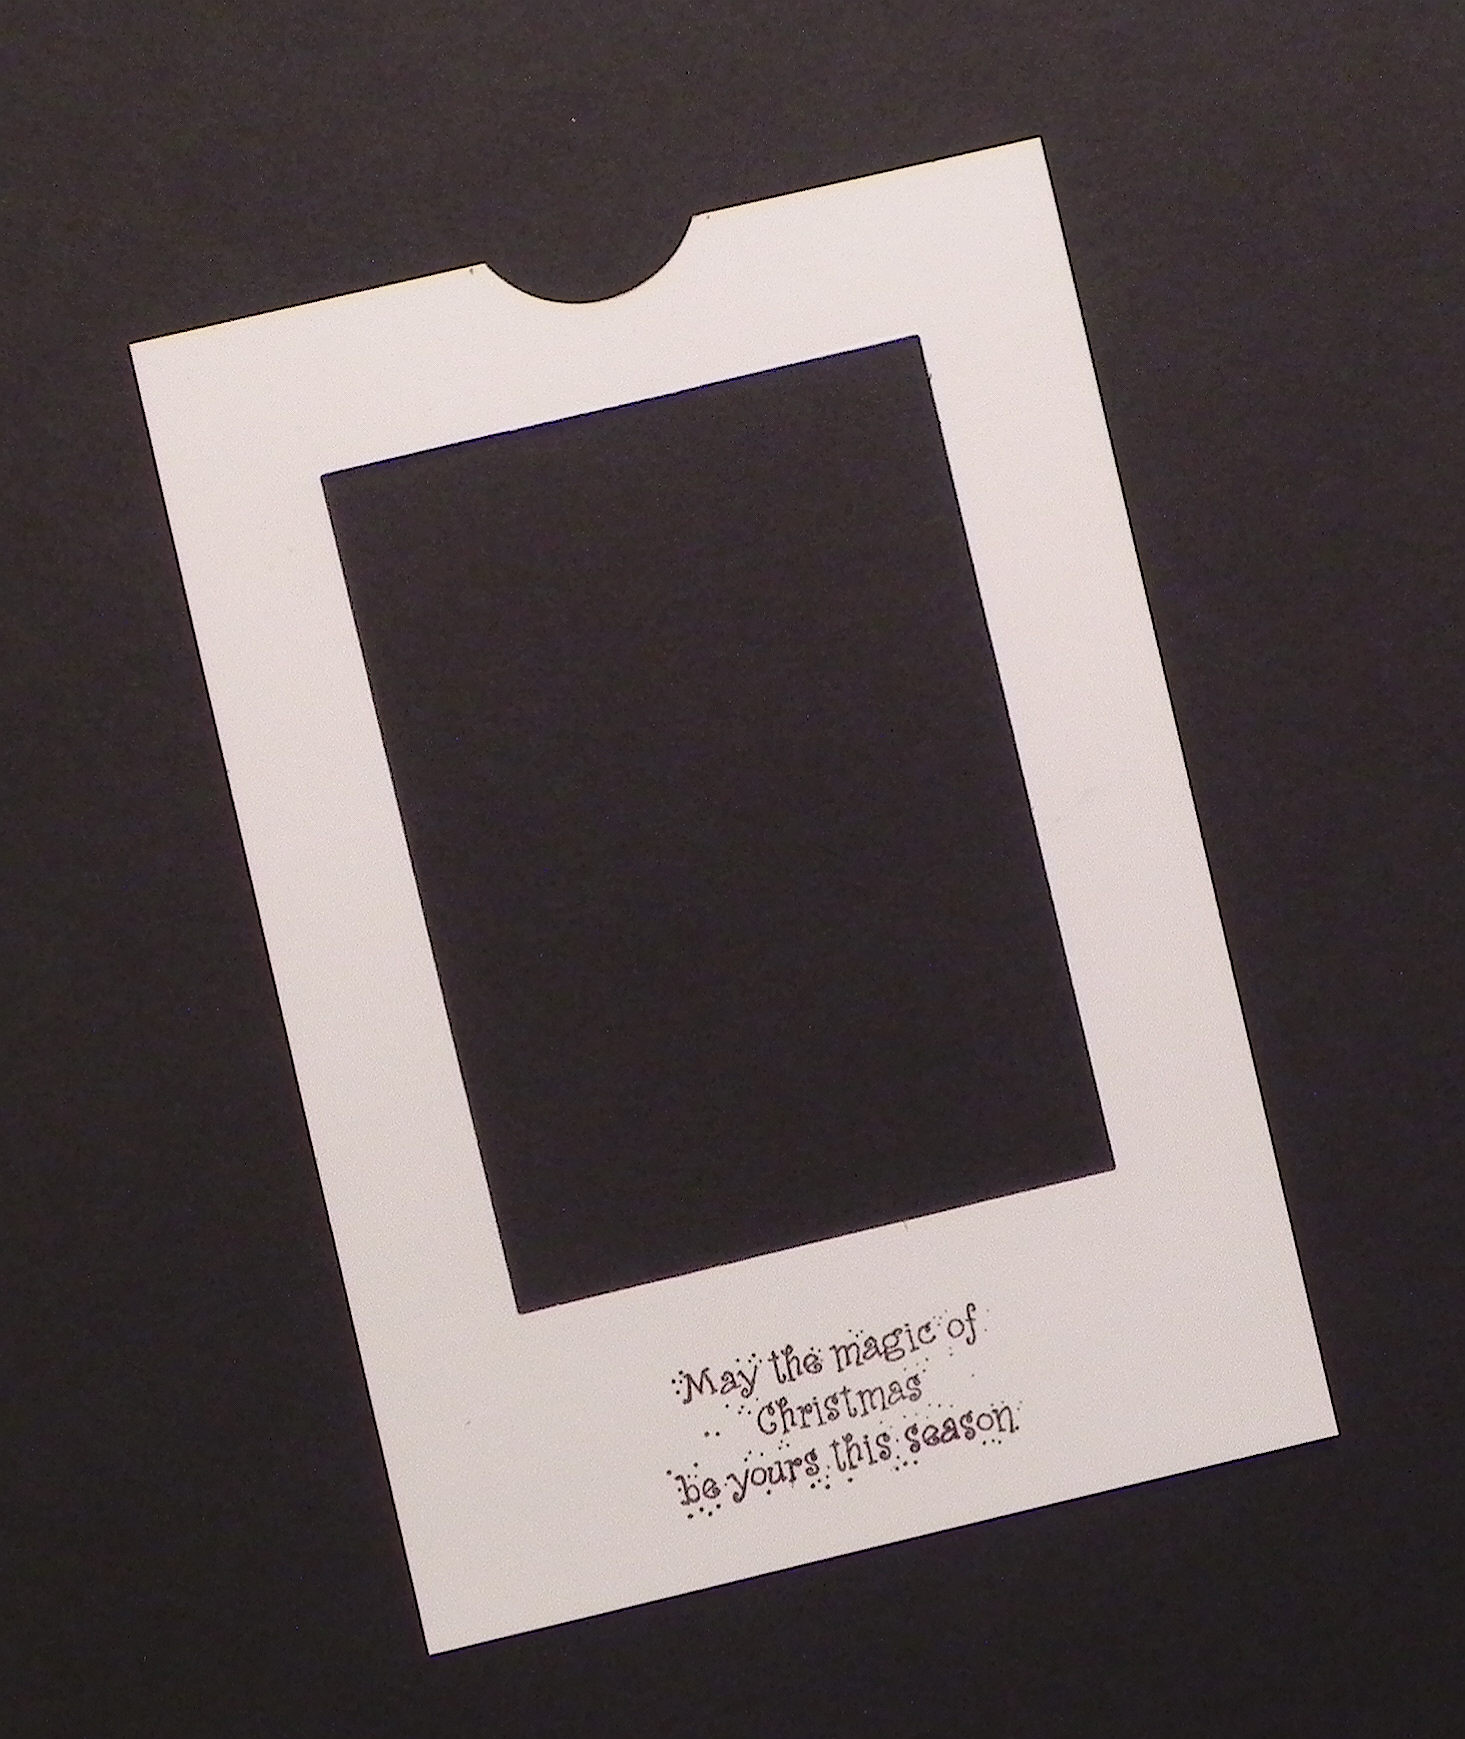
5. Cut a piece of acetate 4″ x 5 1/4″ and adhere to the back of the window in the panel with the rectangle cut-out. (Sorry – the acetate is hard to see in the photo.)
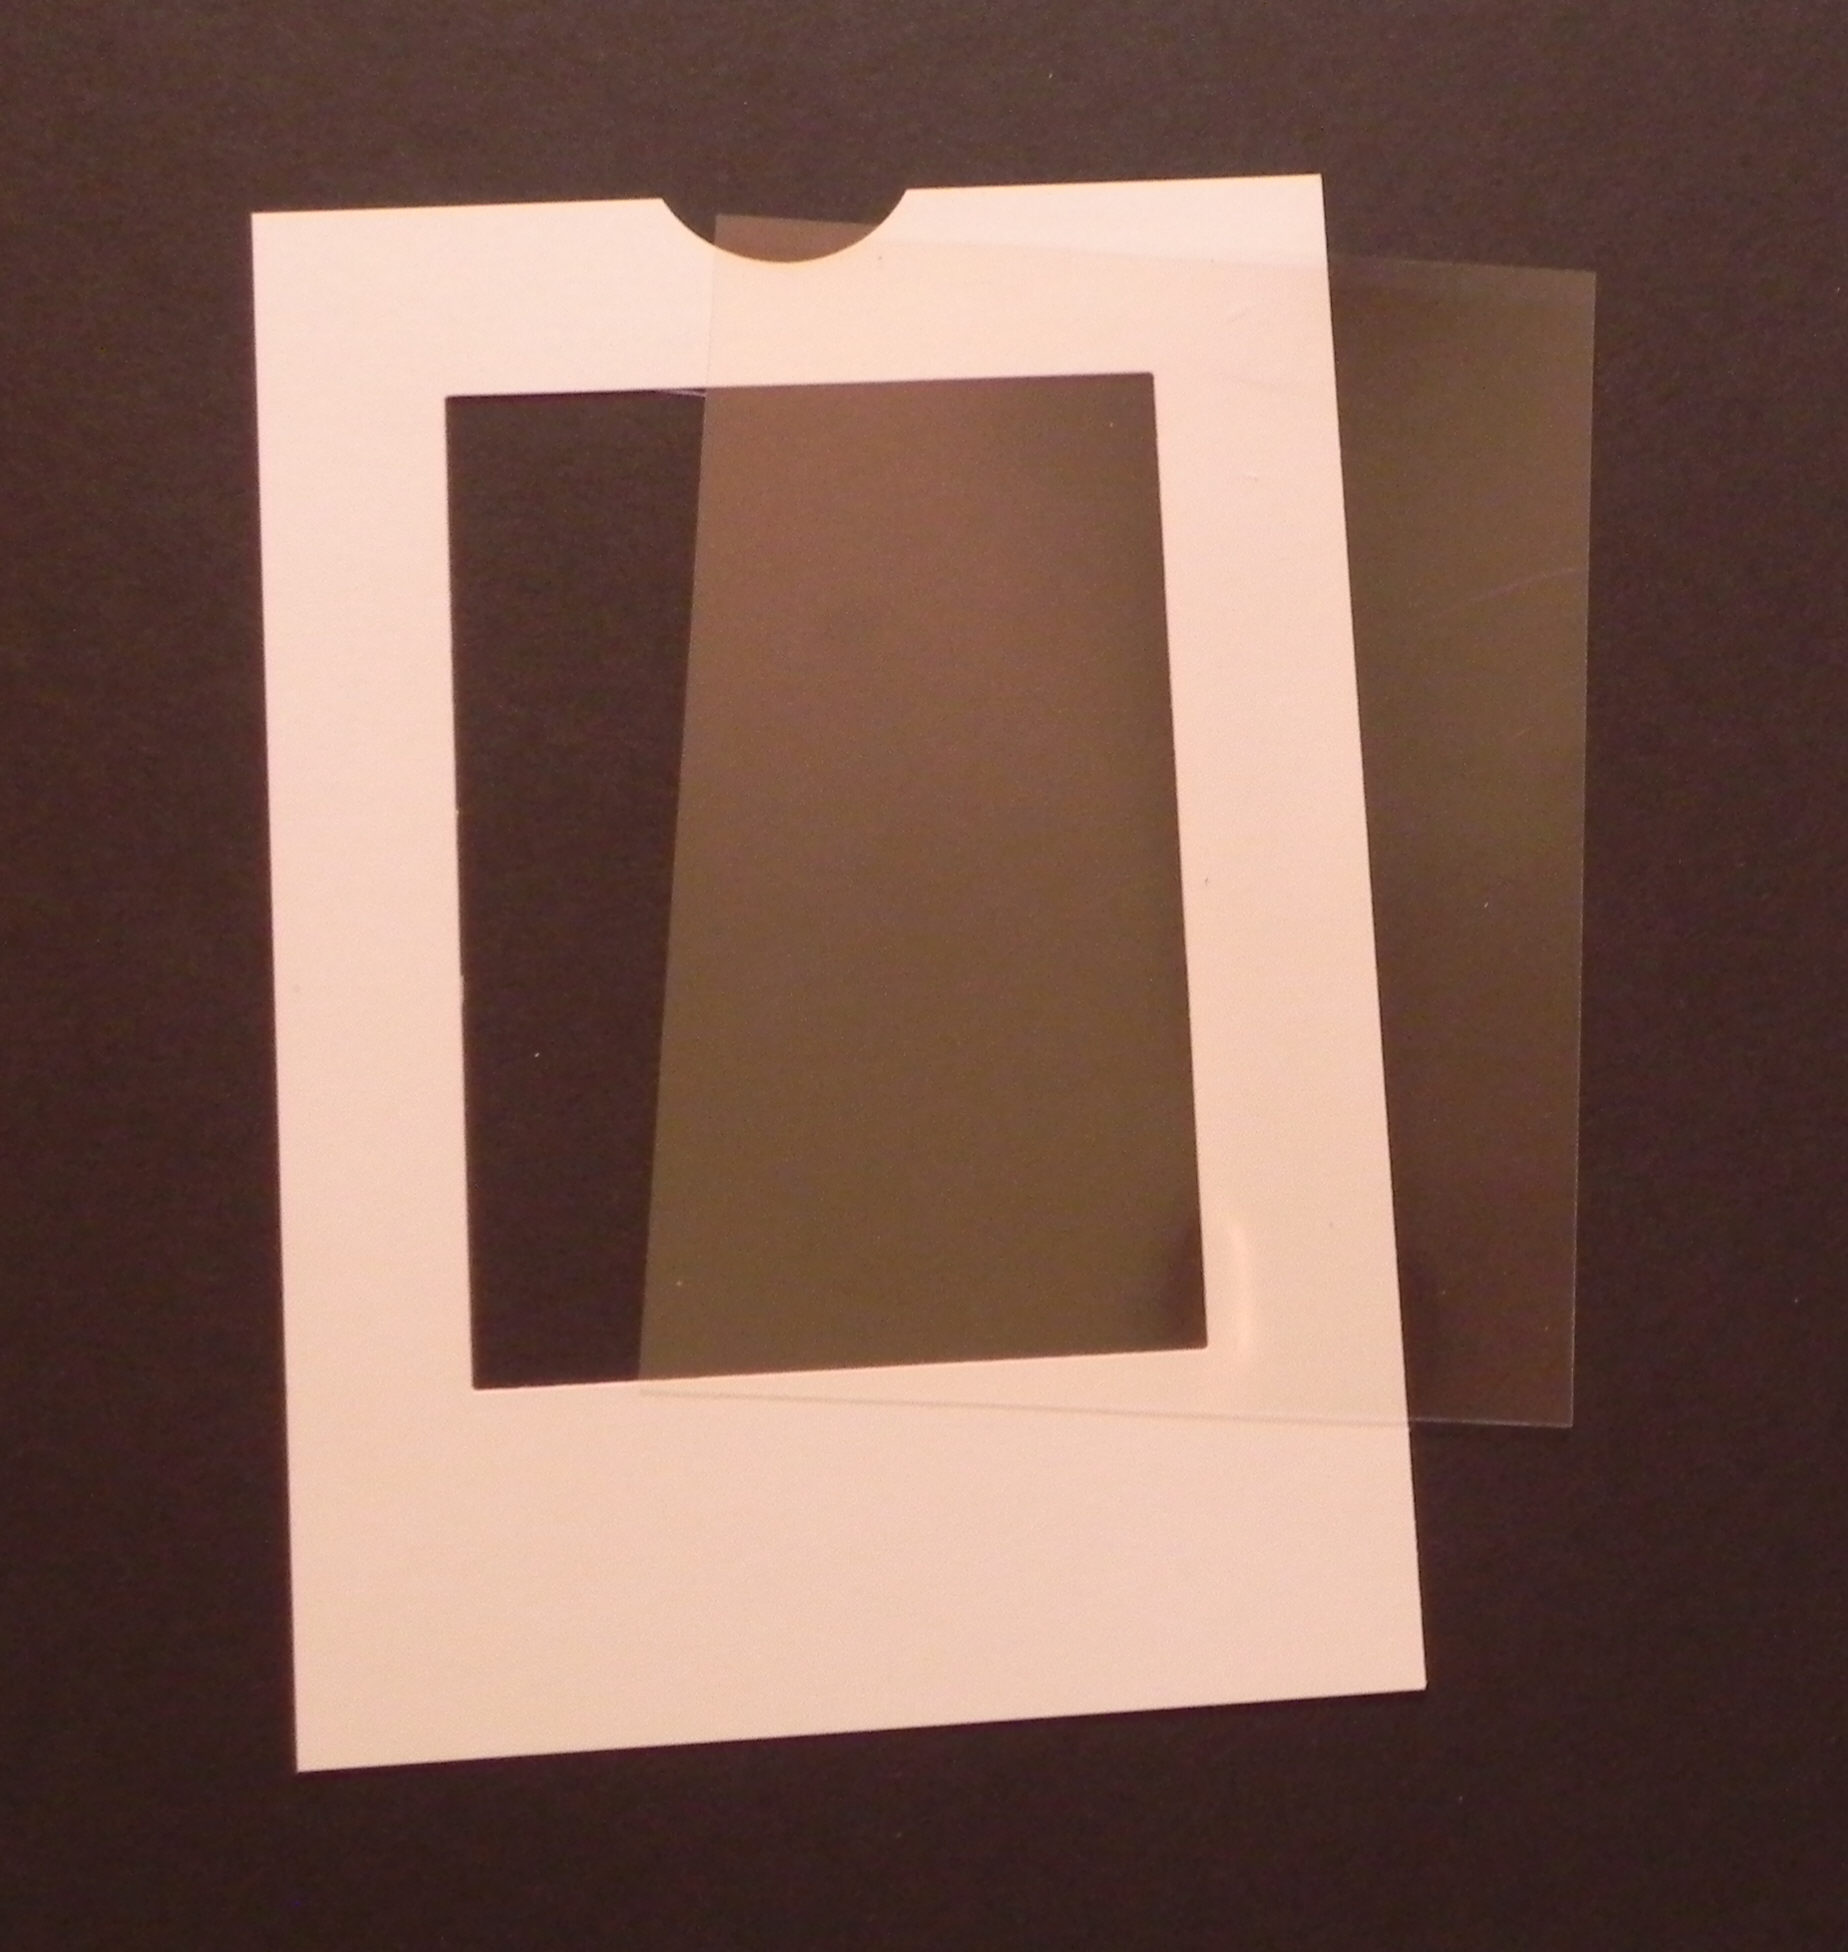
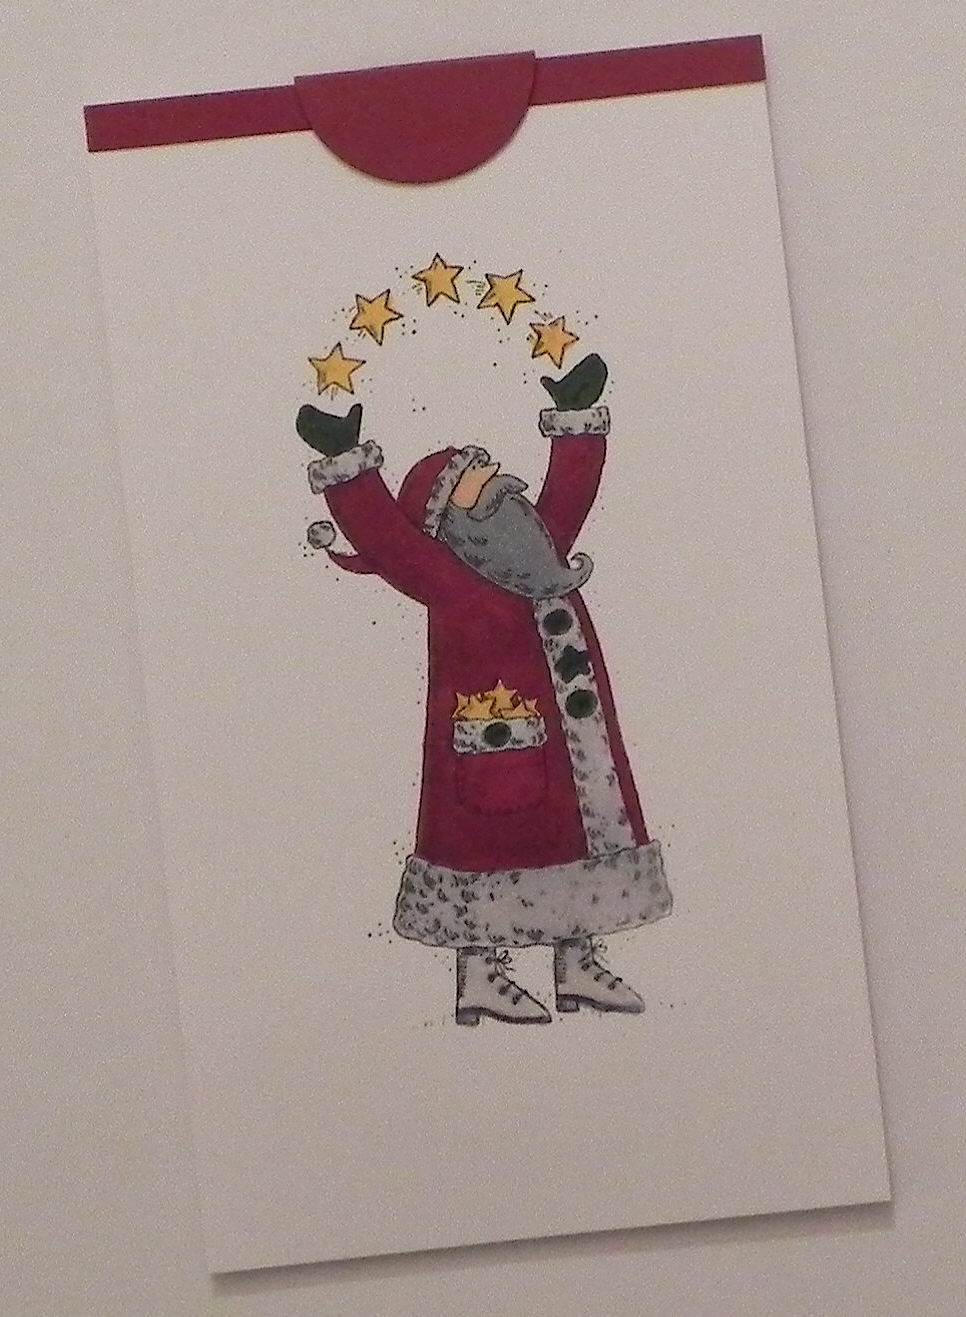
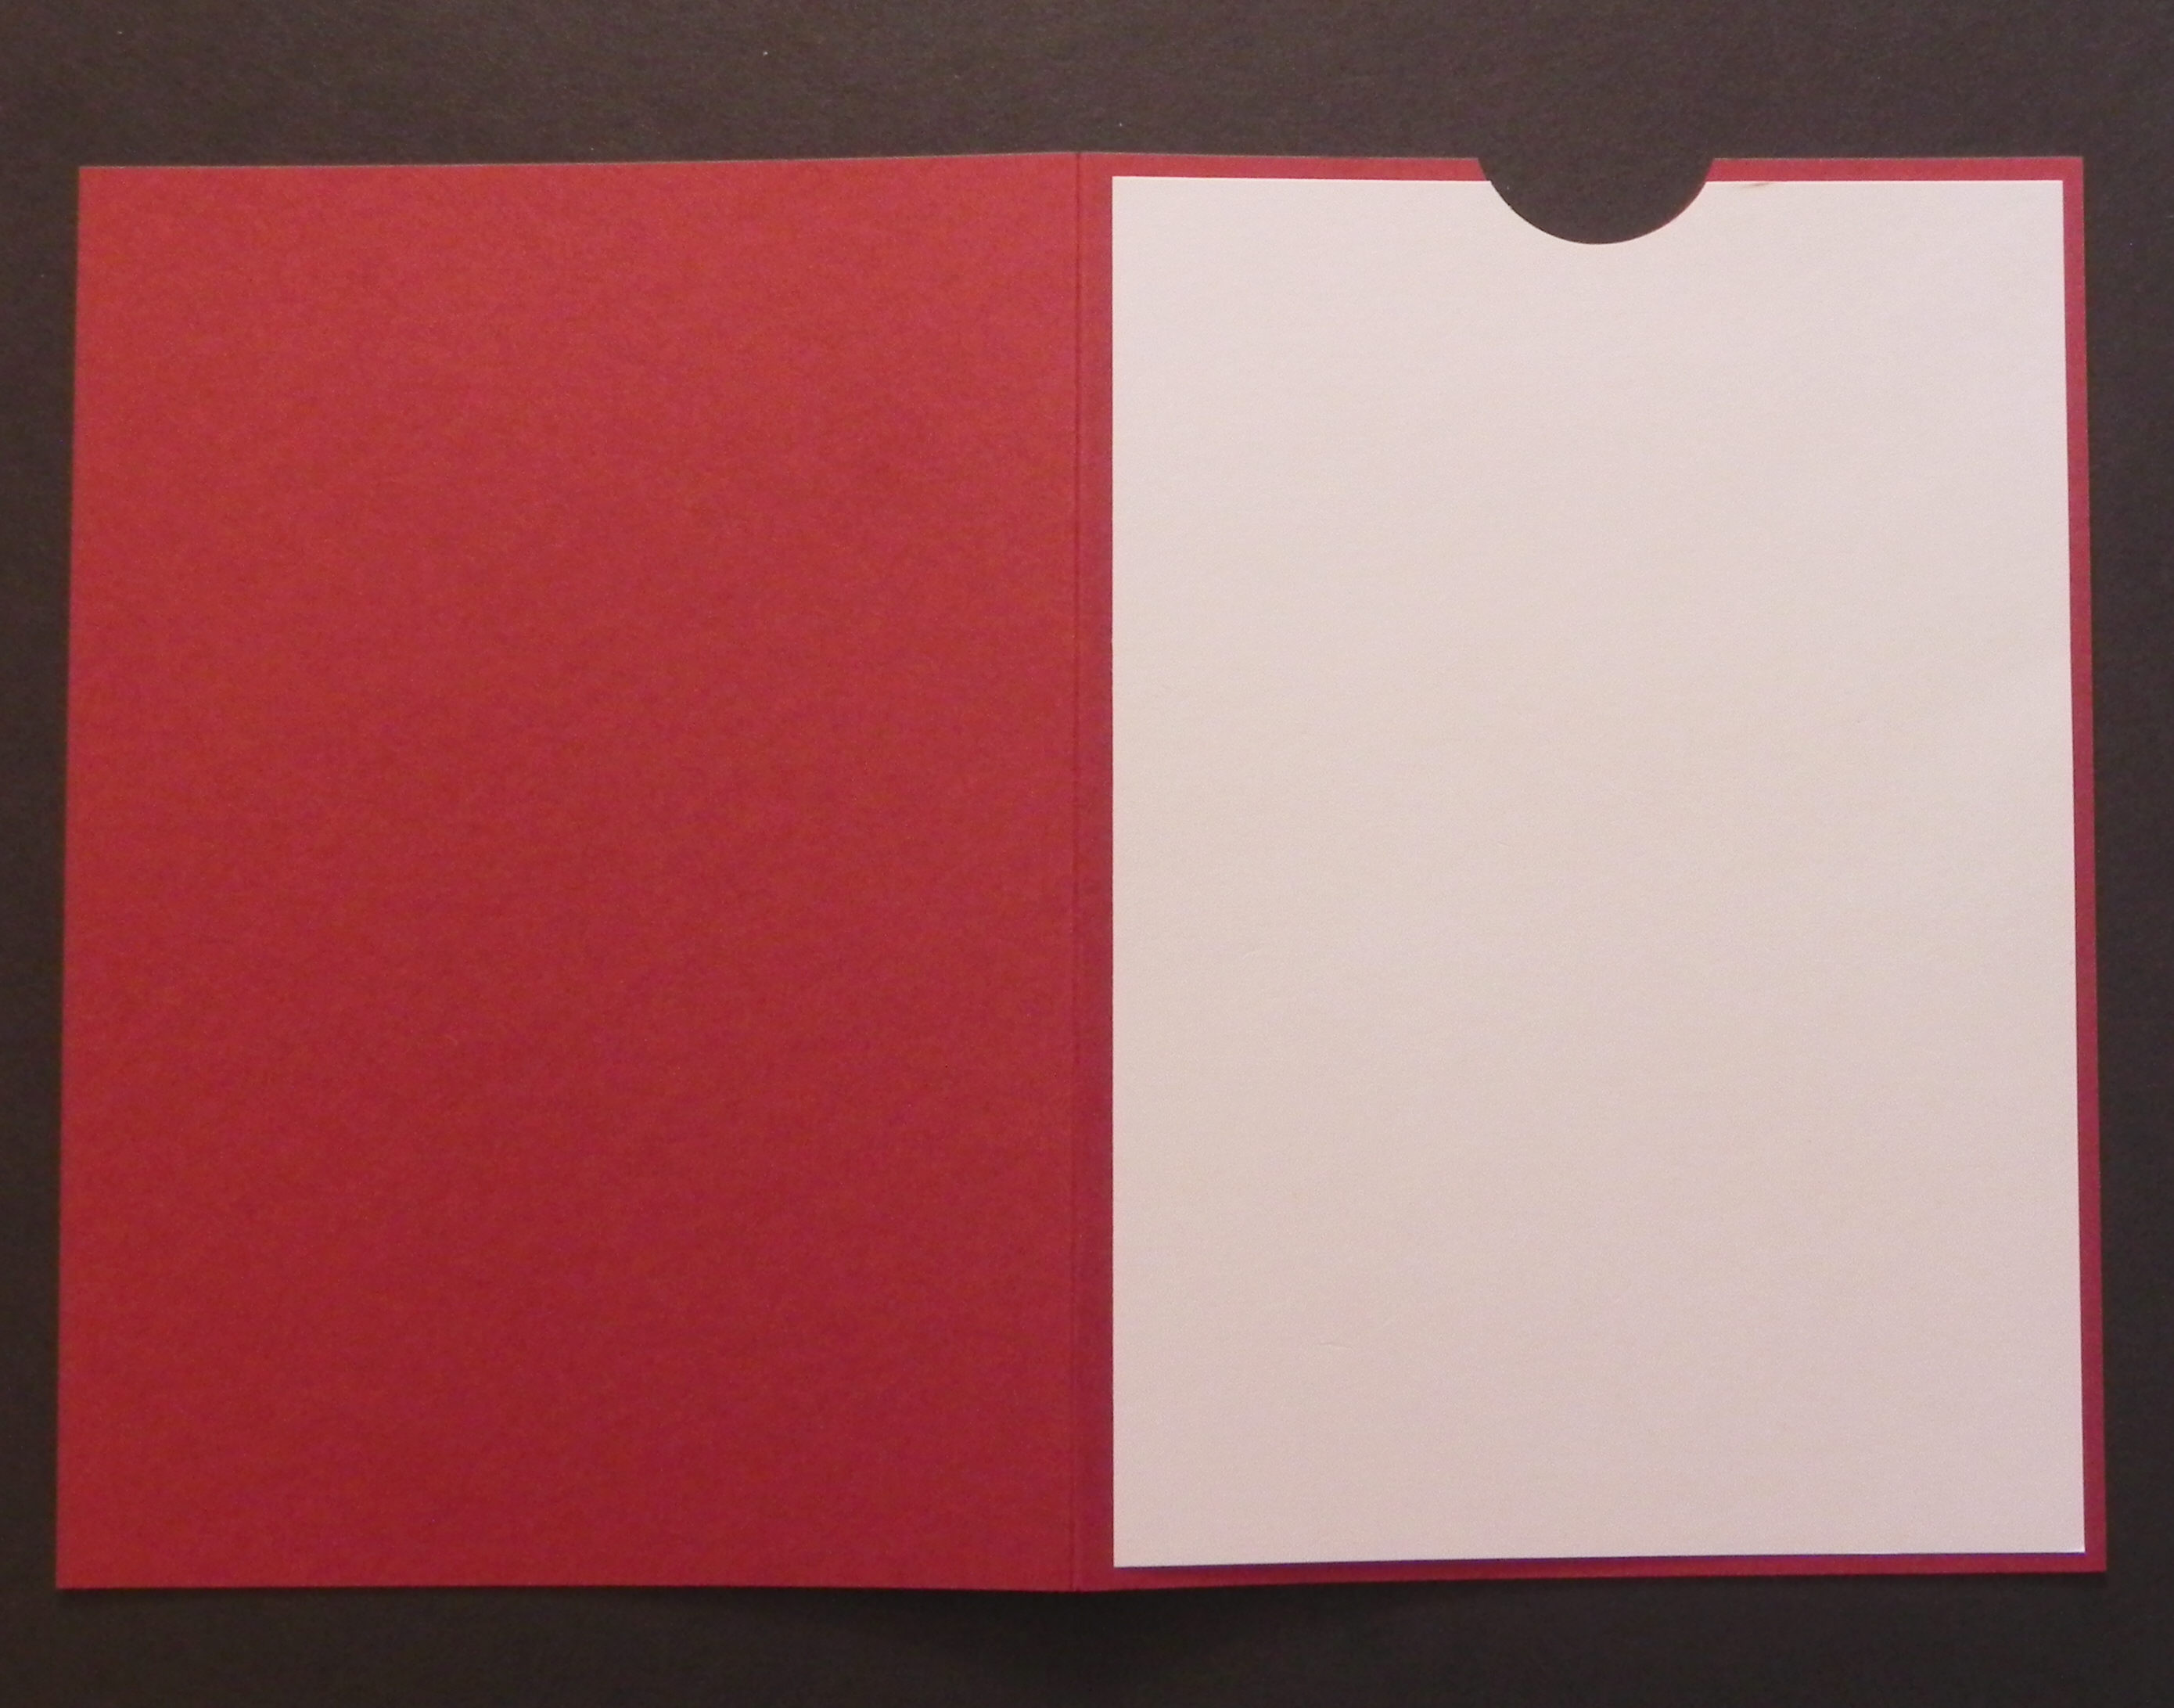
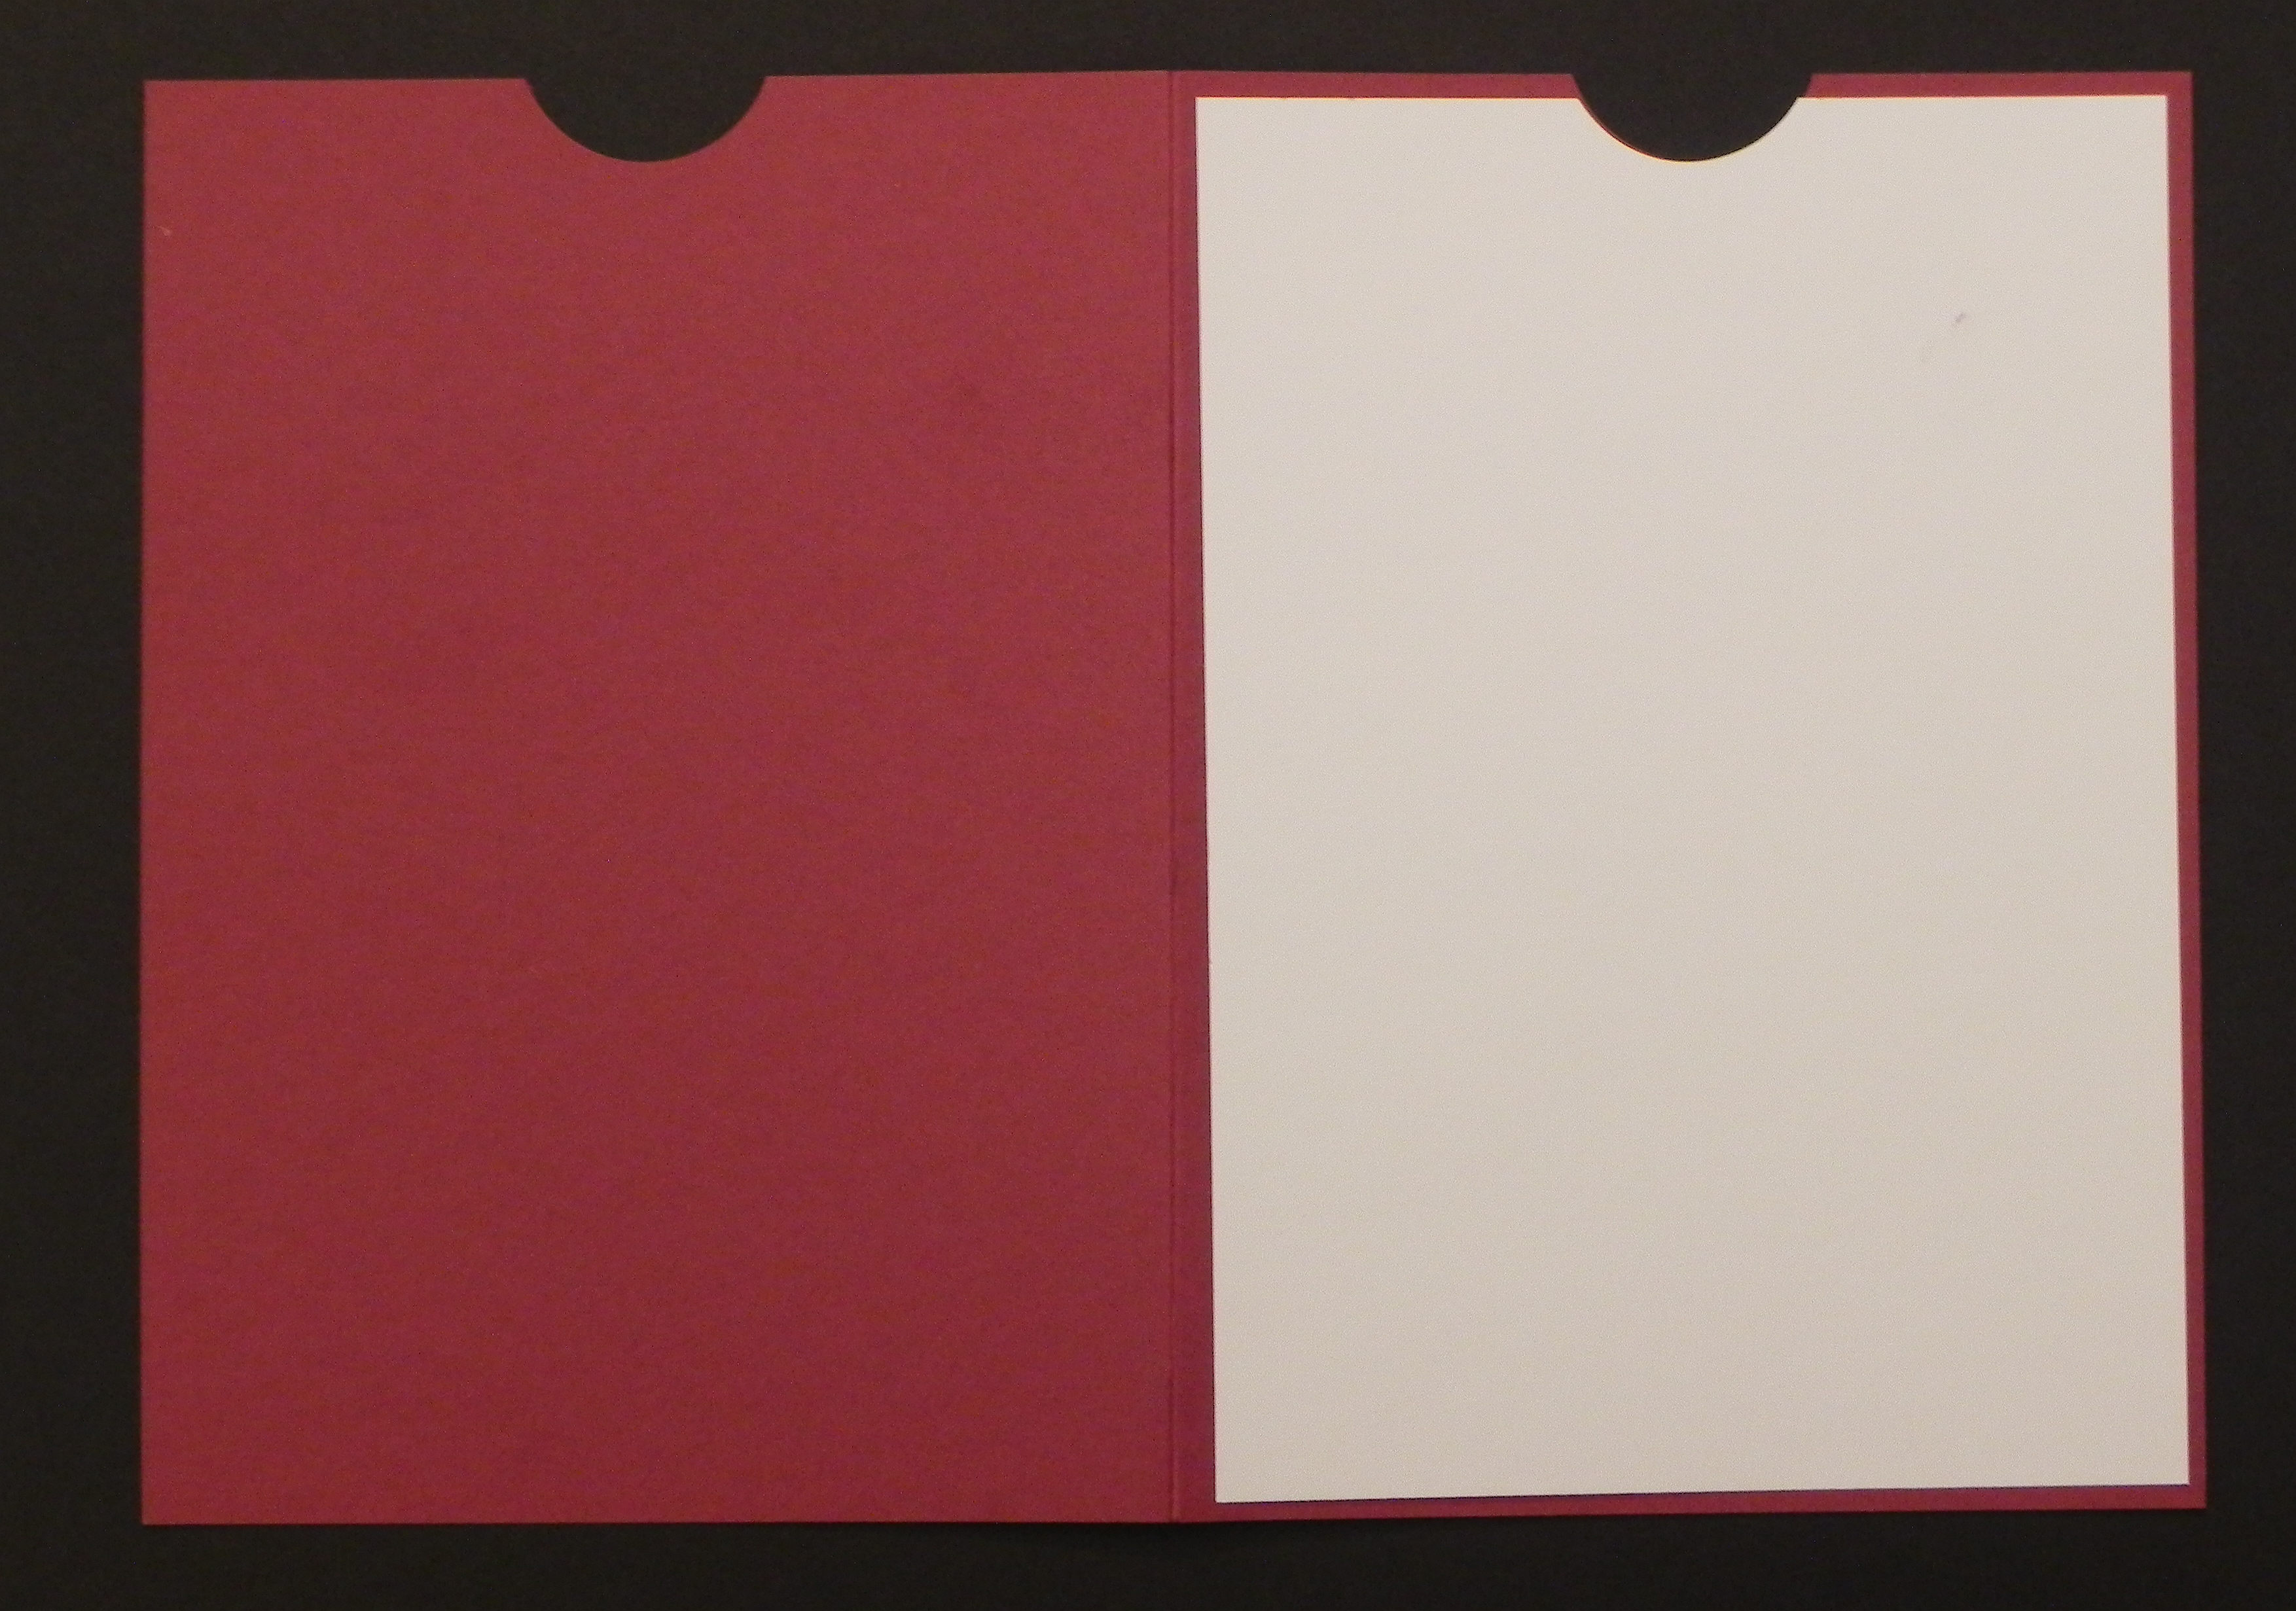
6. From a piece of 12″ x 12″ cardstock (any color), cut at 4 1/4″ x 12″ and score down the center and fold.
7. With the larger of the two rectangle dies, position the die on the fold as shown and cut with your die cutting machine. You may want to use a piece of repositional or low tack tape to keep the die in place.
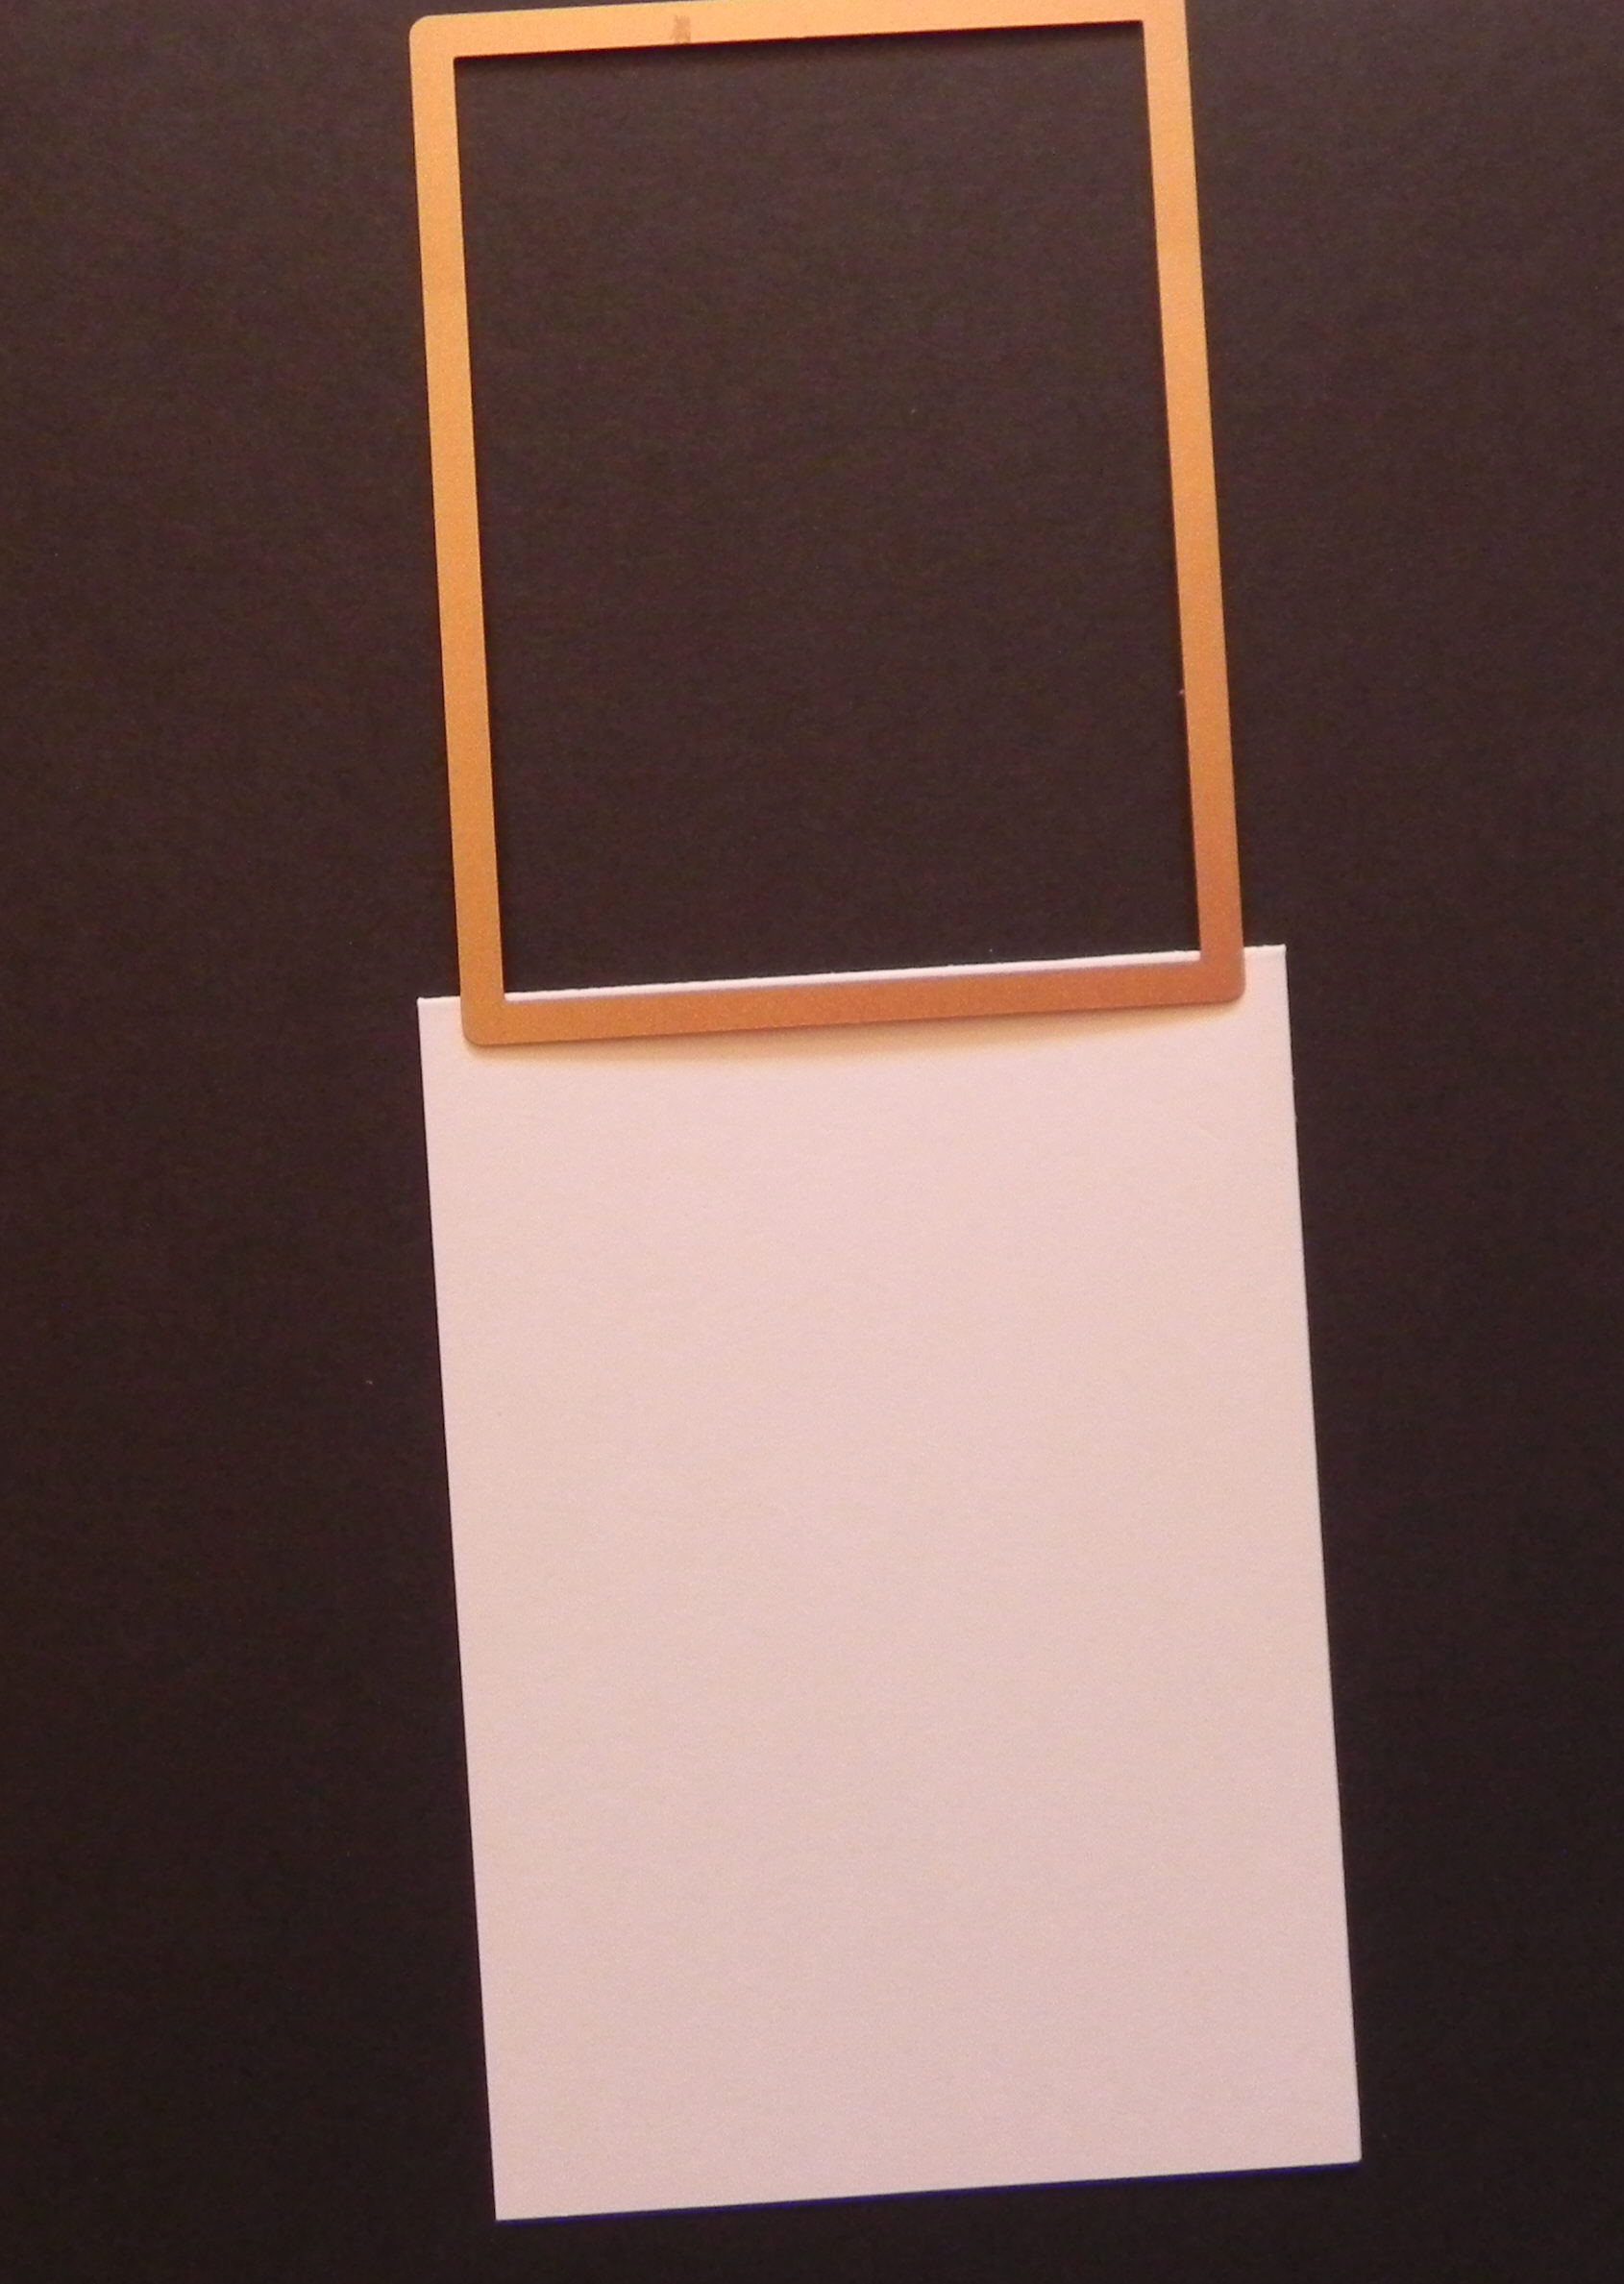
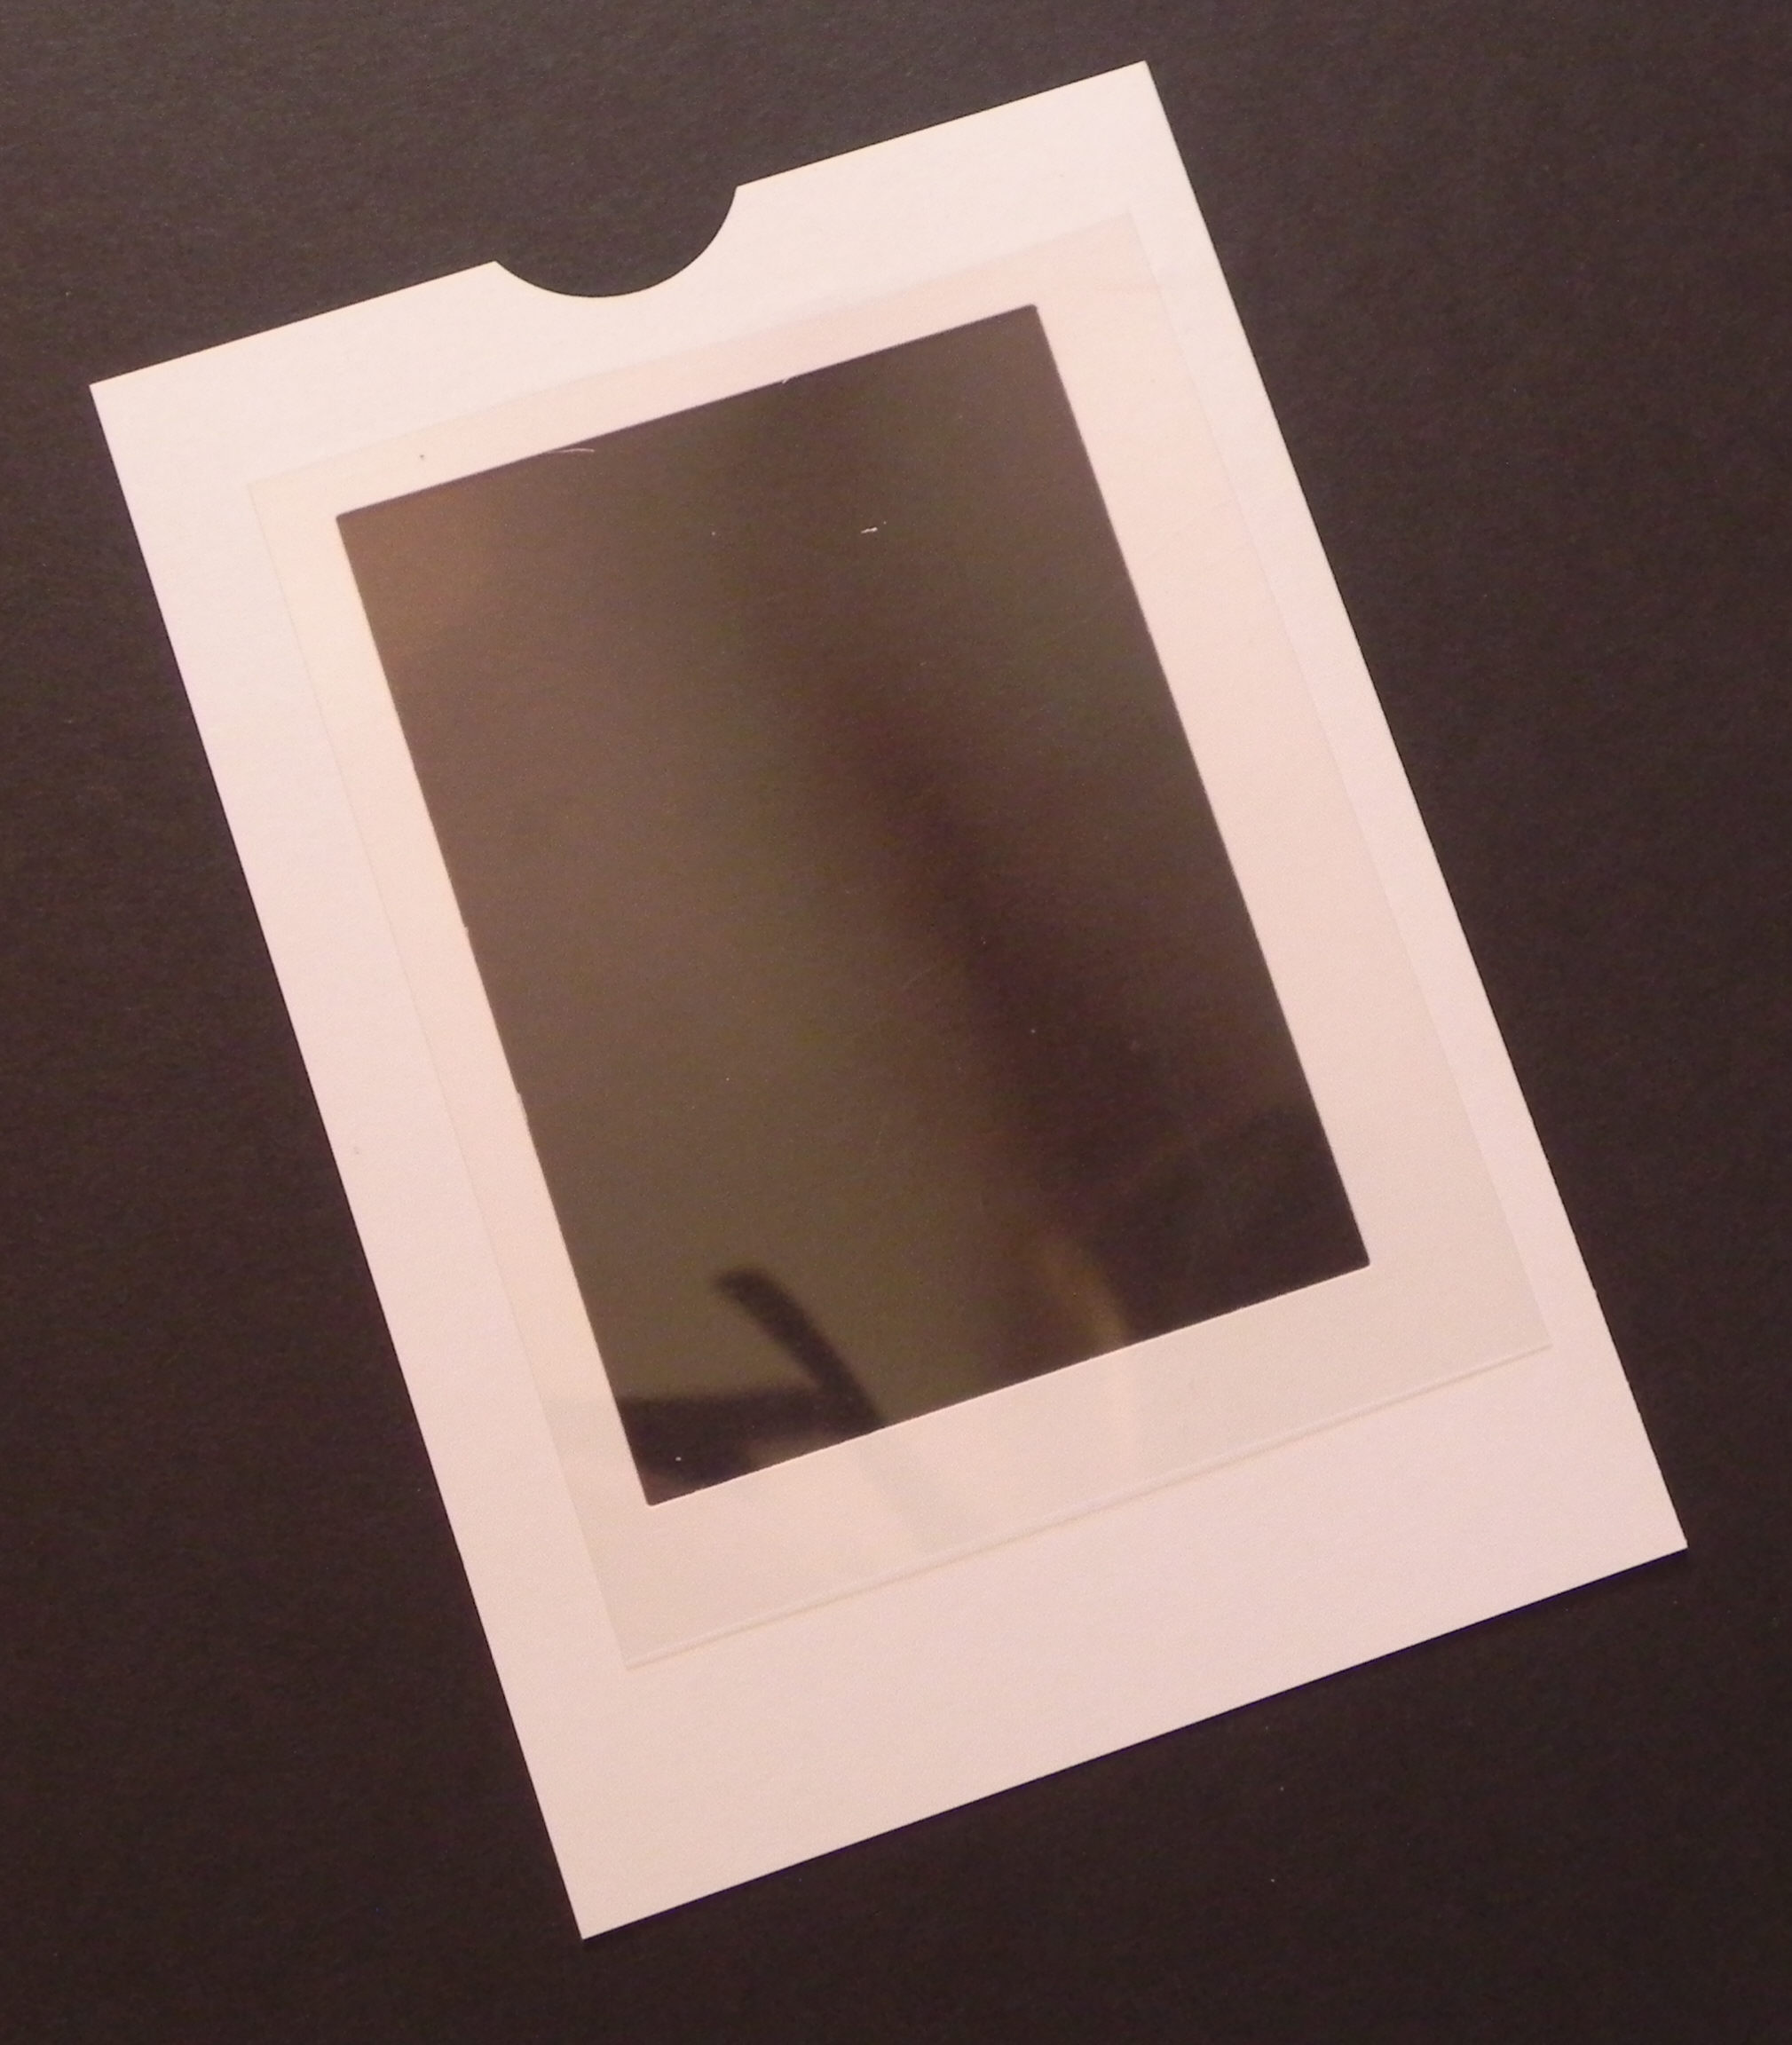
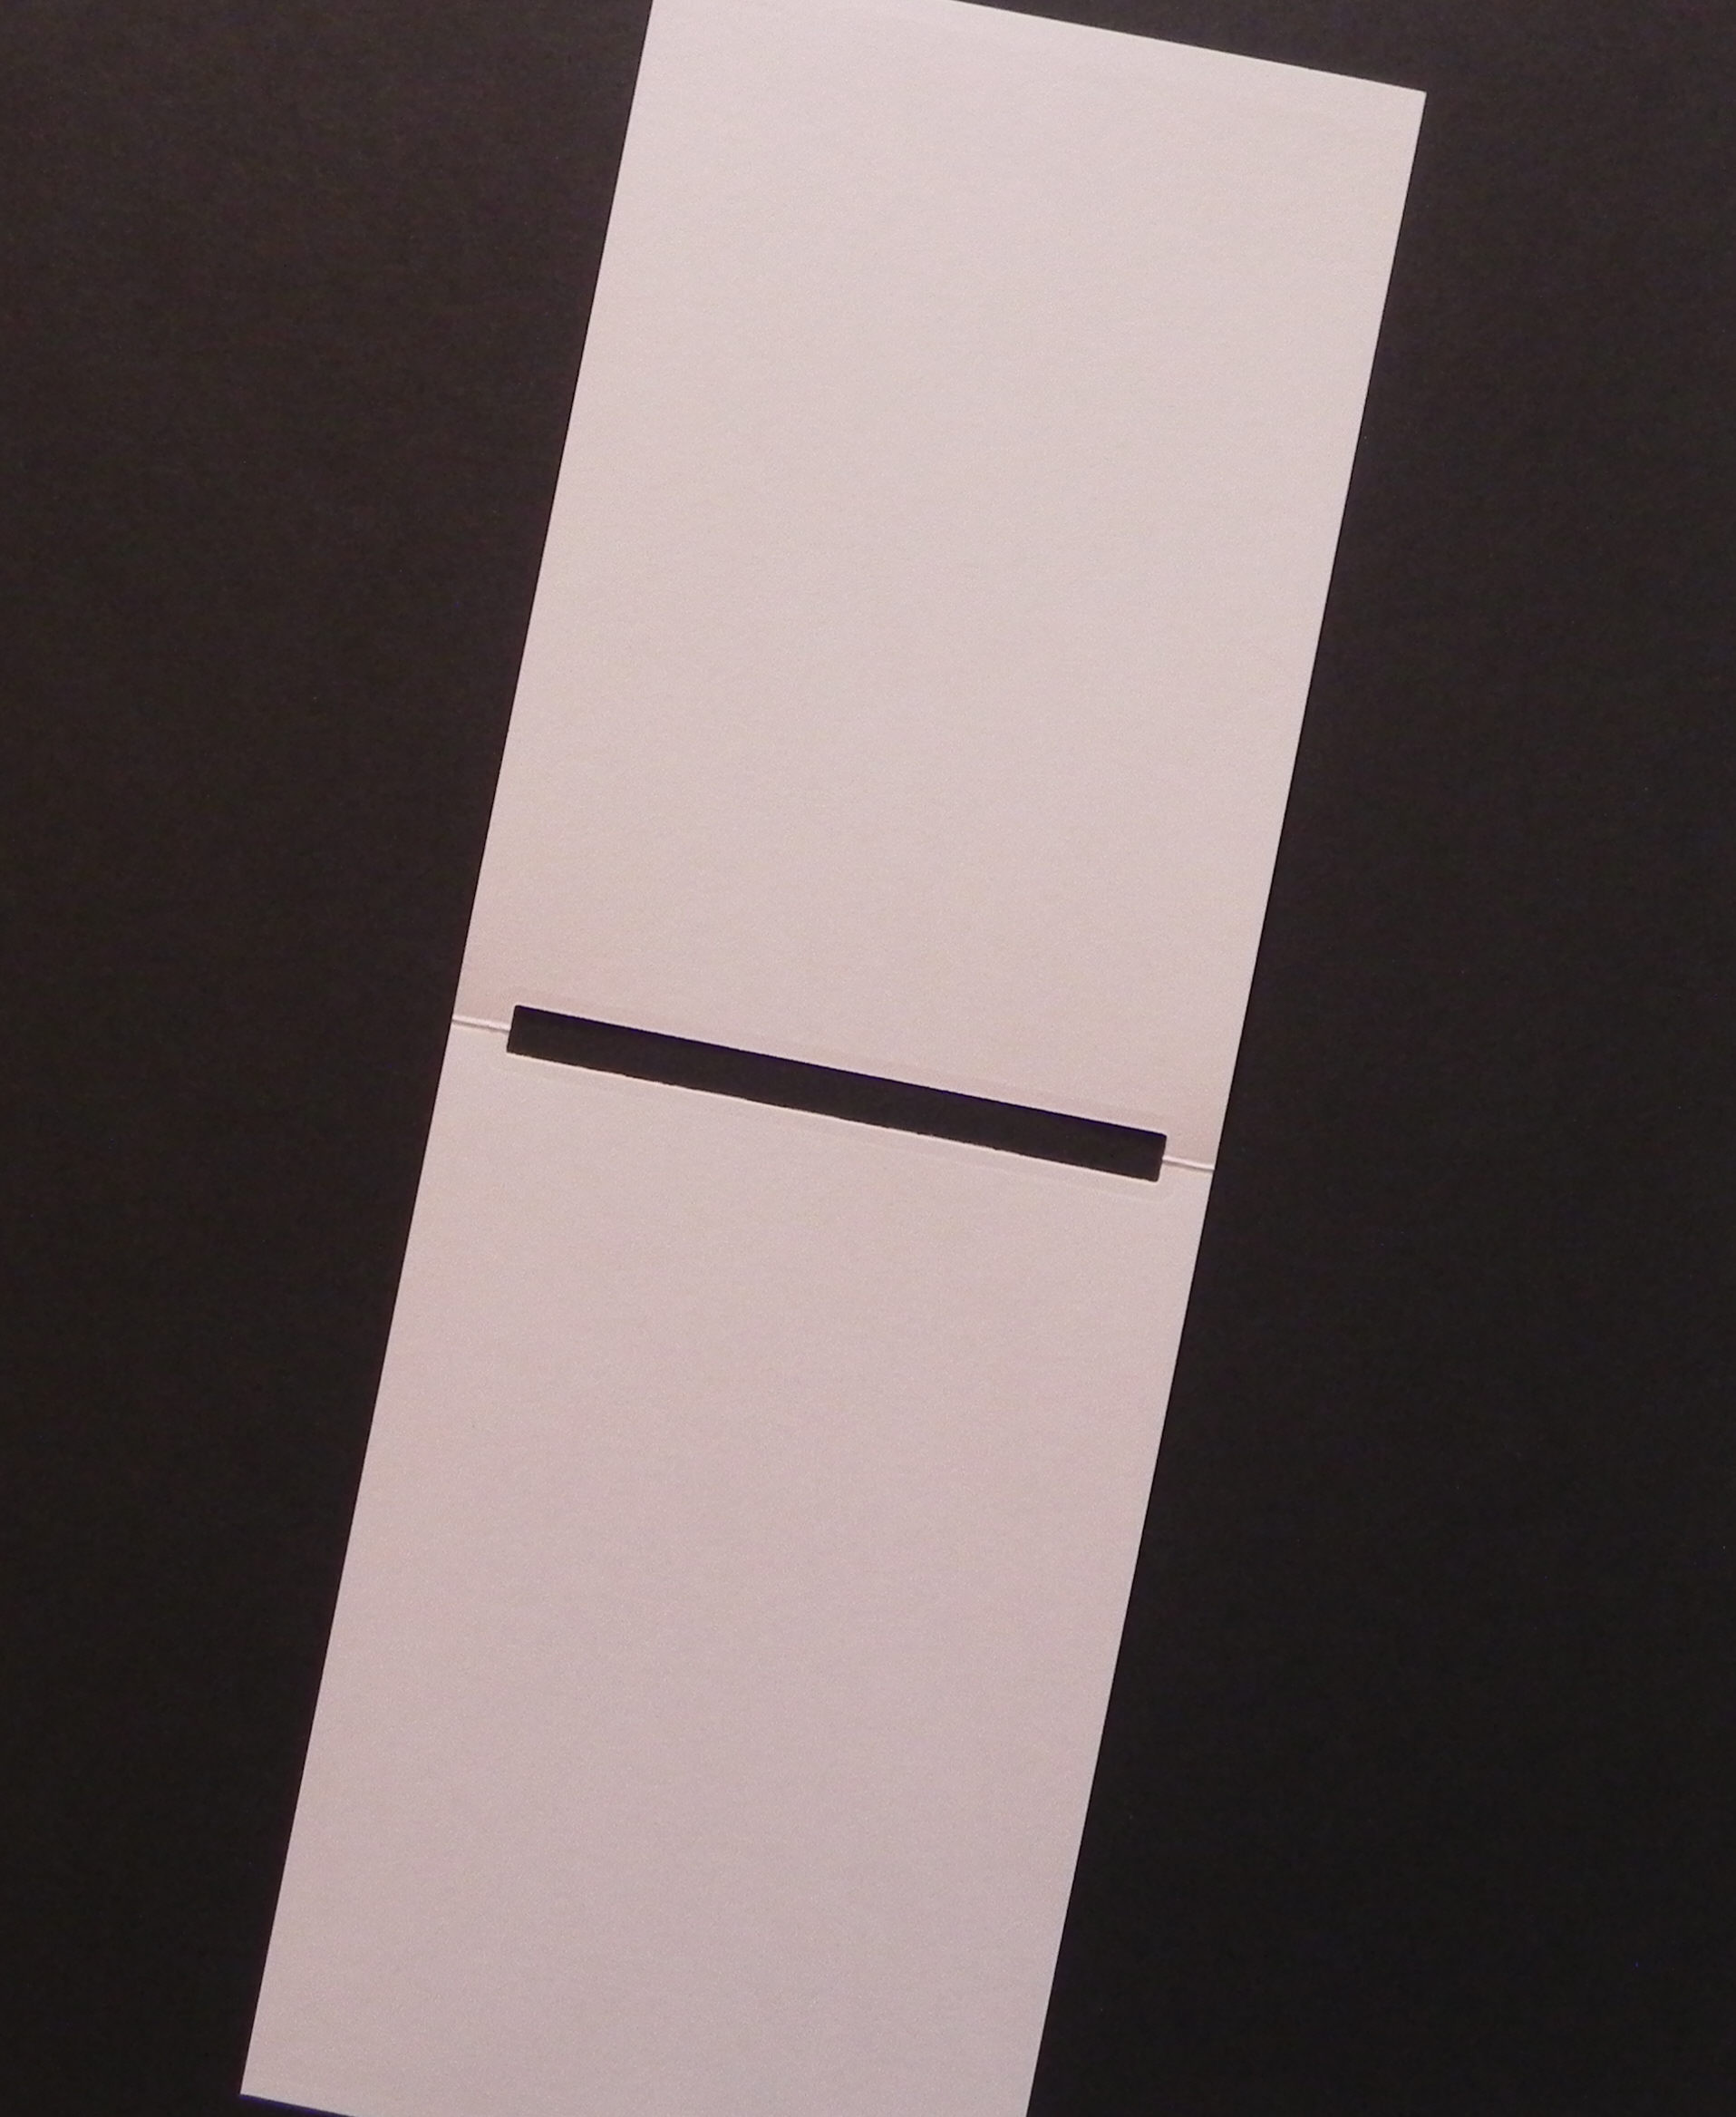
8. Once it is cut, this is what it will look like folded and opened. Set this aside.
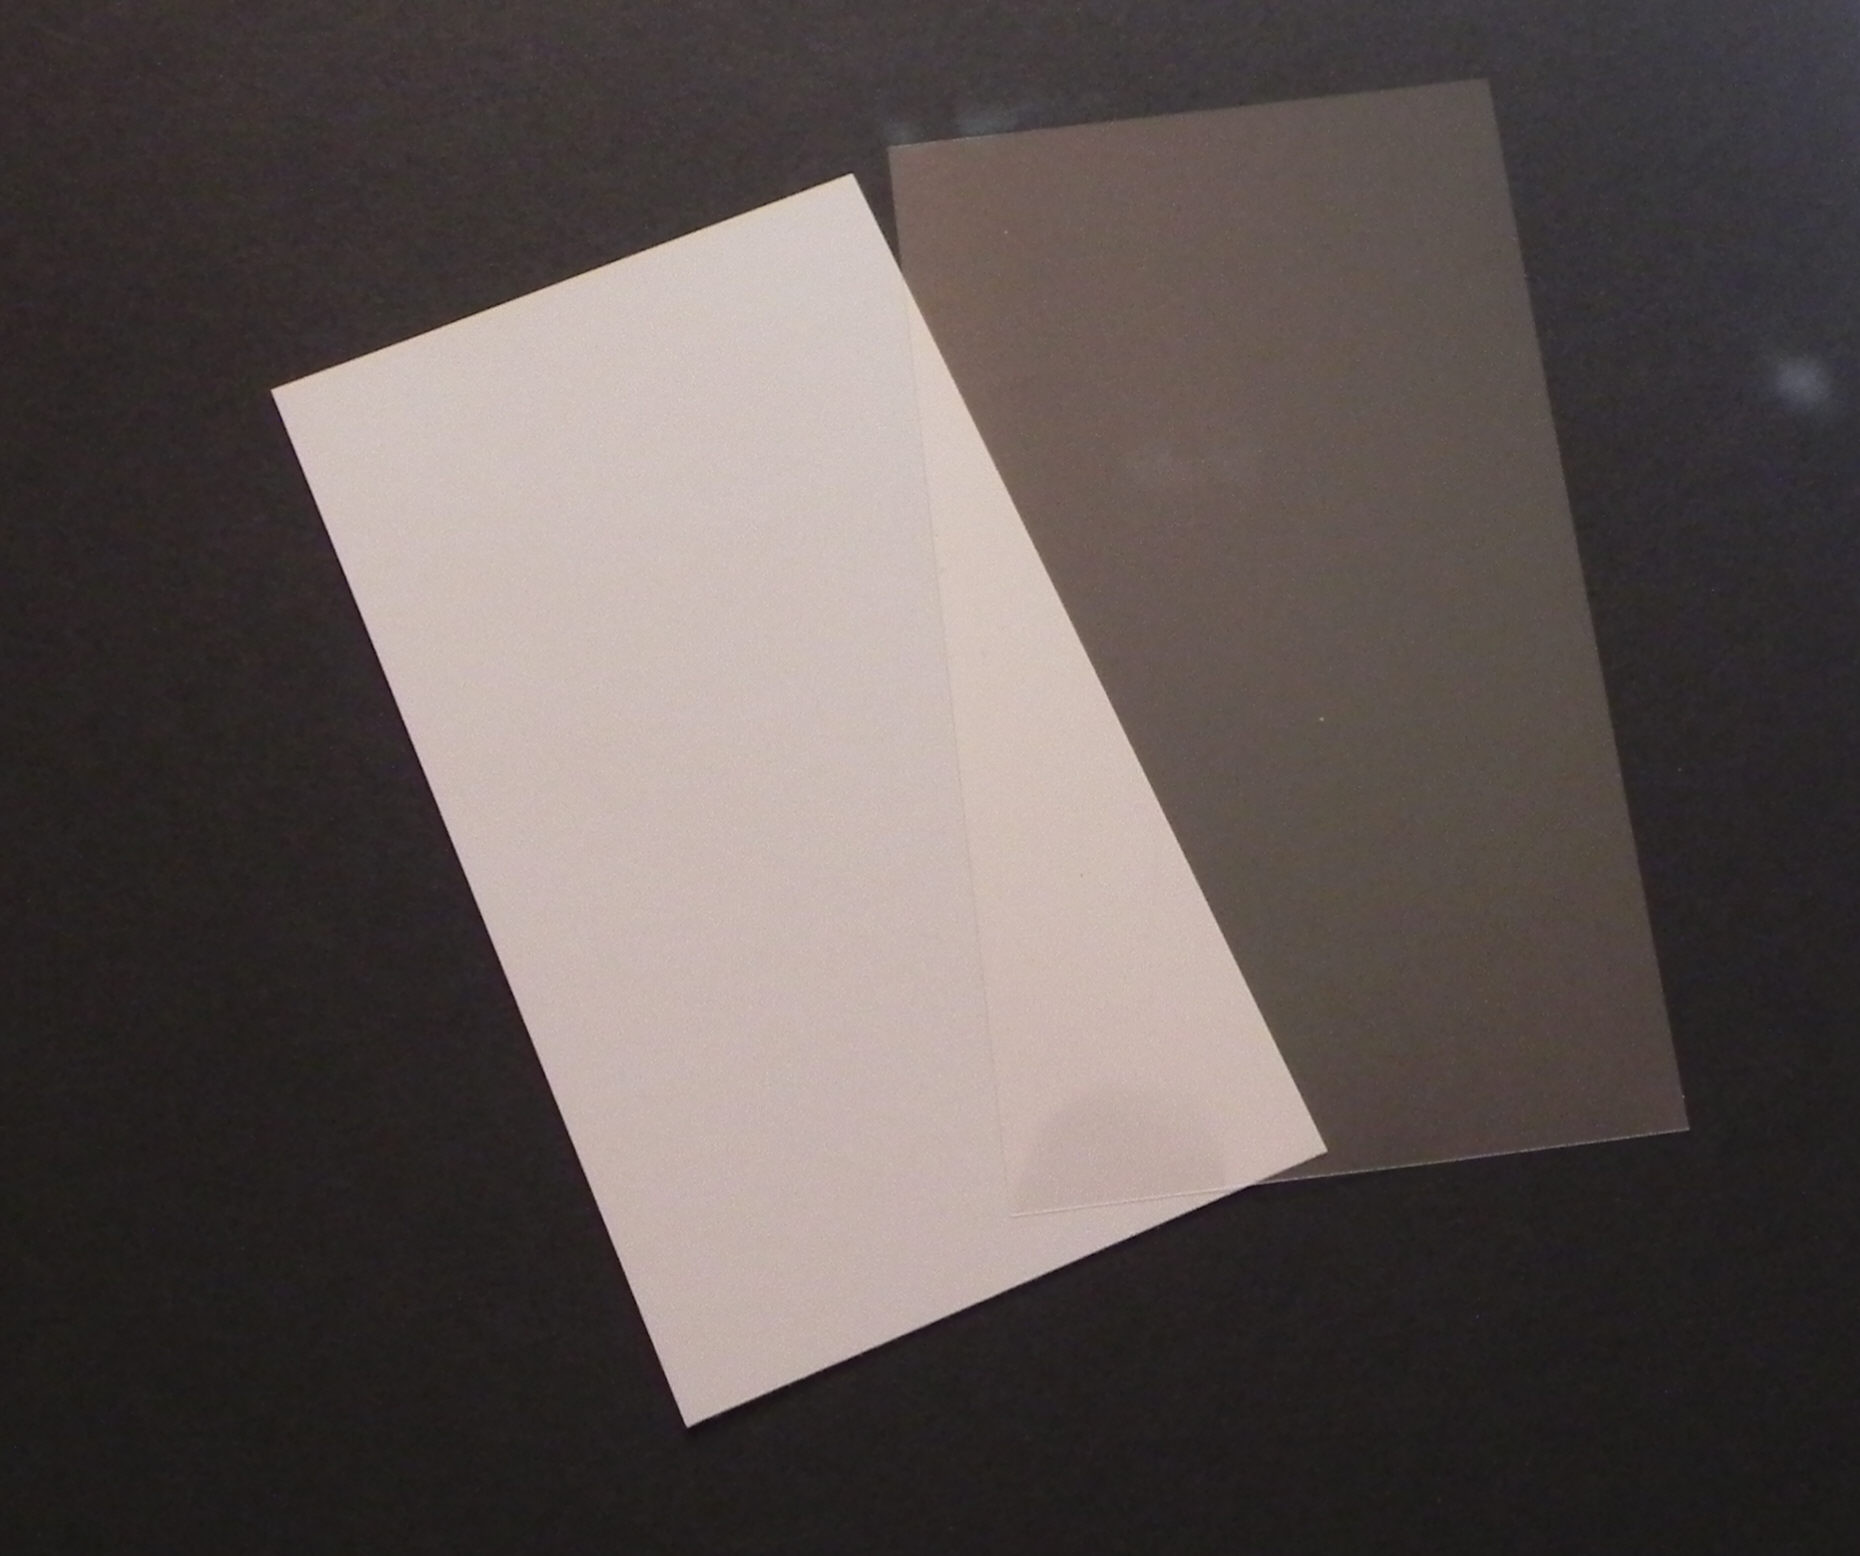
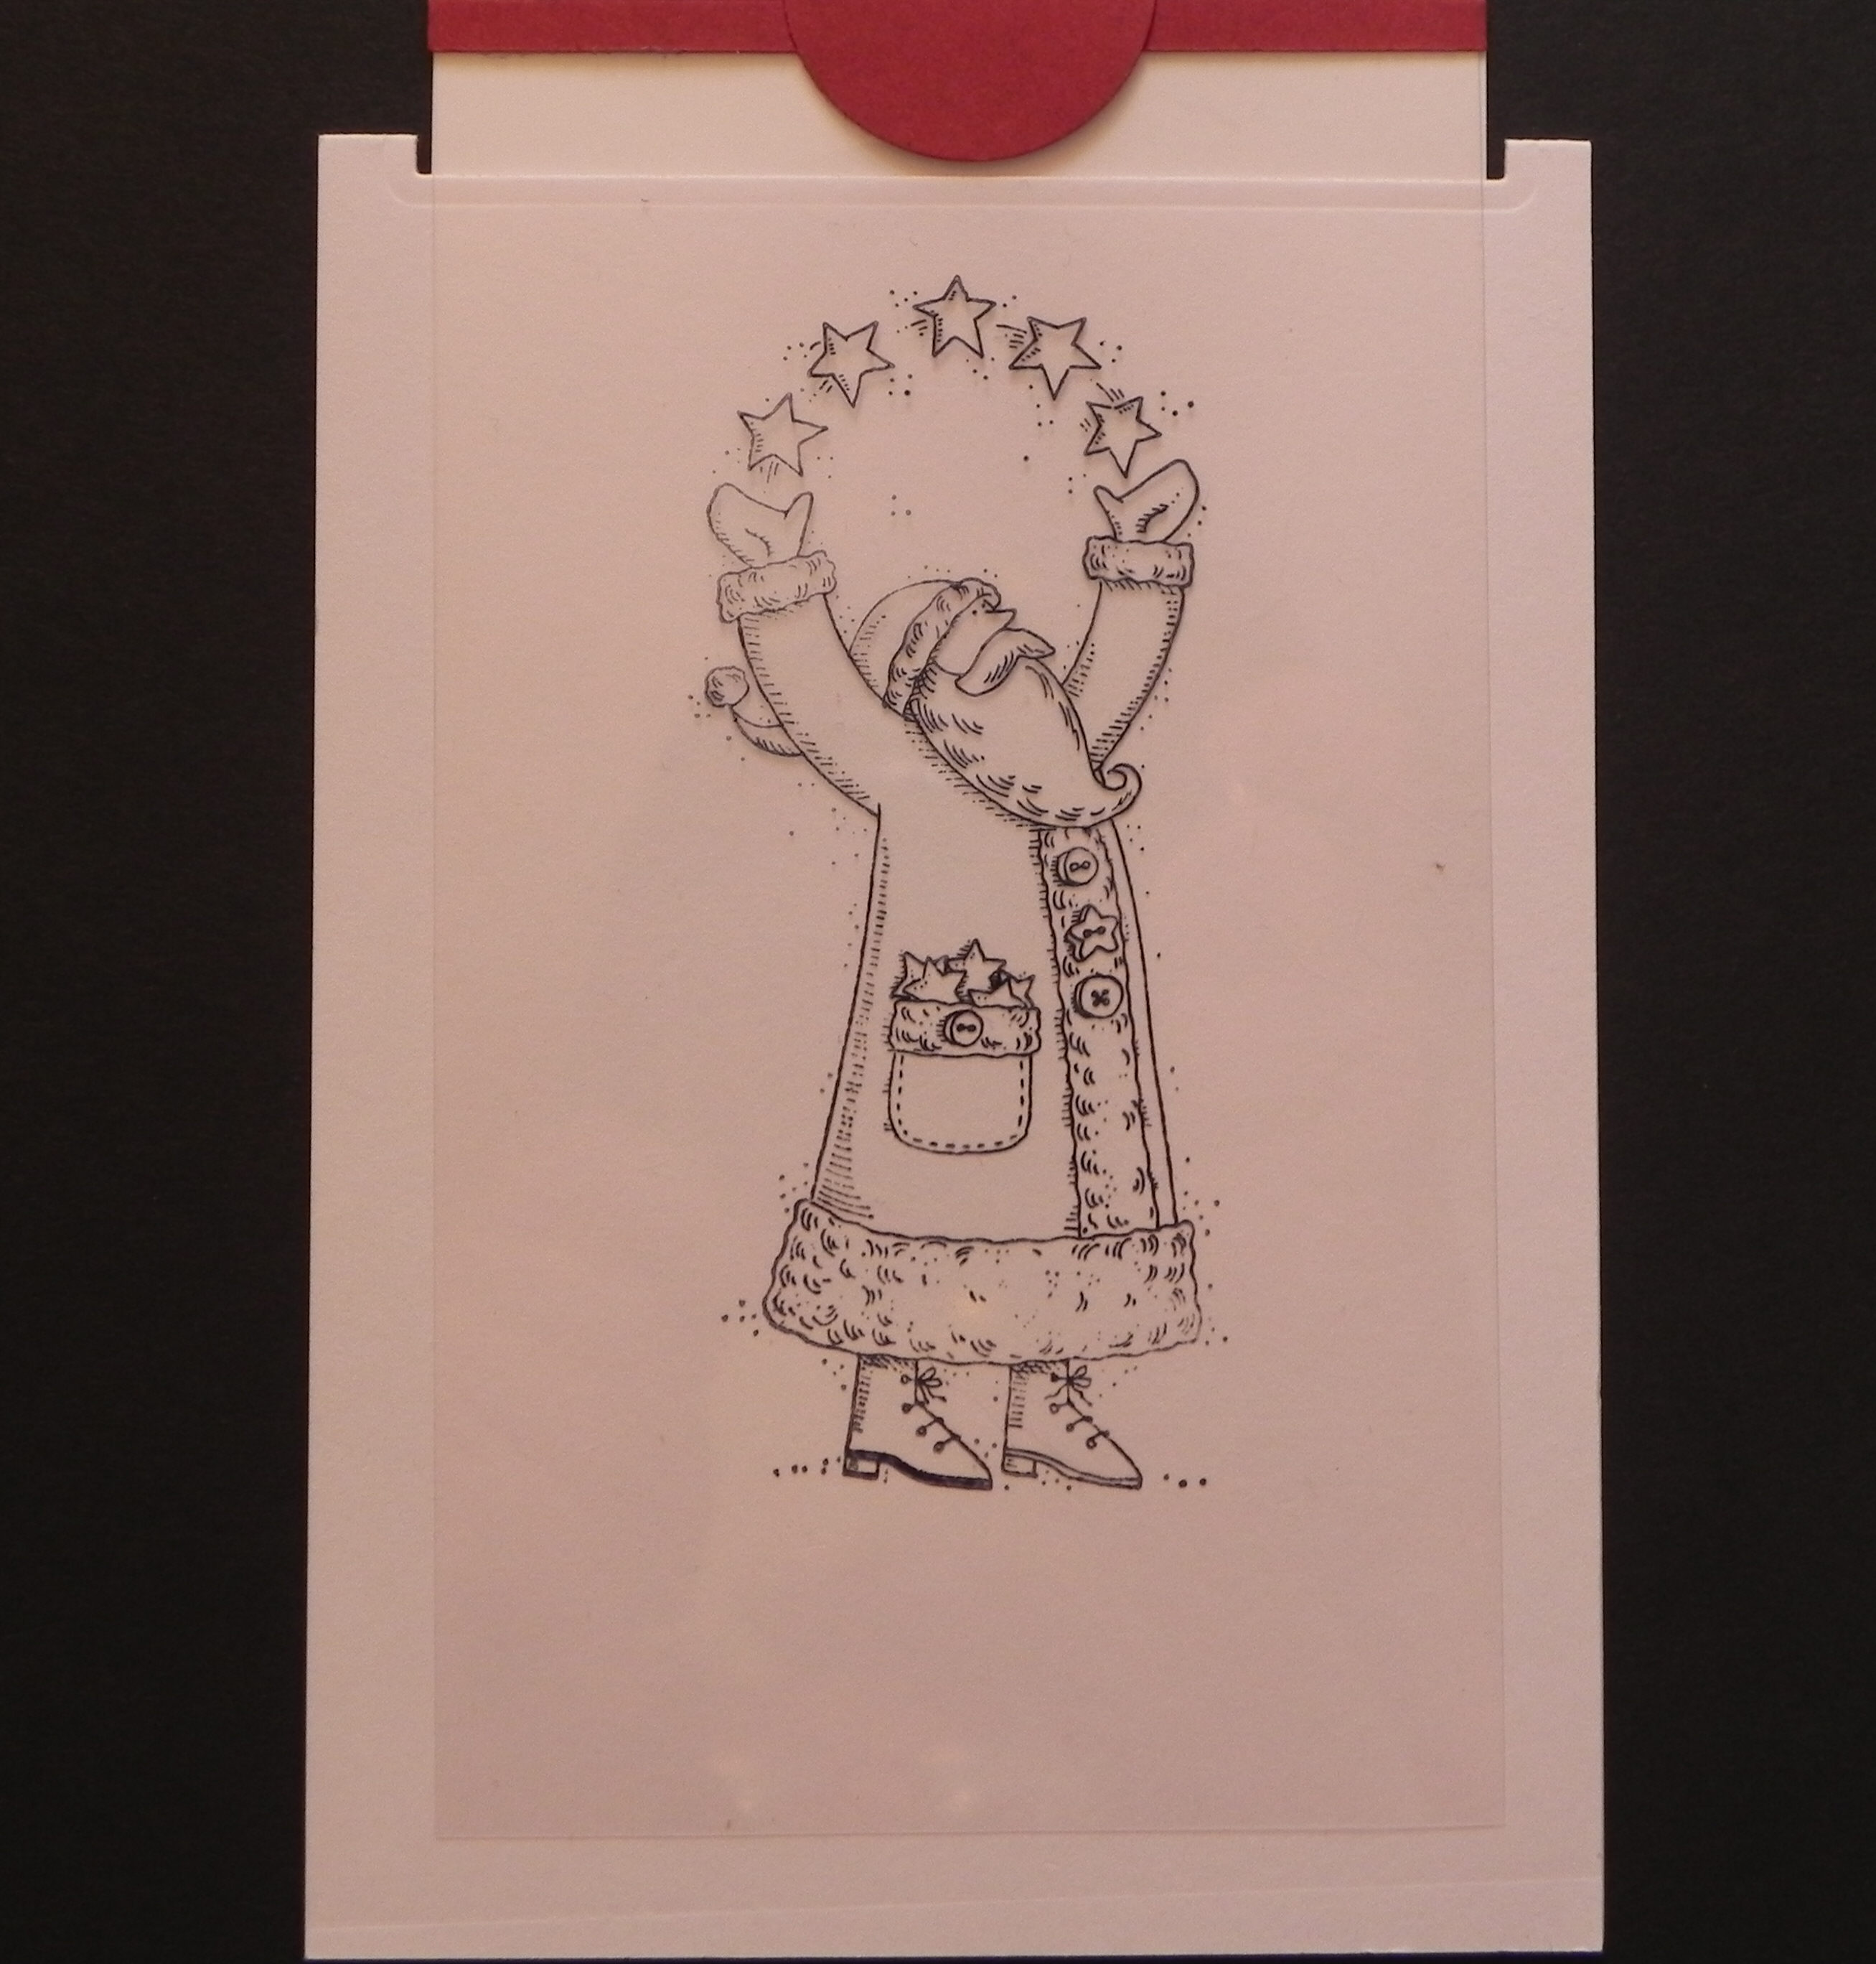
9. Cut a panel of card stock (for your stamped image) and a panel of acetate, each 3 1/2″ x 6 1/2″.
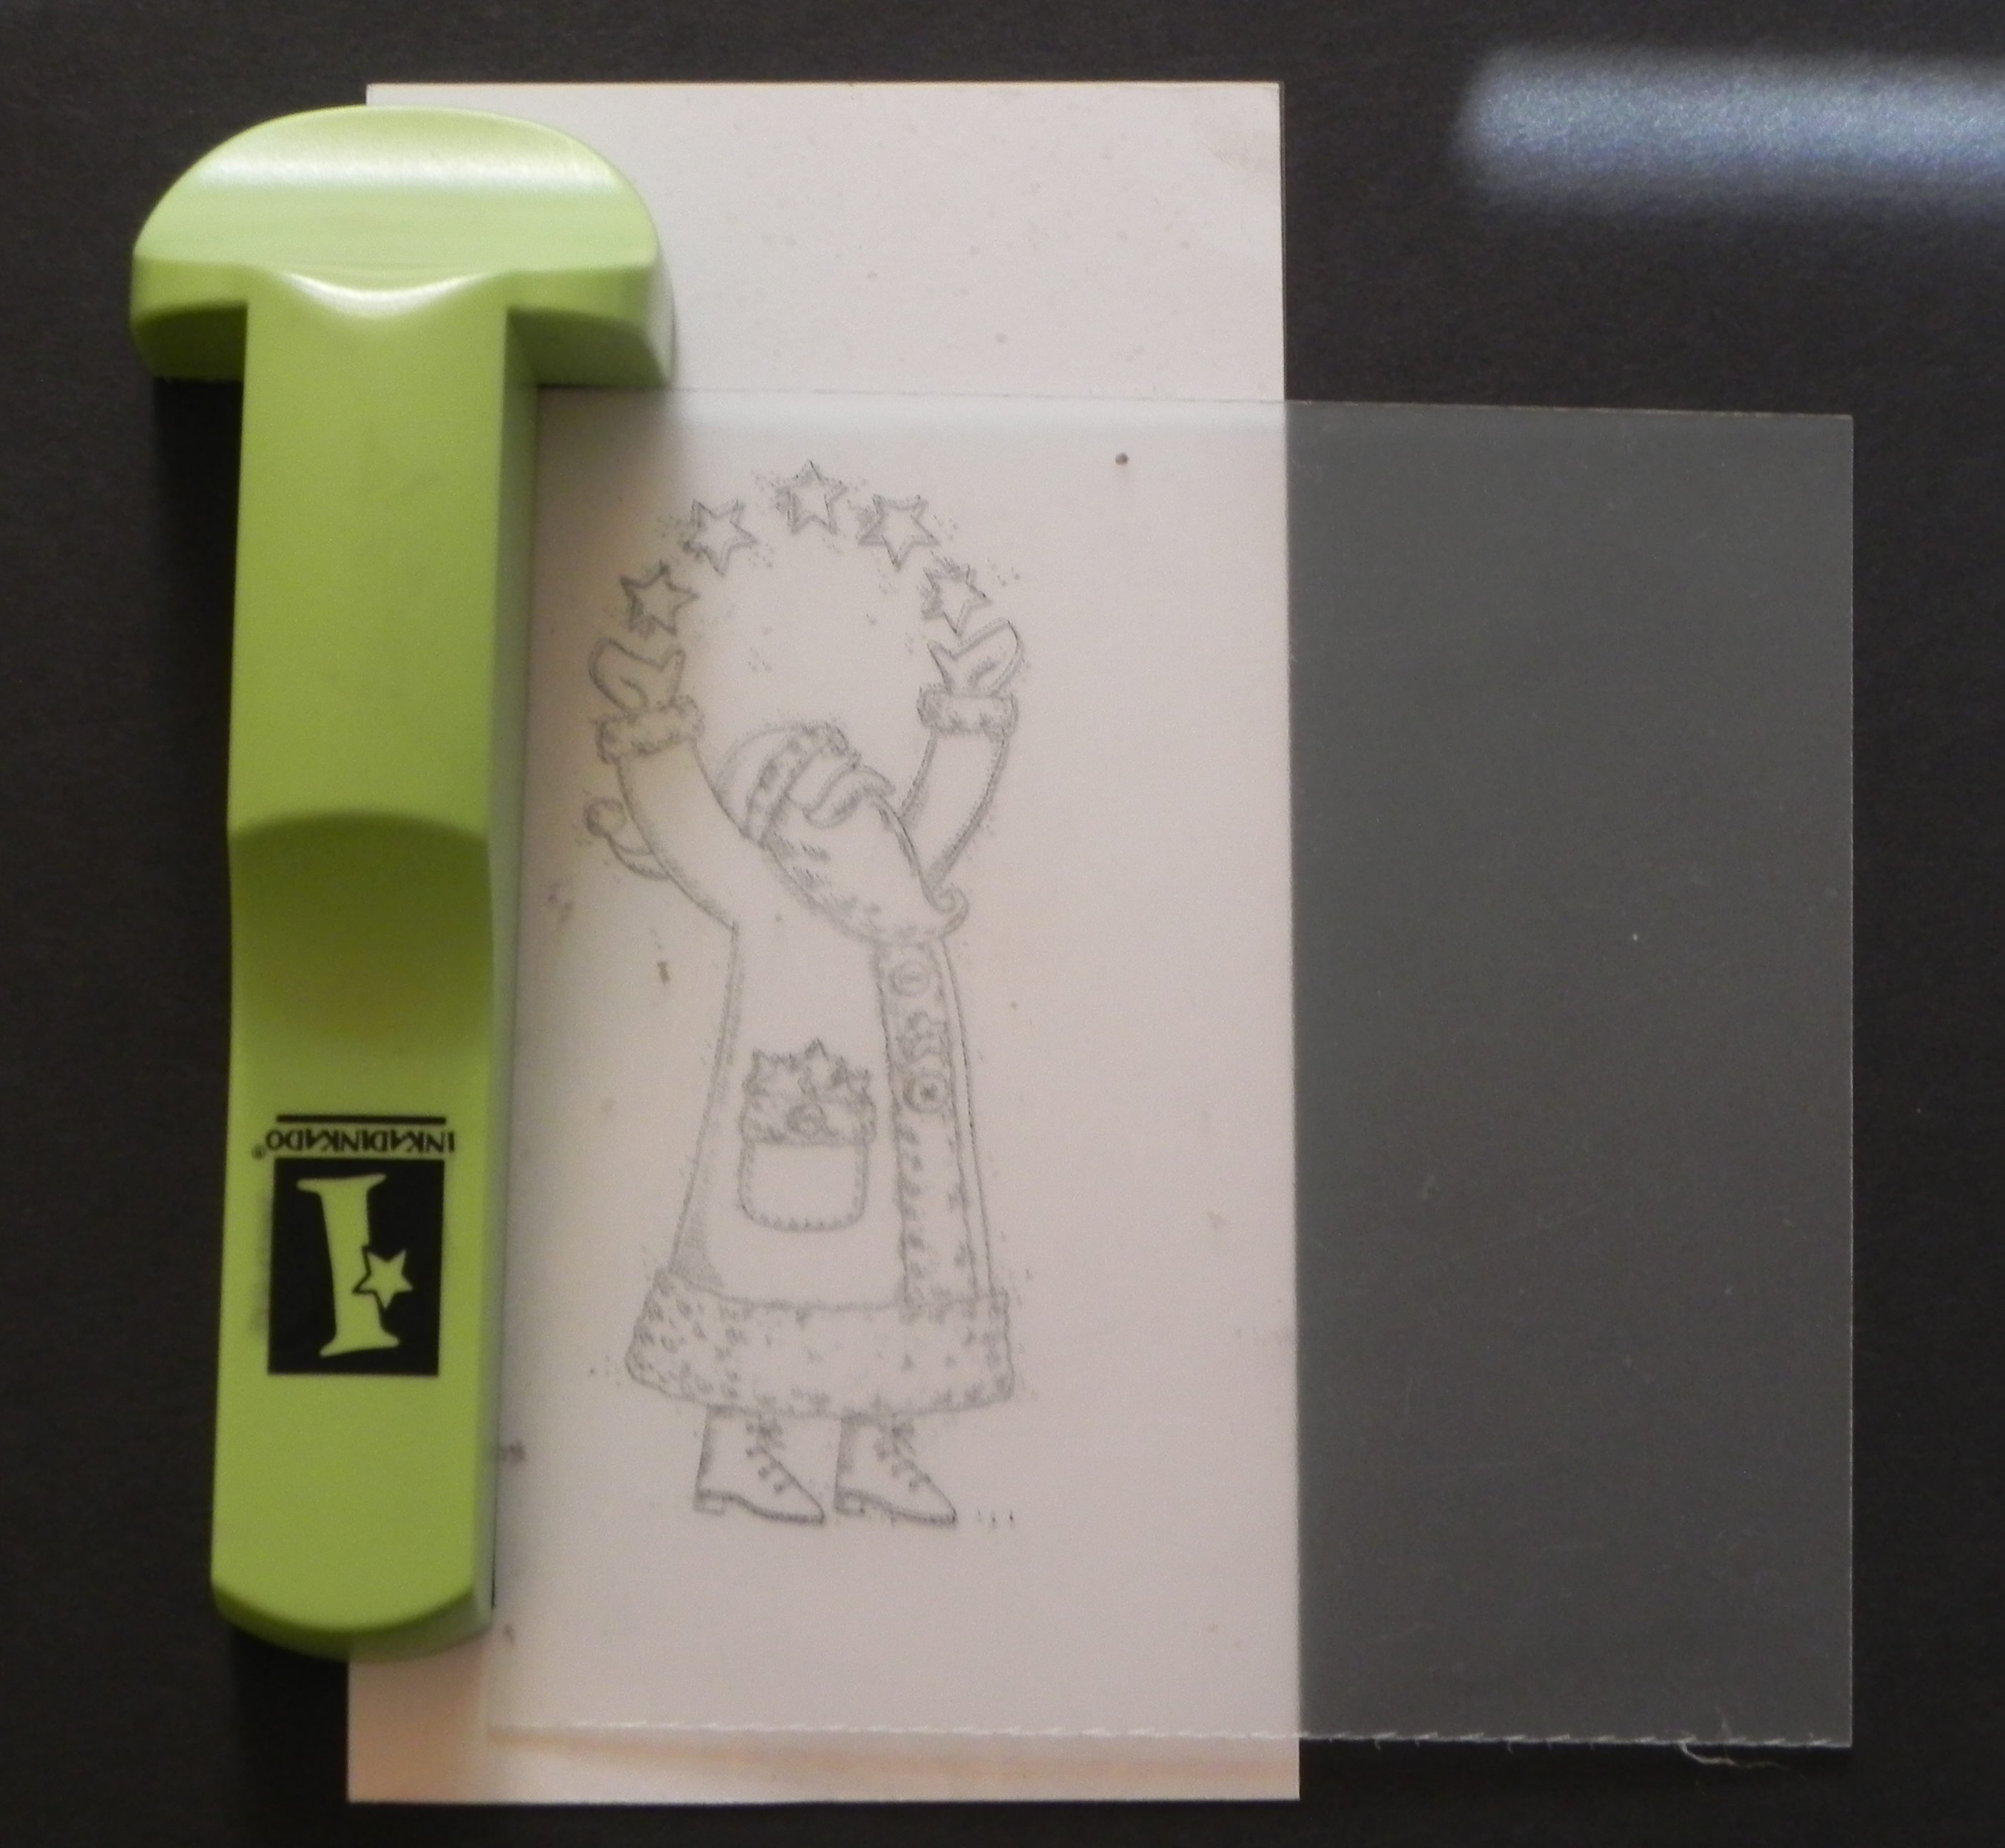
10. Use the Stamp-a-ma-jig and positioning sheet so you can get your stamped images positioned perfectly for the next several steps. (I’ve included detailed instructions on how to do this in case you’ve never used a stamp-a-ma-jig before.)
_________________________________________________________________
a. First, place the positioner sheet that came with your stamp-a-ma-jig in the corner of the tool. Make sure it lines up perfectly square.
_________________________________________________________________
b. Without moving the tool or positioner, ink your stamp, and stamp the image onto the positioner, again making sure to line up the stamp perfectly in the corner of the tool.
______________________________________________________________
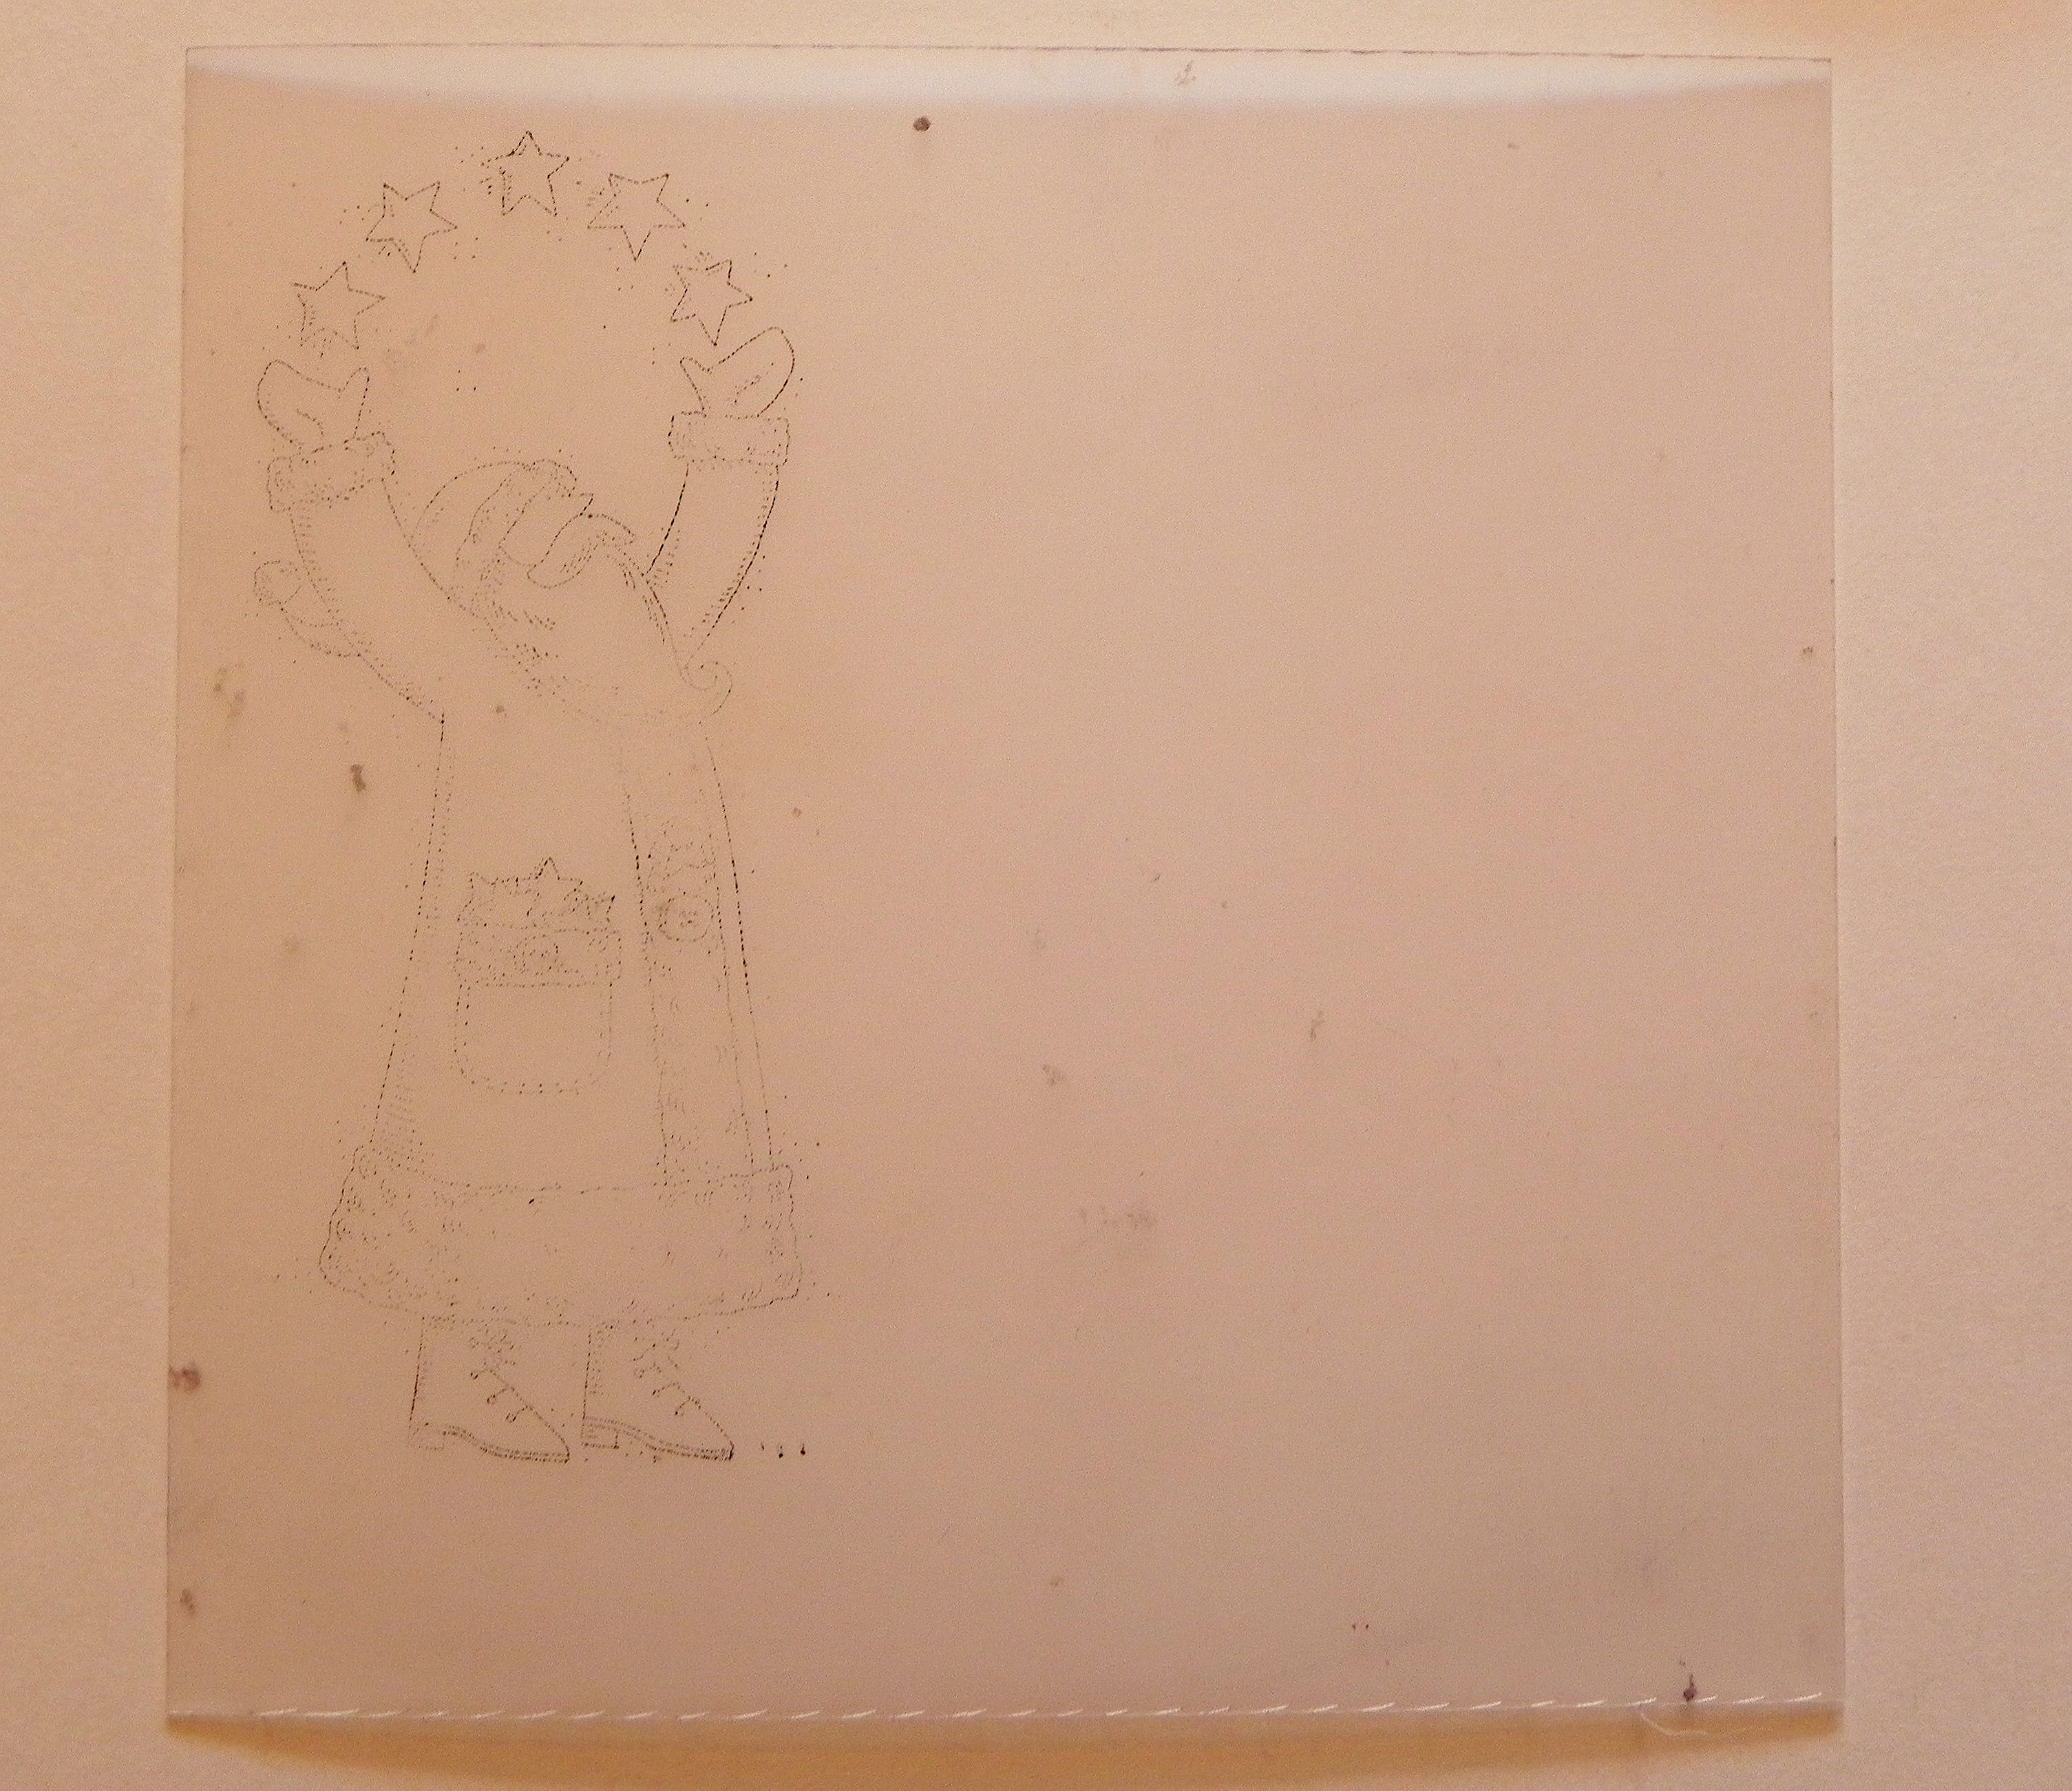
c. Remove the stamp and tool, and you will have a stamped image on your positioner sheet. (Sorry it photographed so light.)
_________________________________________________________________
d. Place this sheet on you cardstock panel you cut in step 9. Position it exactly as you like it, leaving at least 1″ clear at the top.
_________________________________________________________________
e. While holding the positioner securely in place, put the stamp-a-ma-jig against the upper left corner of the positioner, making sure it fits perfectly square. Don’t let the positioner move at all. (If it does, start over with the step d.)
_________________________________________________________________
f. Without moving the tool, slide the positioner sheet away, and stamp the image on your cardstock, lining up the stamp in the corner as you did before.
_________________________________________________________________
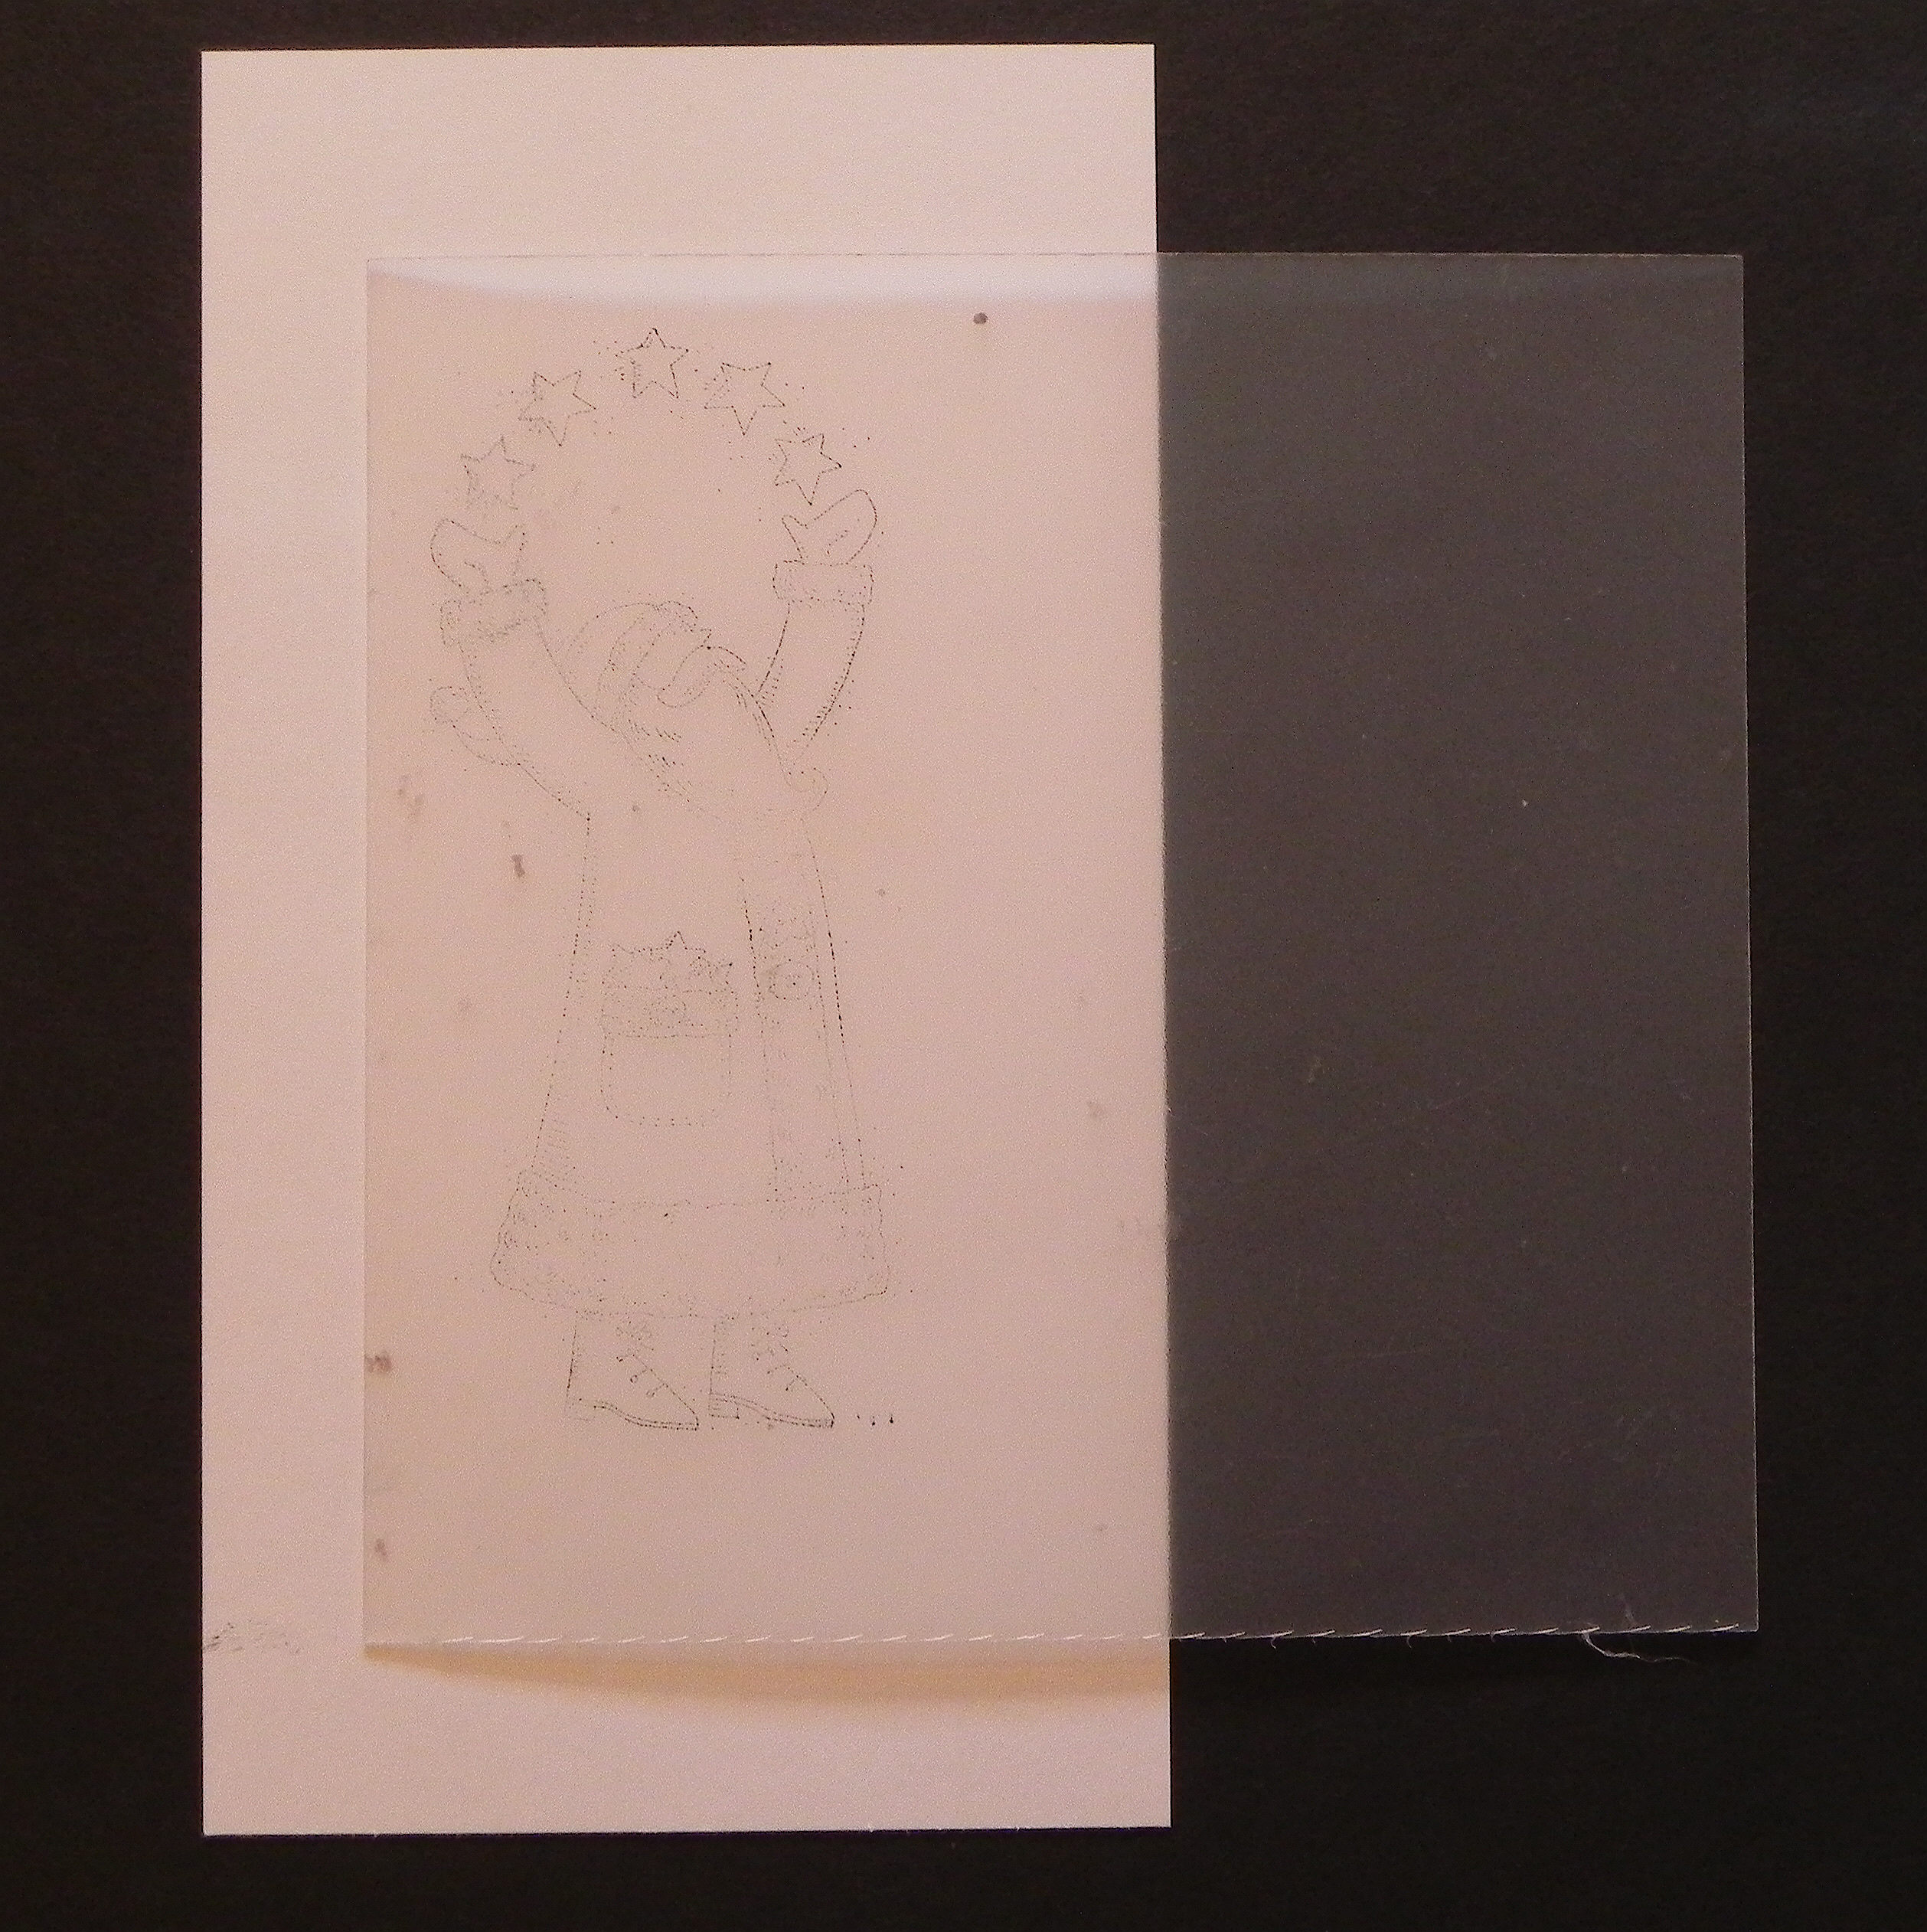
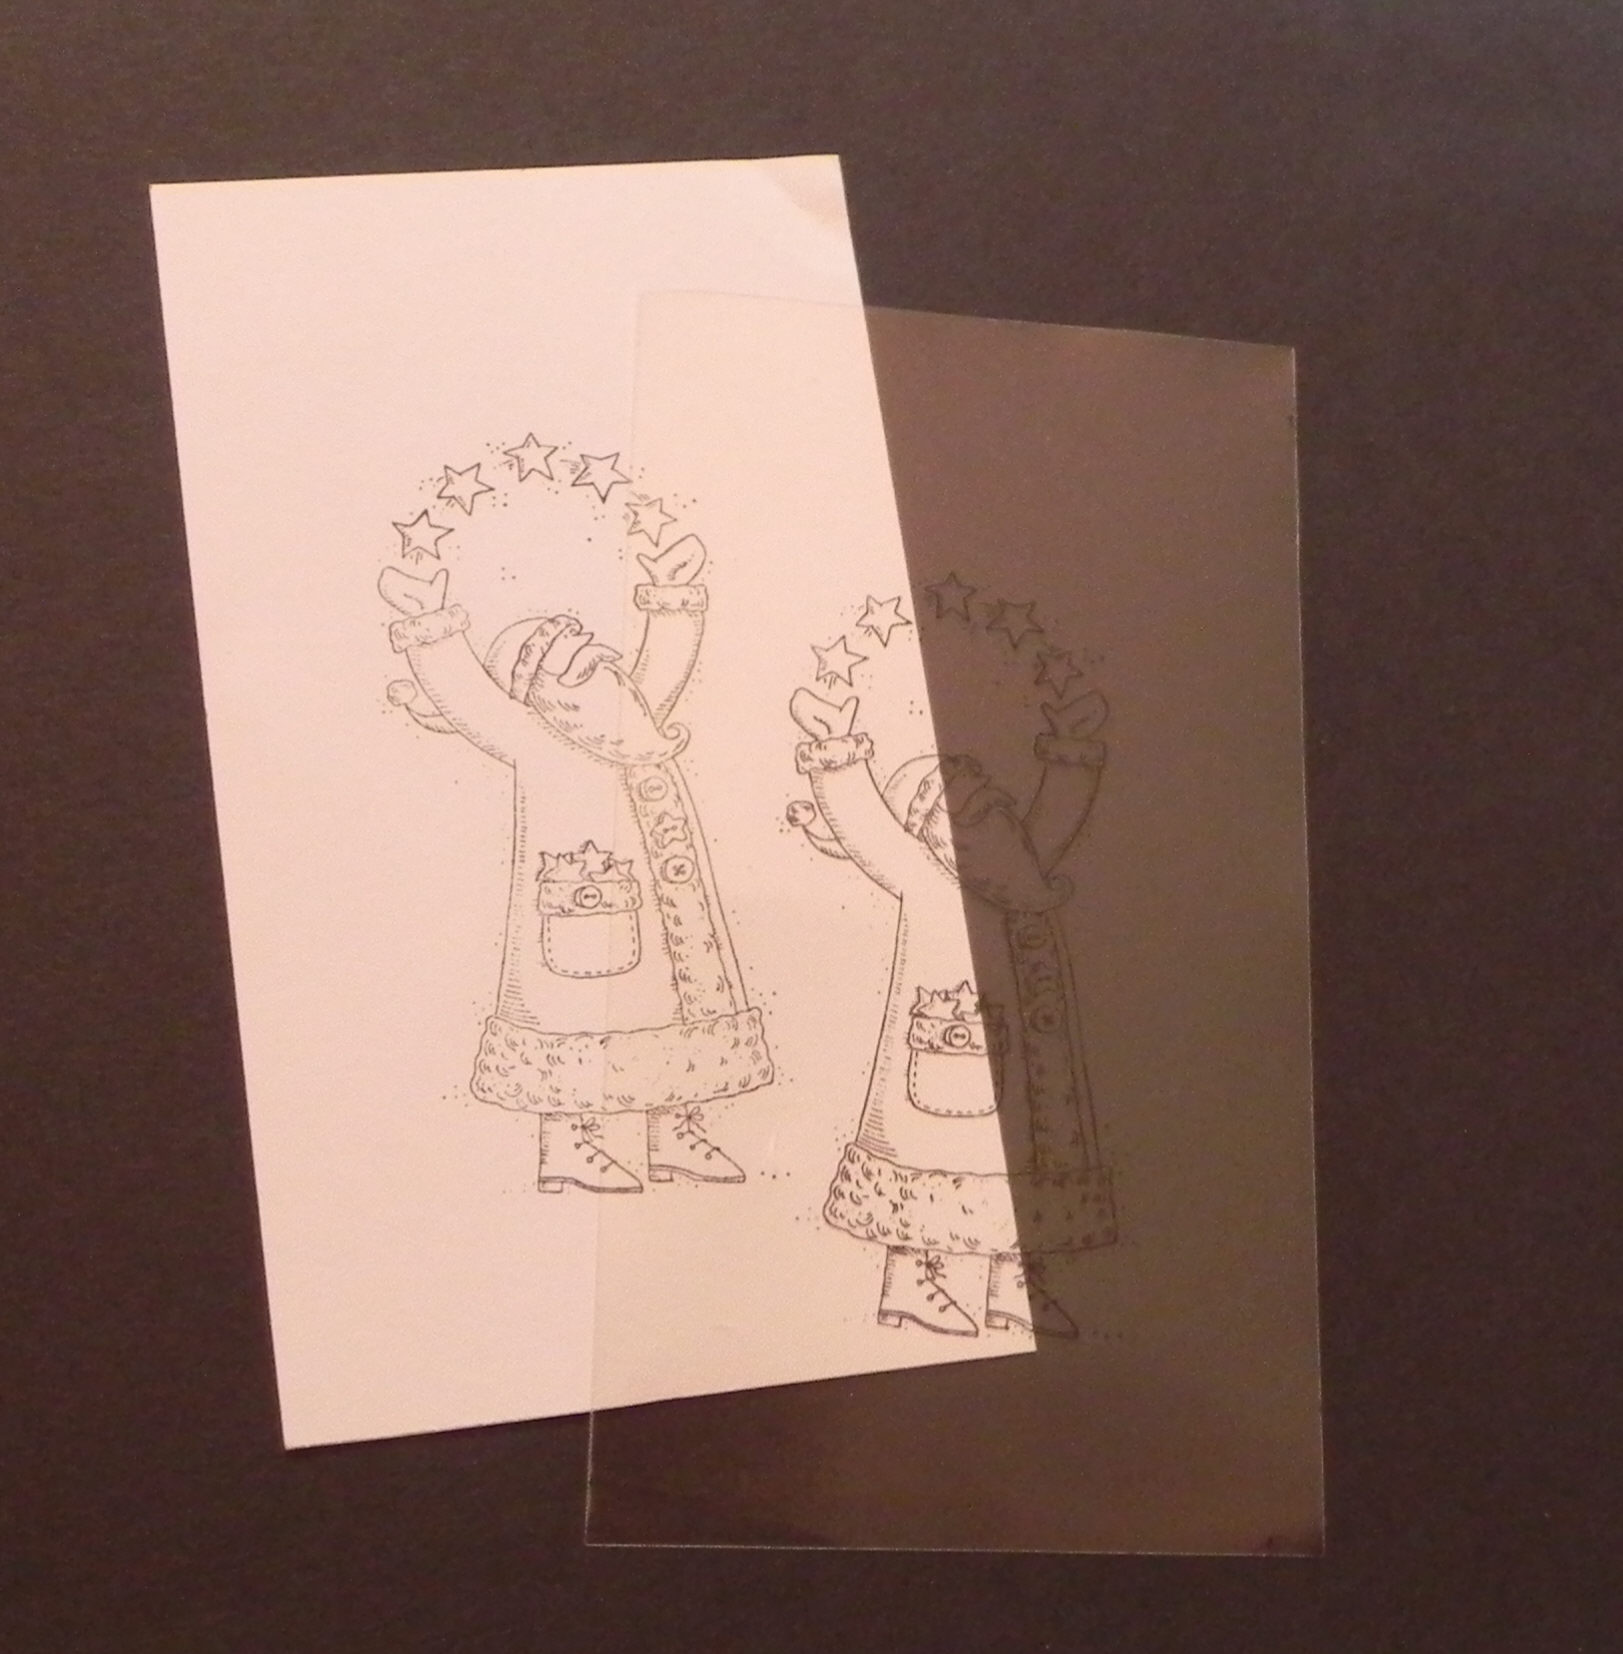
g. Next, place the sheet of acetate directly on top of your stamped cardstock panel, making sure the edges line up.
_________________________________________________________________
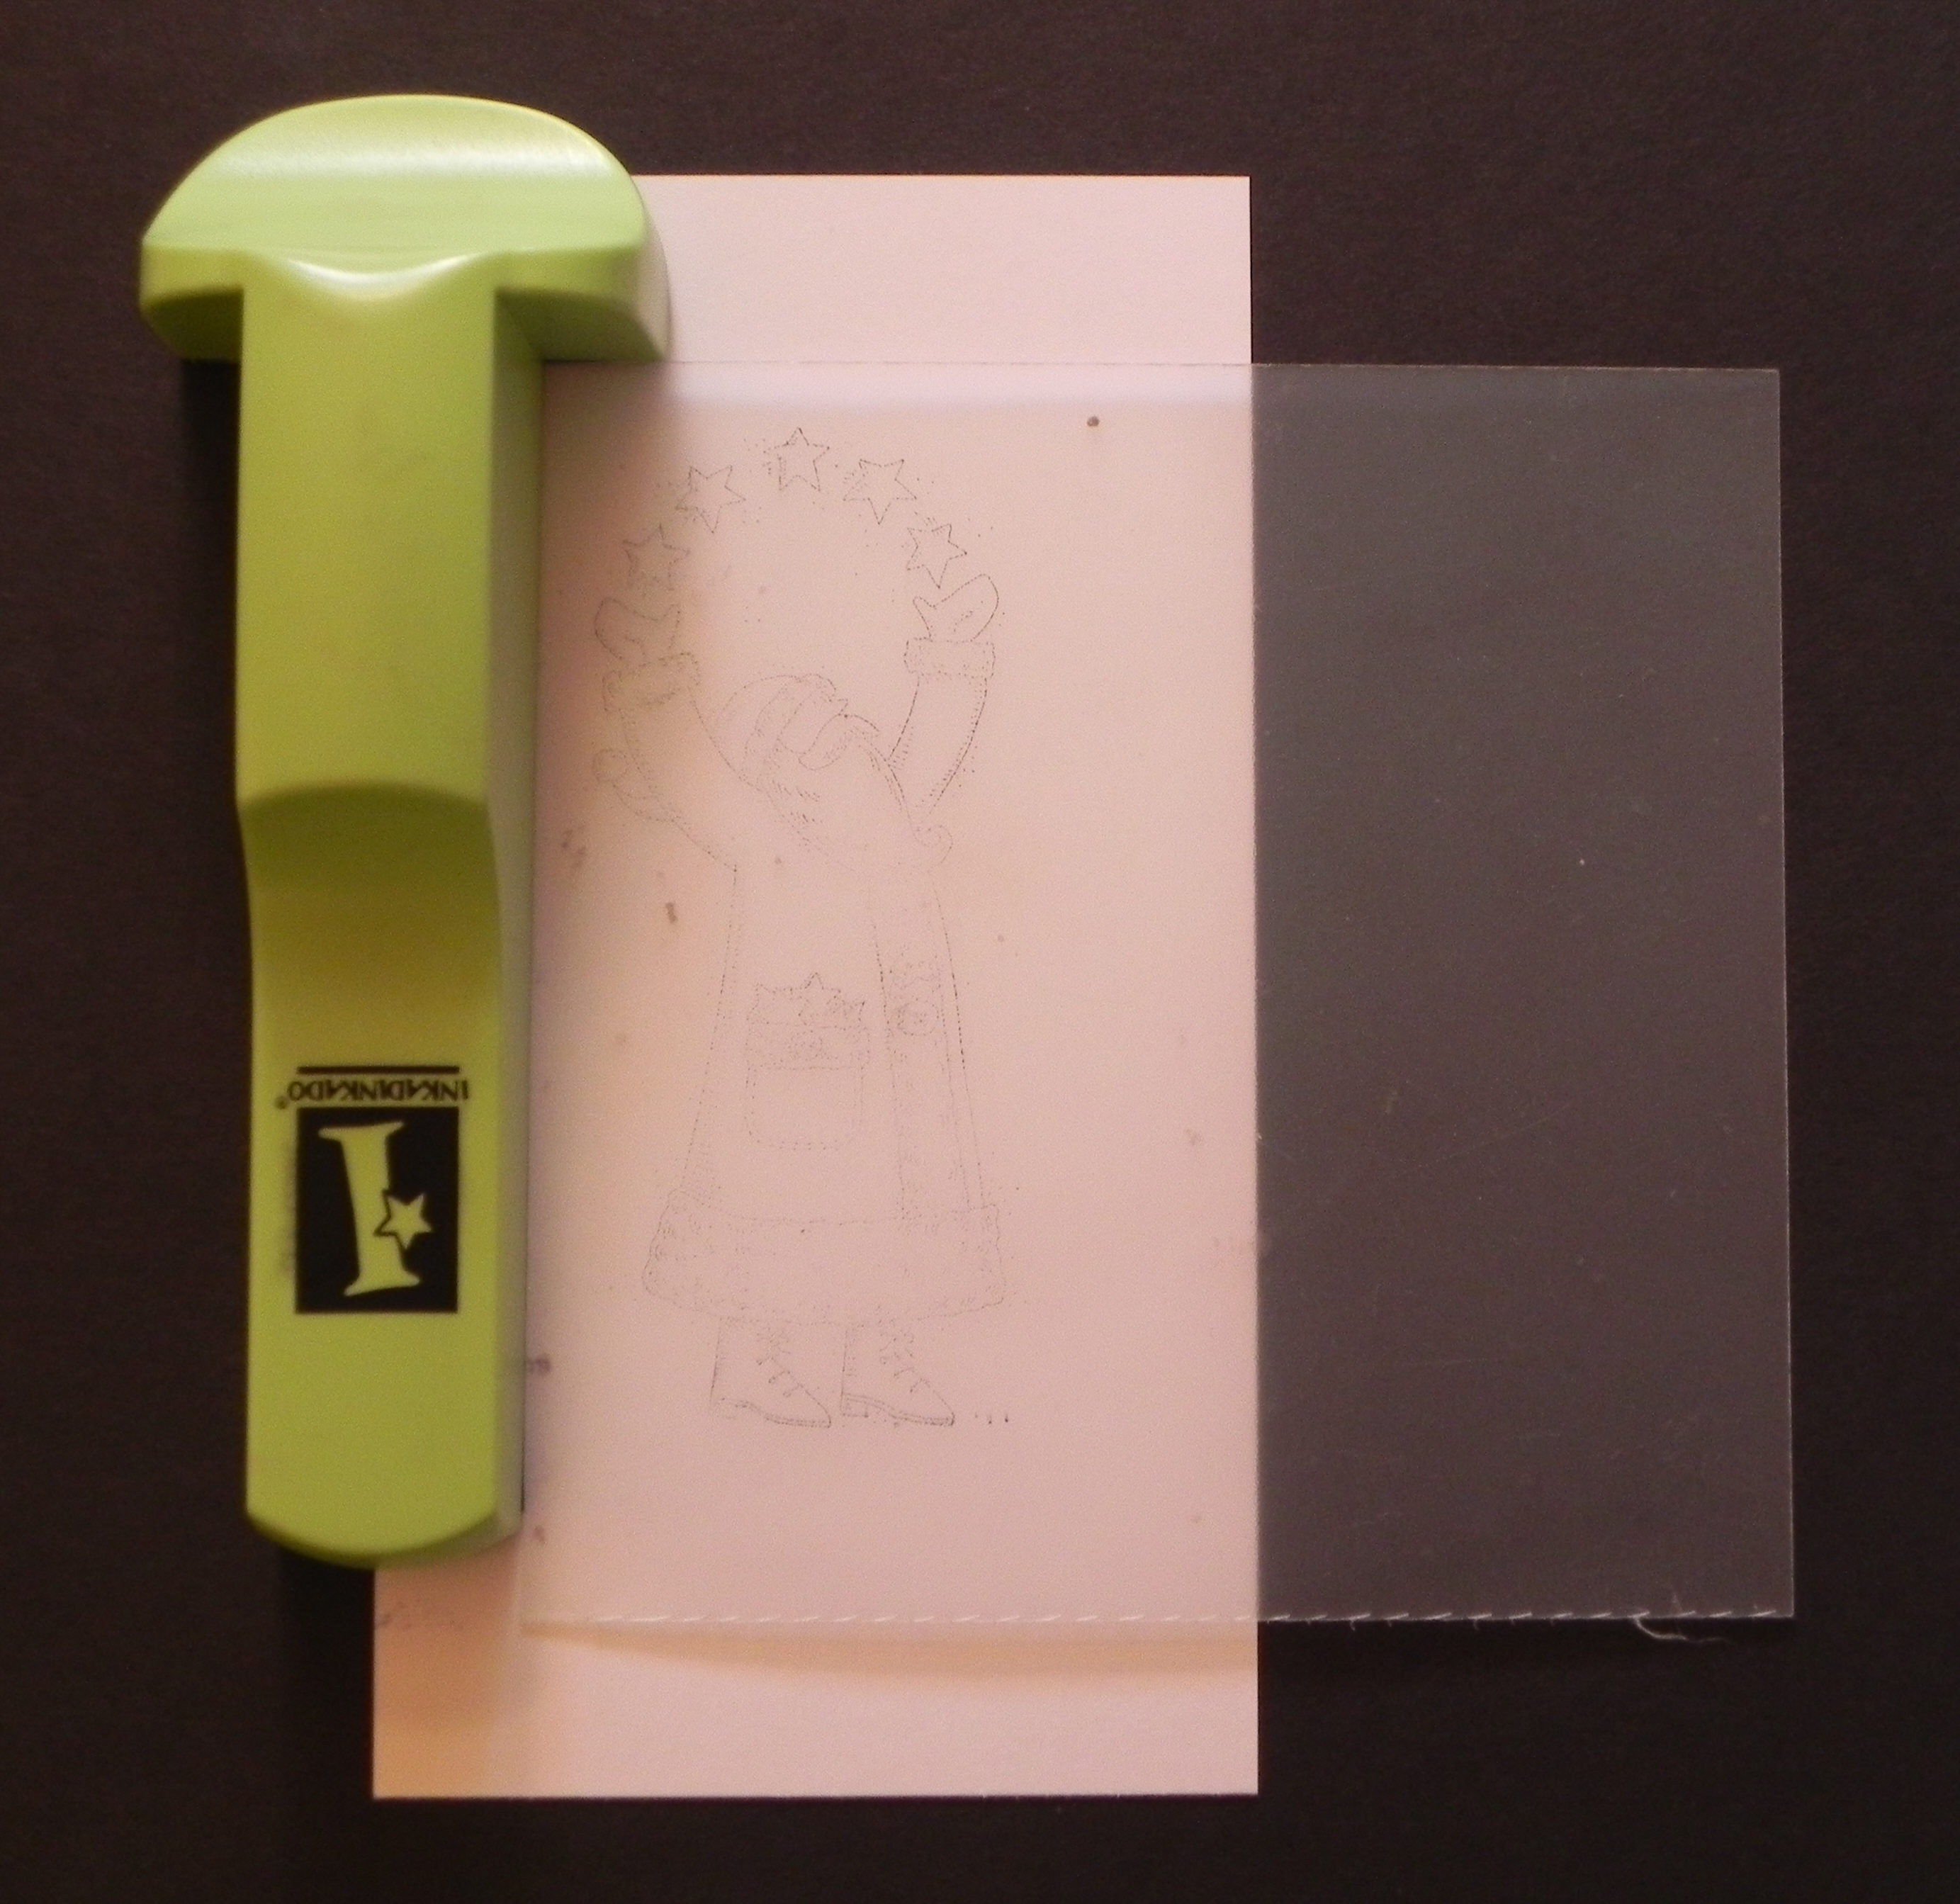
h. Place the positioner sheet on the acetate over the stamped image, lining it up perfectly. Then place the stamp-a-ma-jig in the corner of the positioner sheet, and stamp the image with stazon ink onto the acetate.
_________________________________________________________________
i. Remove the stamp-a-ma-jig and positioner, and you now have 2 stamped images on cardstock and acetate that should line up perfectly when the panels are placed directly one on top of the other.
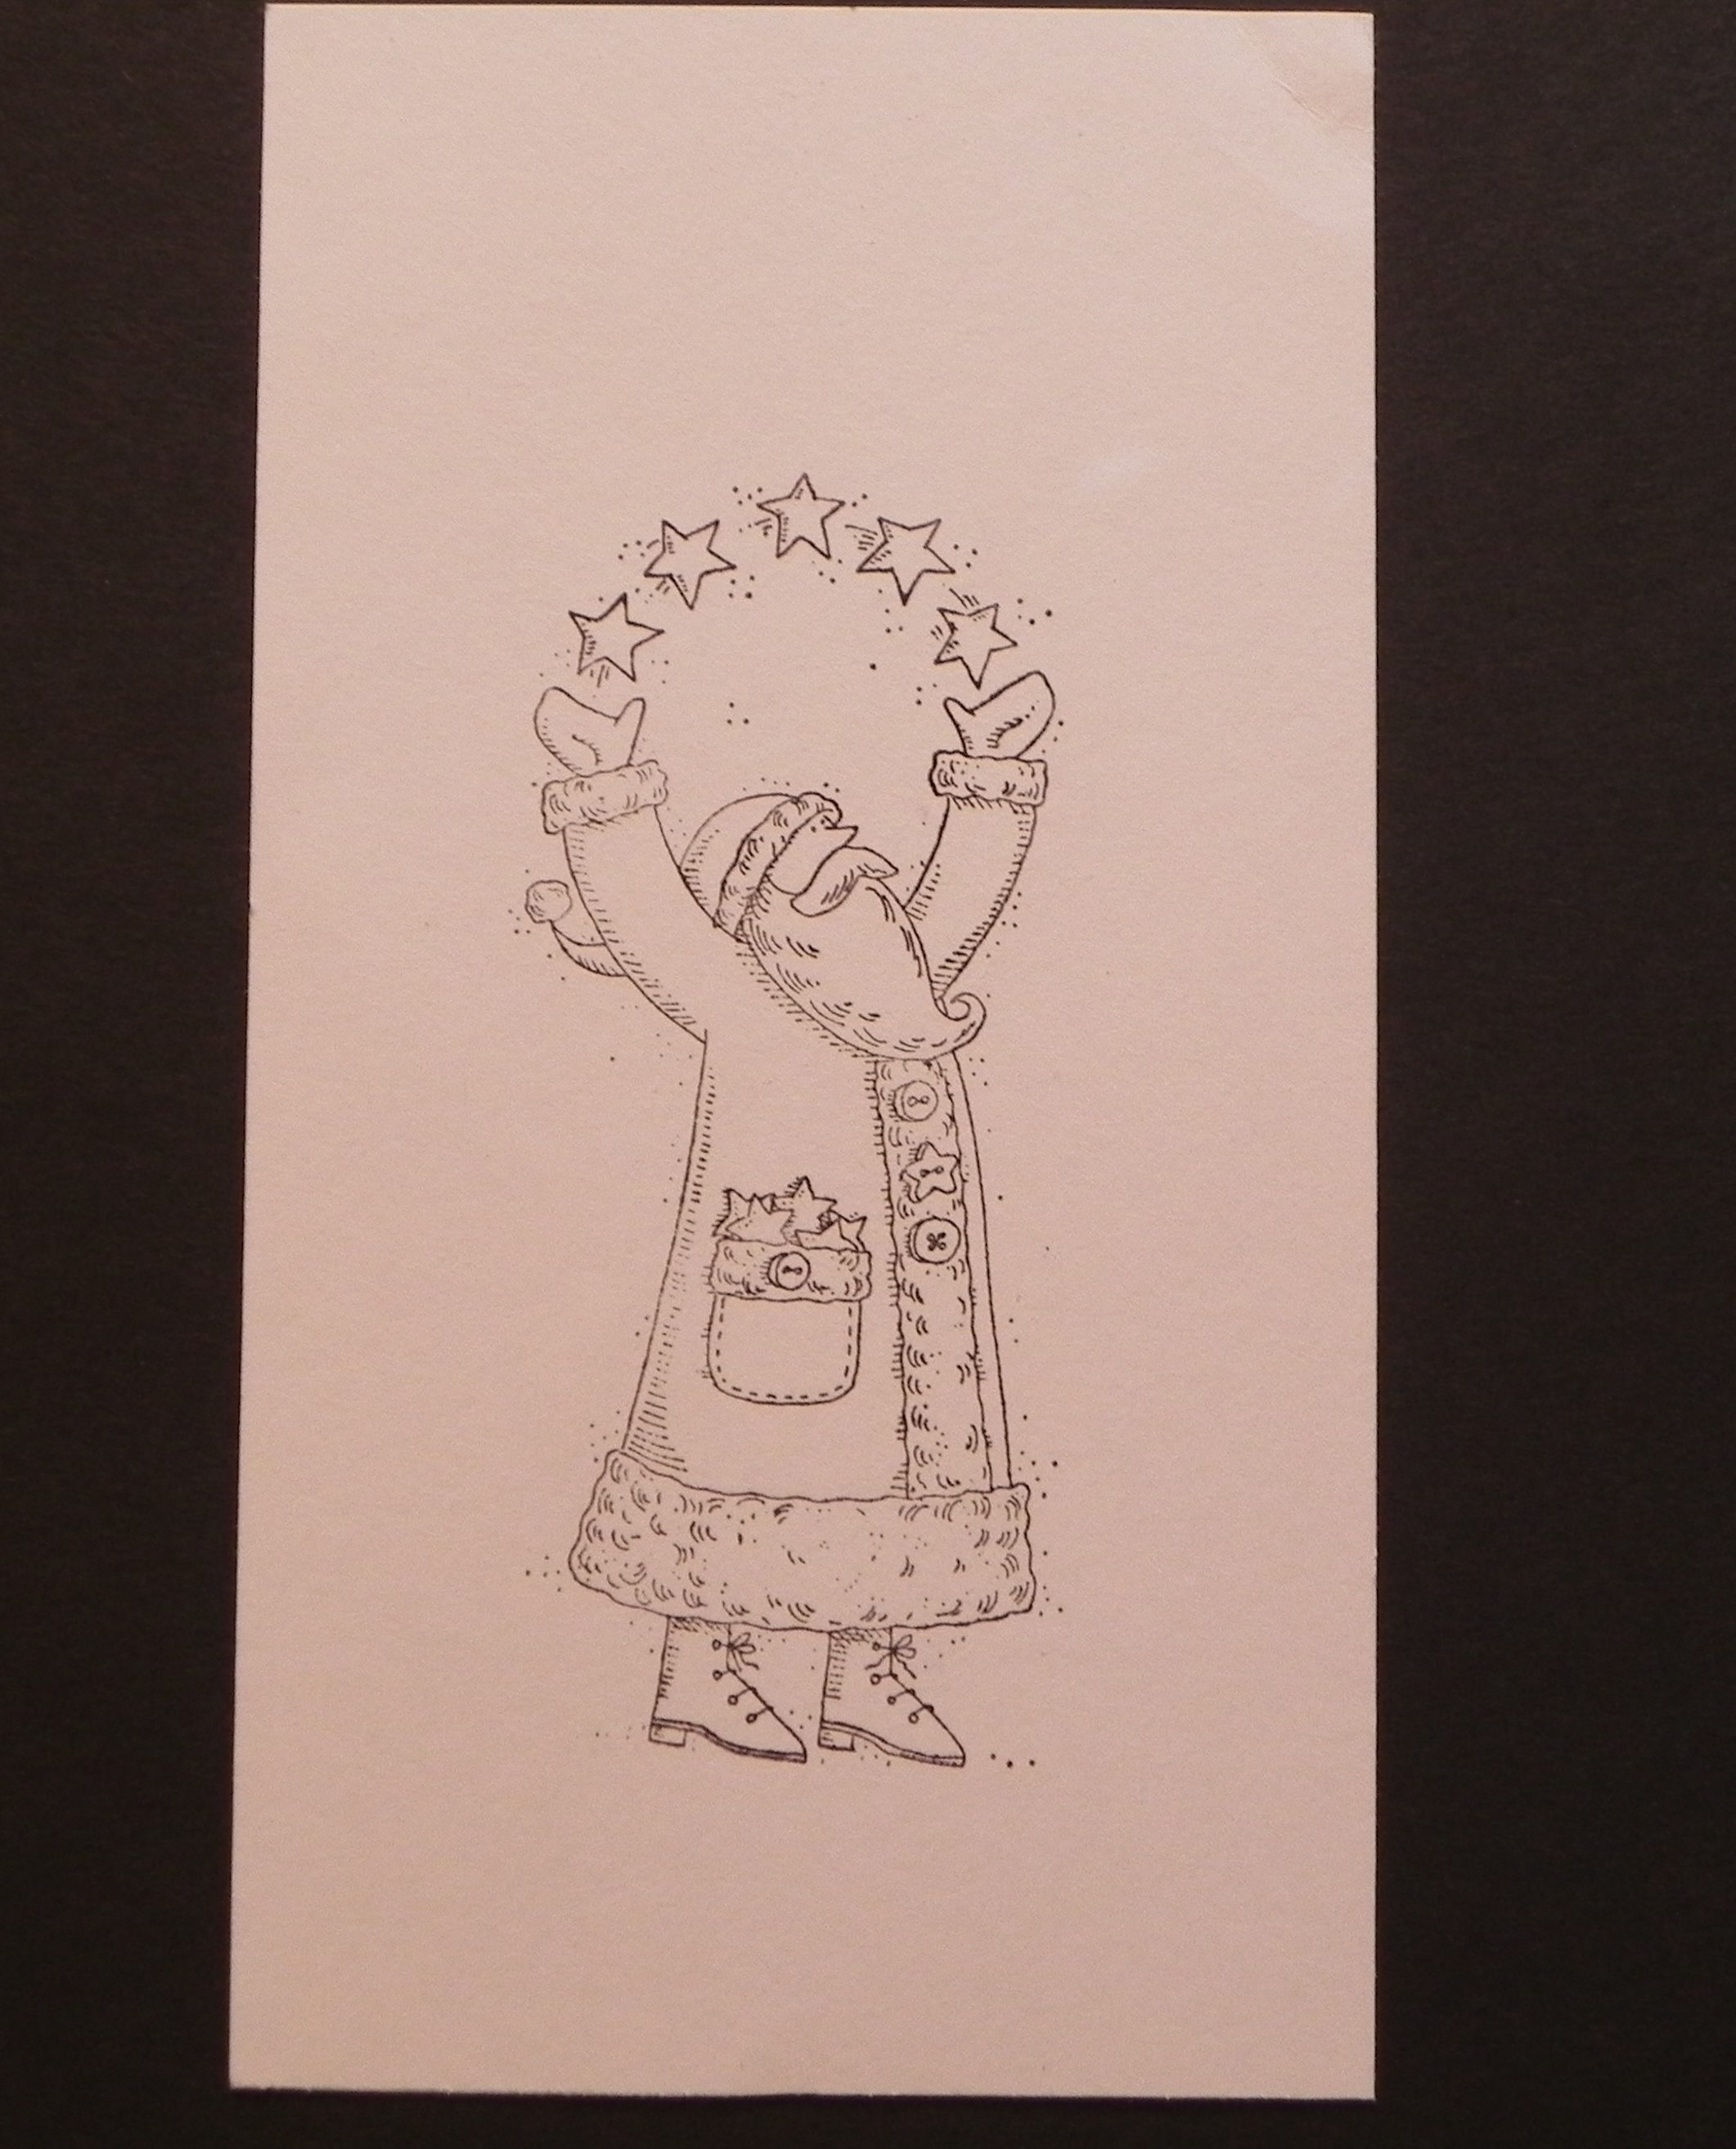
11. Color image on cardstock as desired.
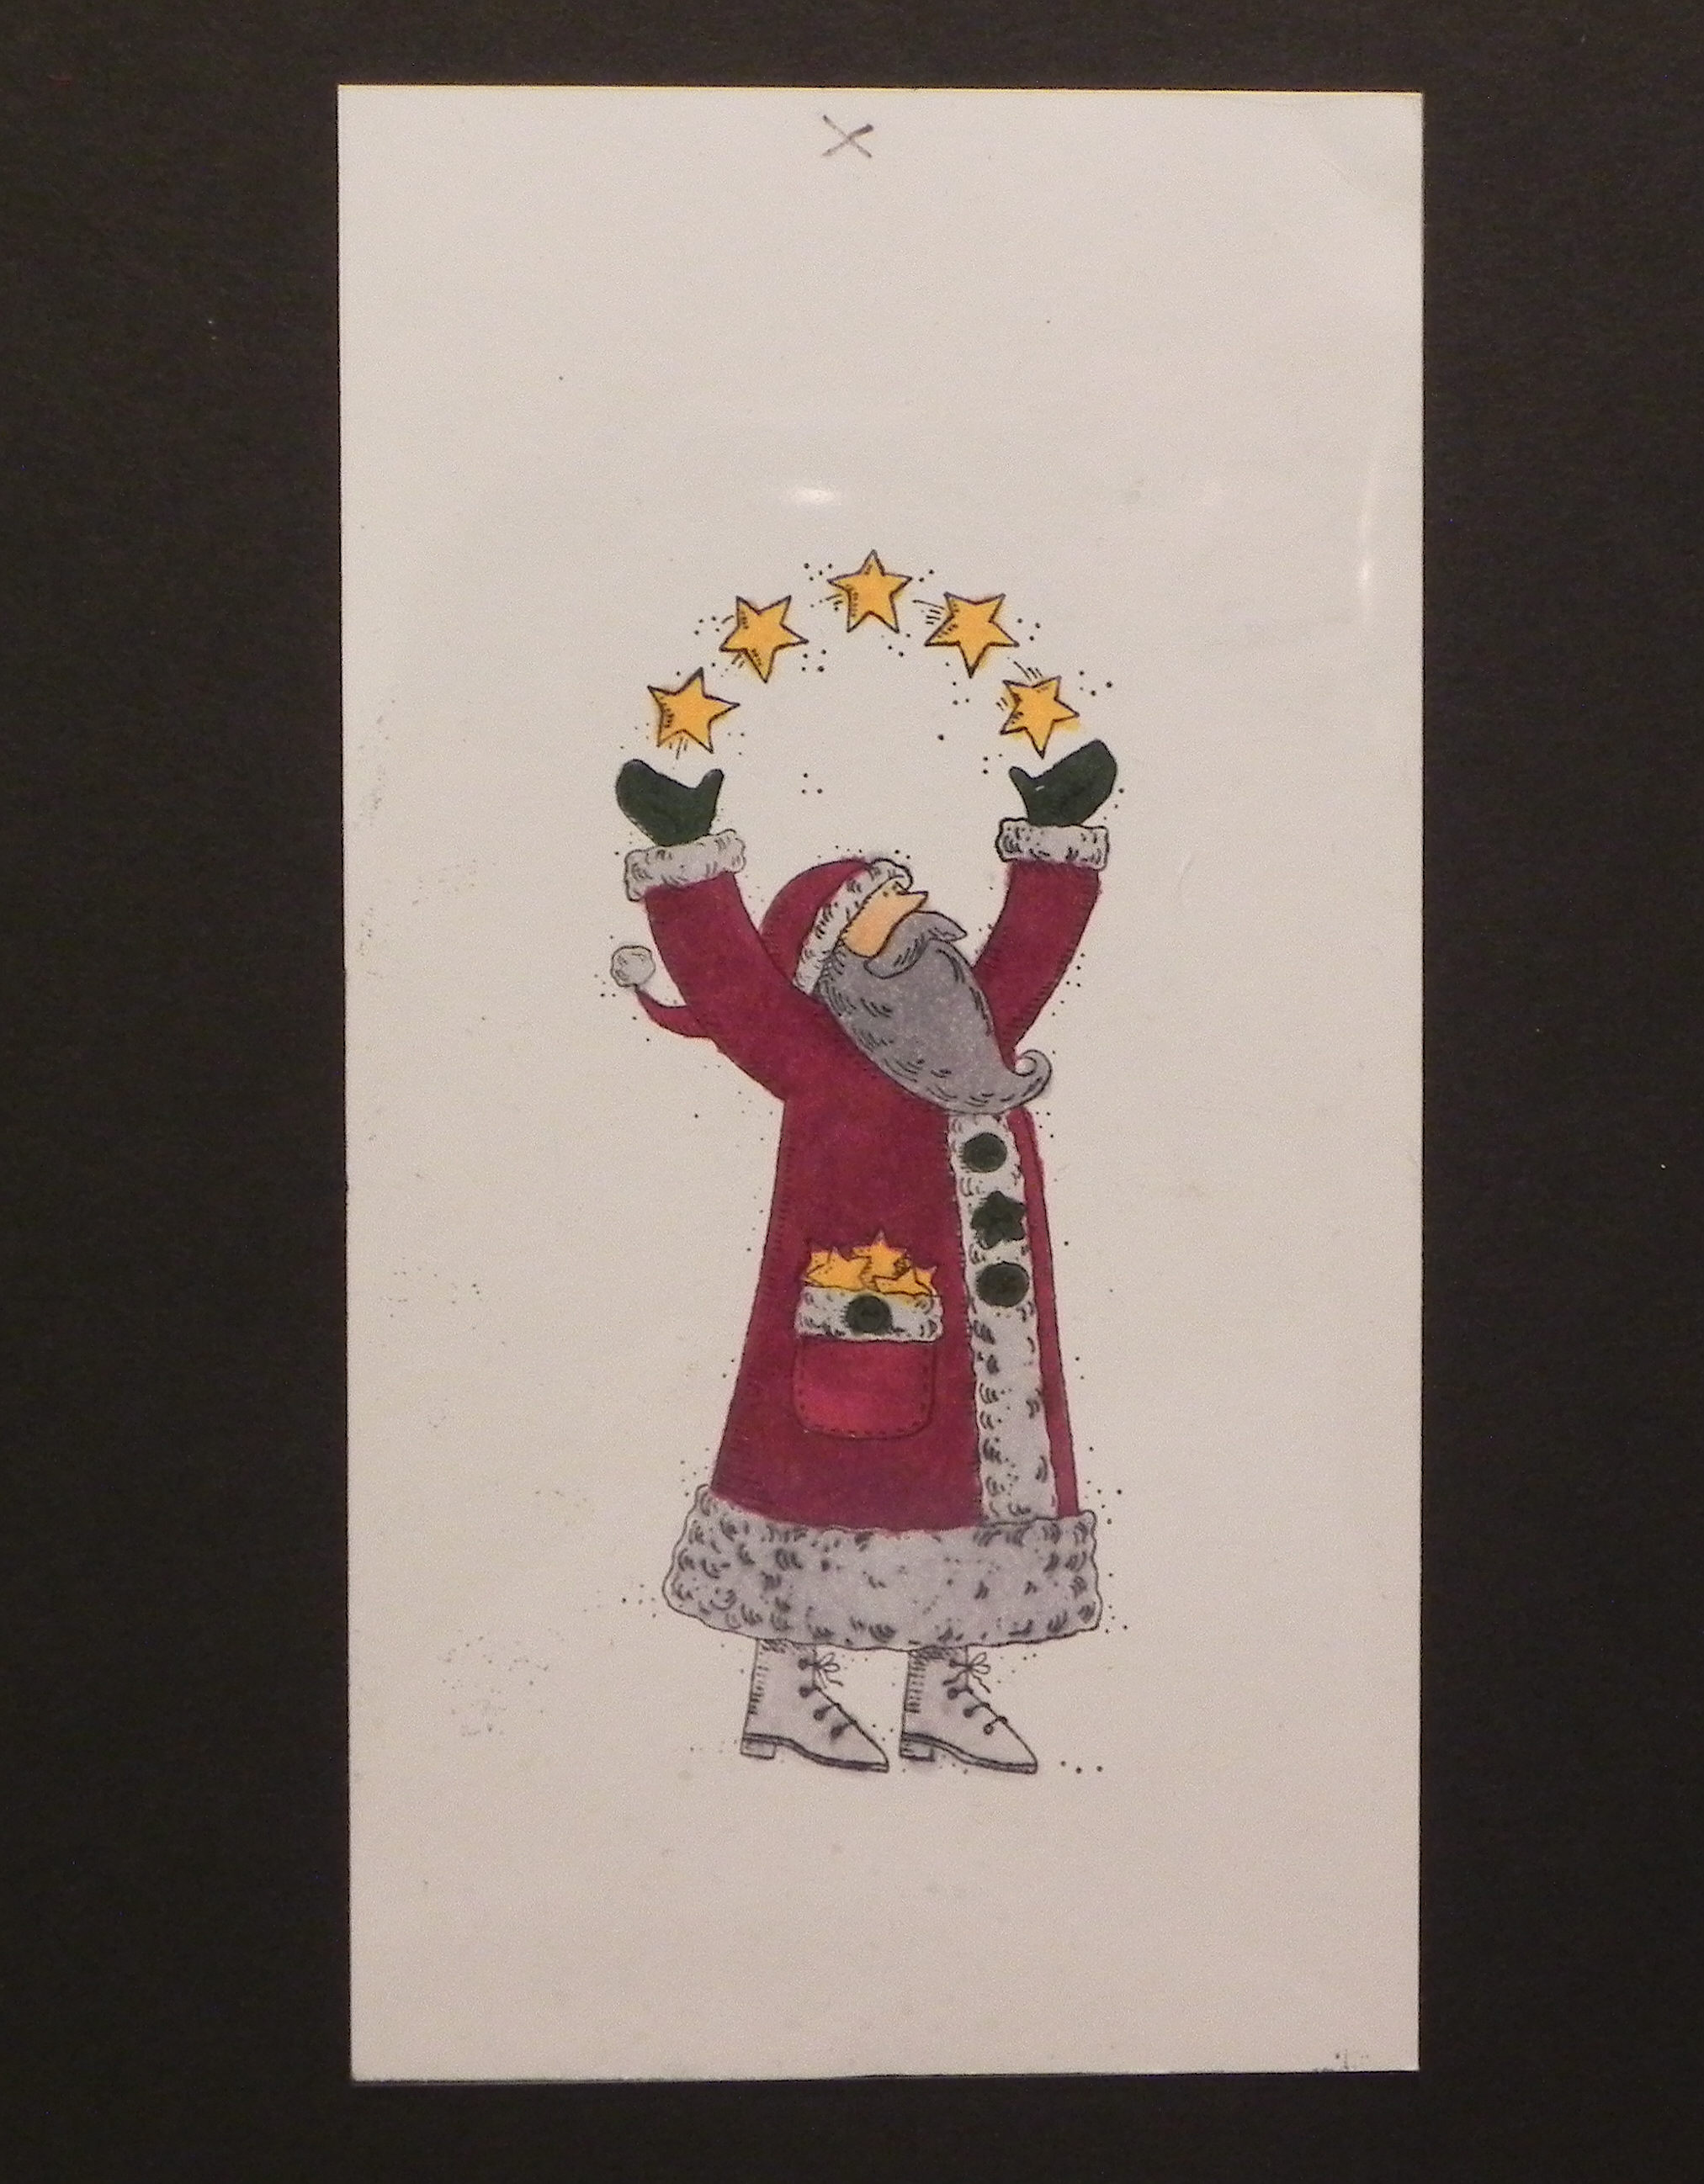
12. Put a small dot of adhesive on your stamped card stock where I drew an X.
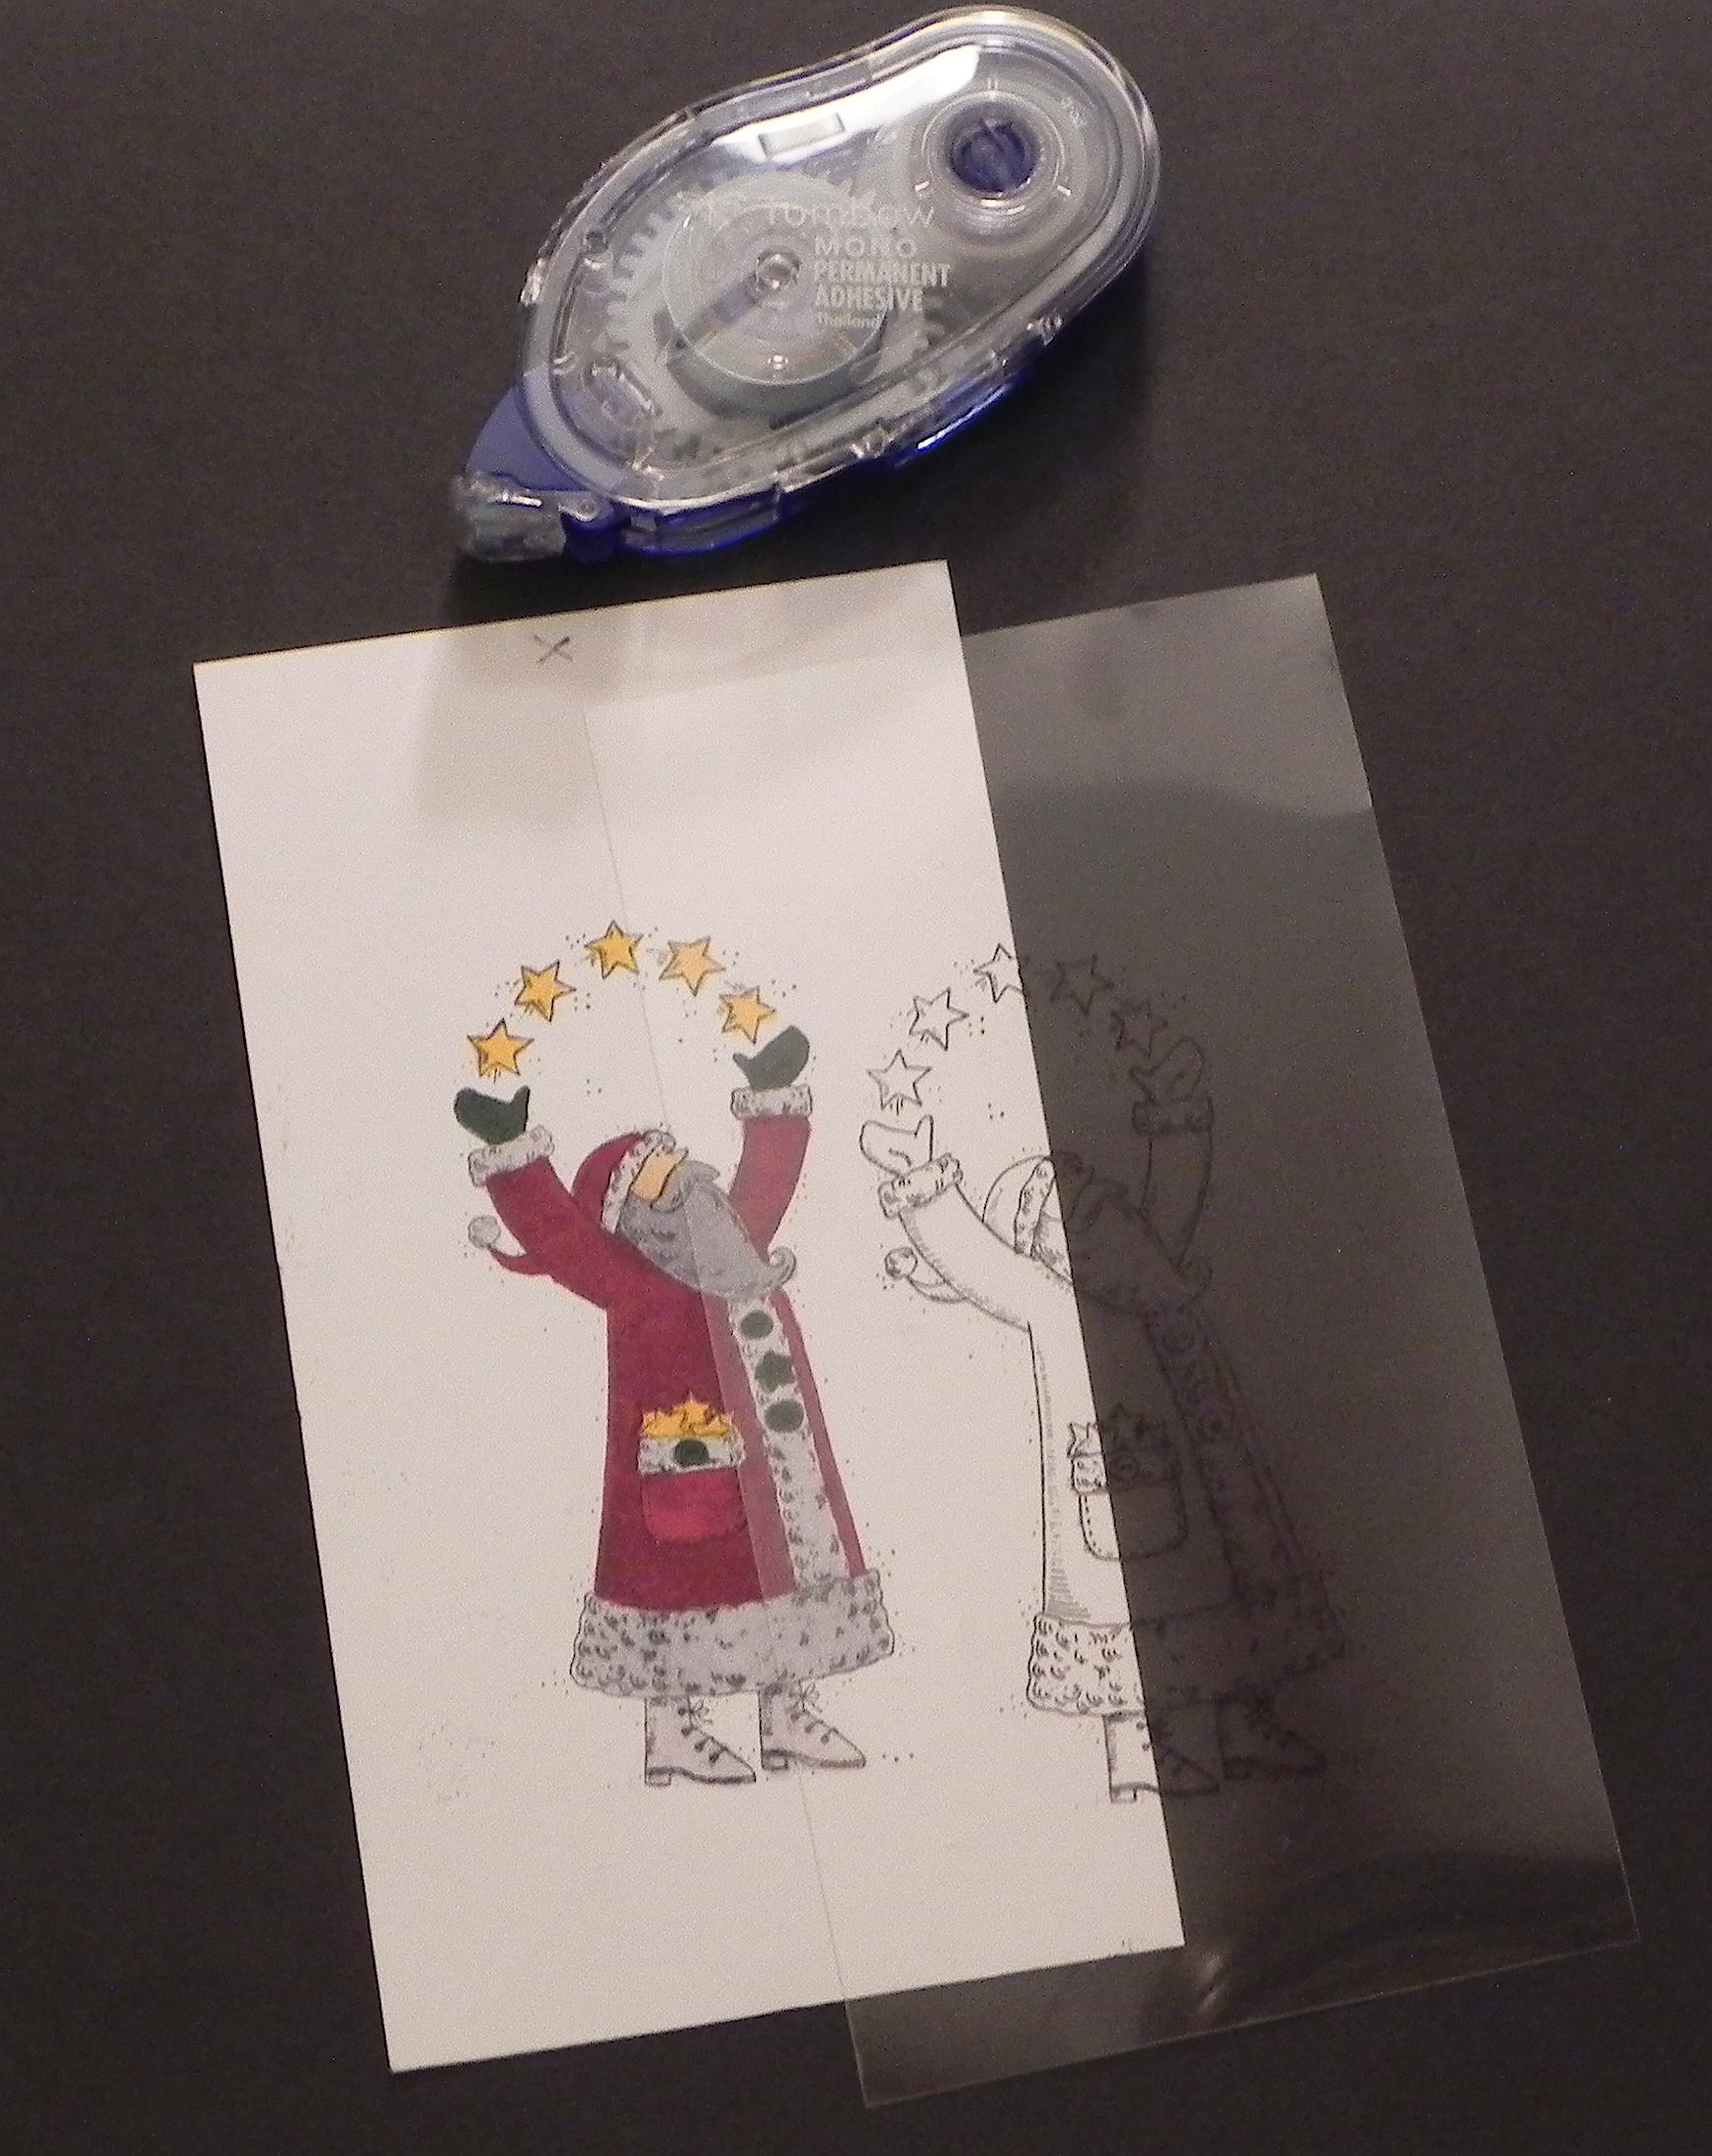
13. Adhere the acetate to the cardstock, lining up the stamped image.
14. Punch a circle (same size you used earlier on the front panels) and a strip 1/2″ x 3 1/2″ of card stock in color of your choice.
15. Fold the circle in half.
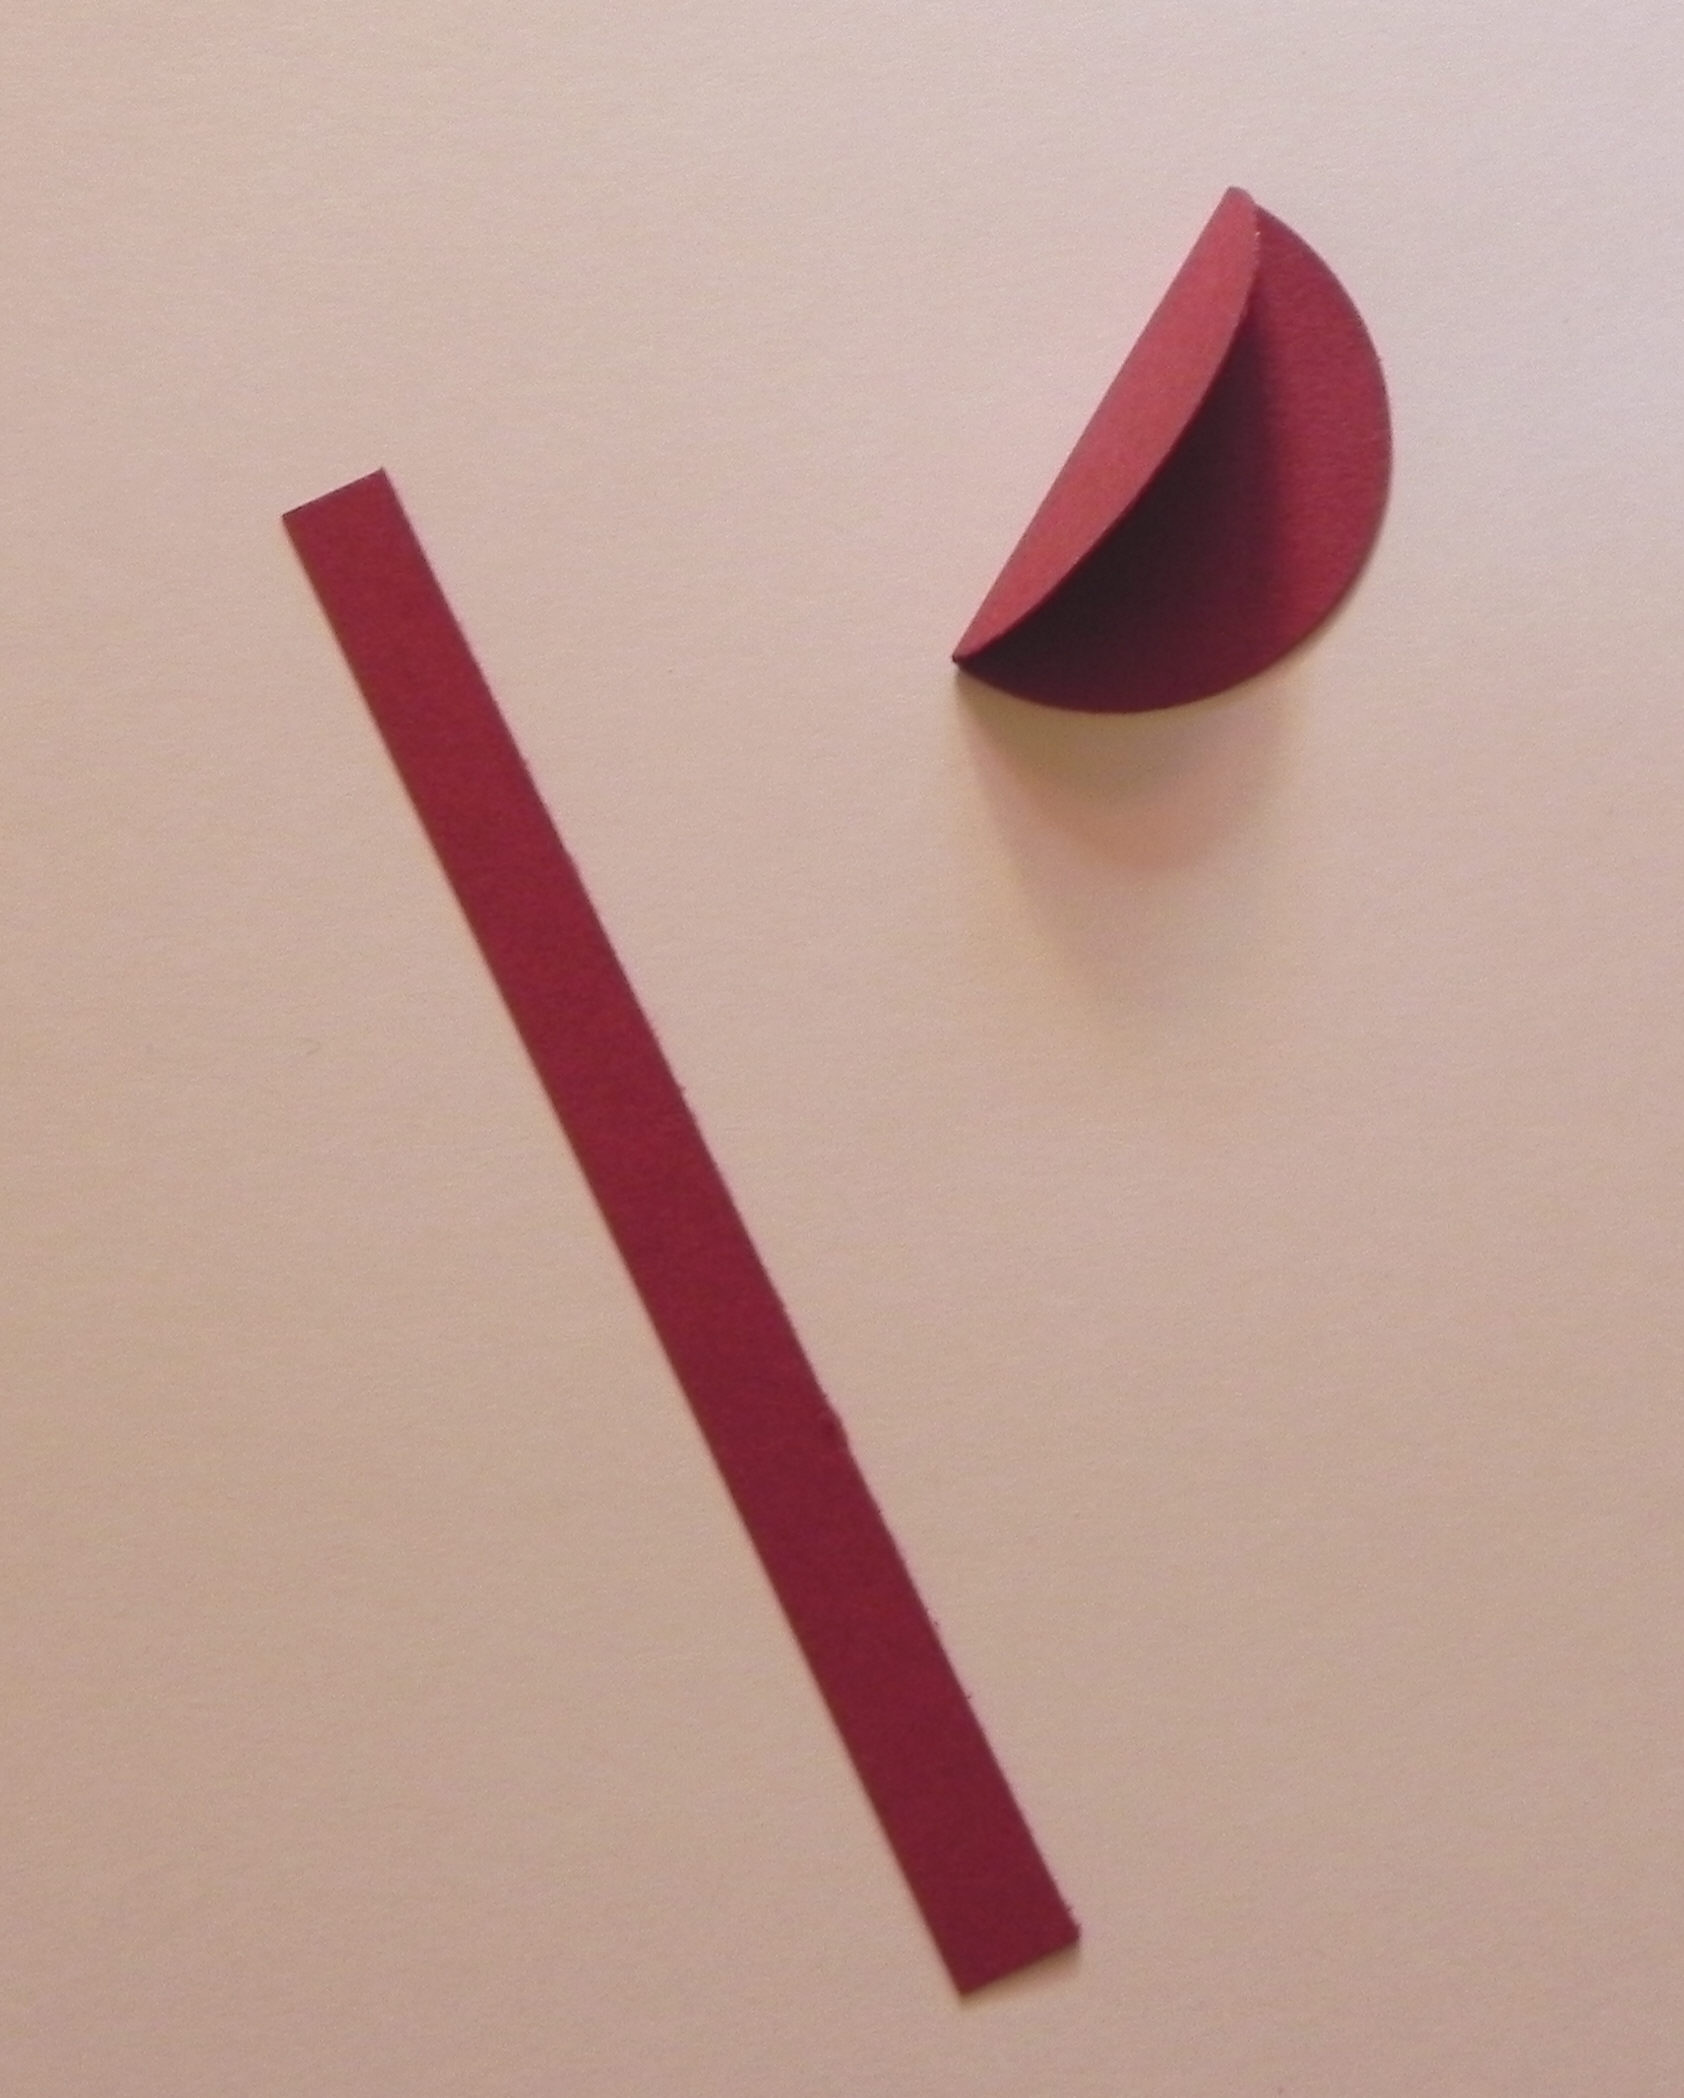
16. Adhere the strip along the top of the acetate and the folded circle centered over that. Set this aside. (I’ll call this the stamped unit from this point forward.)
17. Cut a scrap of card stock 3 1/4″ x 3/4″ and position the larger of the two rectangle dies as shown.
18. Cut with die cutting machine. This is what it should look like when done.
19. On your assembled, stamped cardstock and acetate unit, lift the acetate and adhere the strip you just cut (notches up) on the bottom of the card stock (NOT on the acetate!).
20. Get your 12″ folded panel (from steps 6-8 above), and open it up.
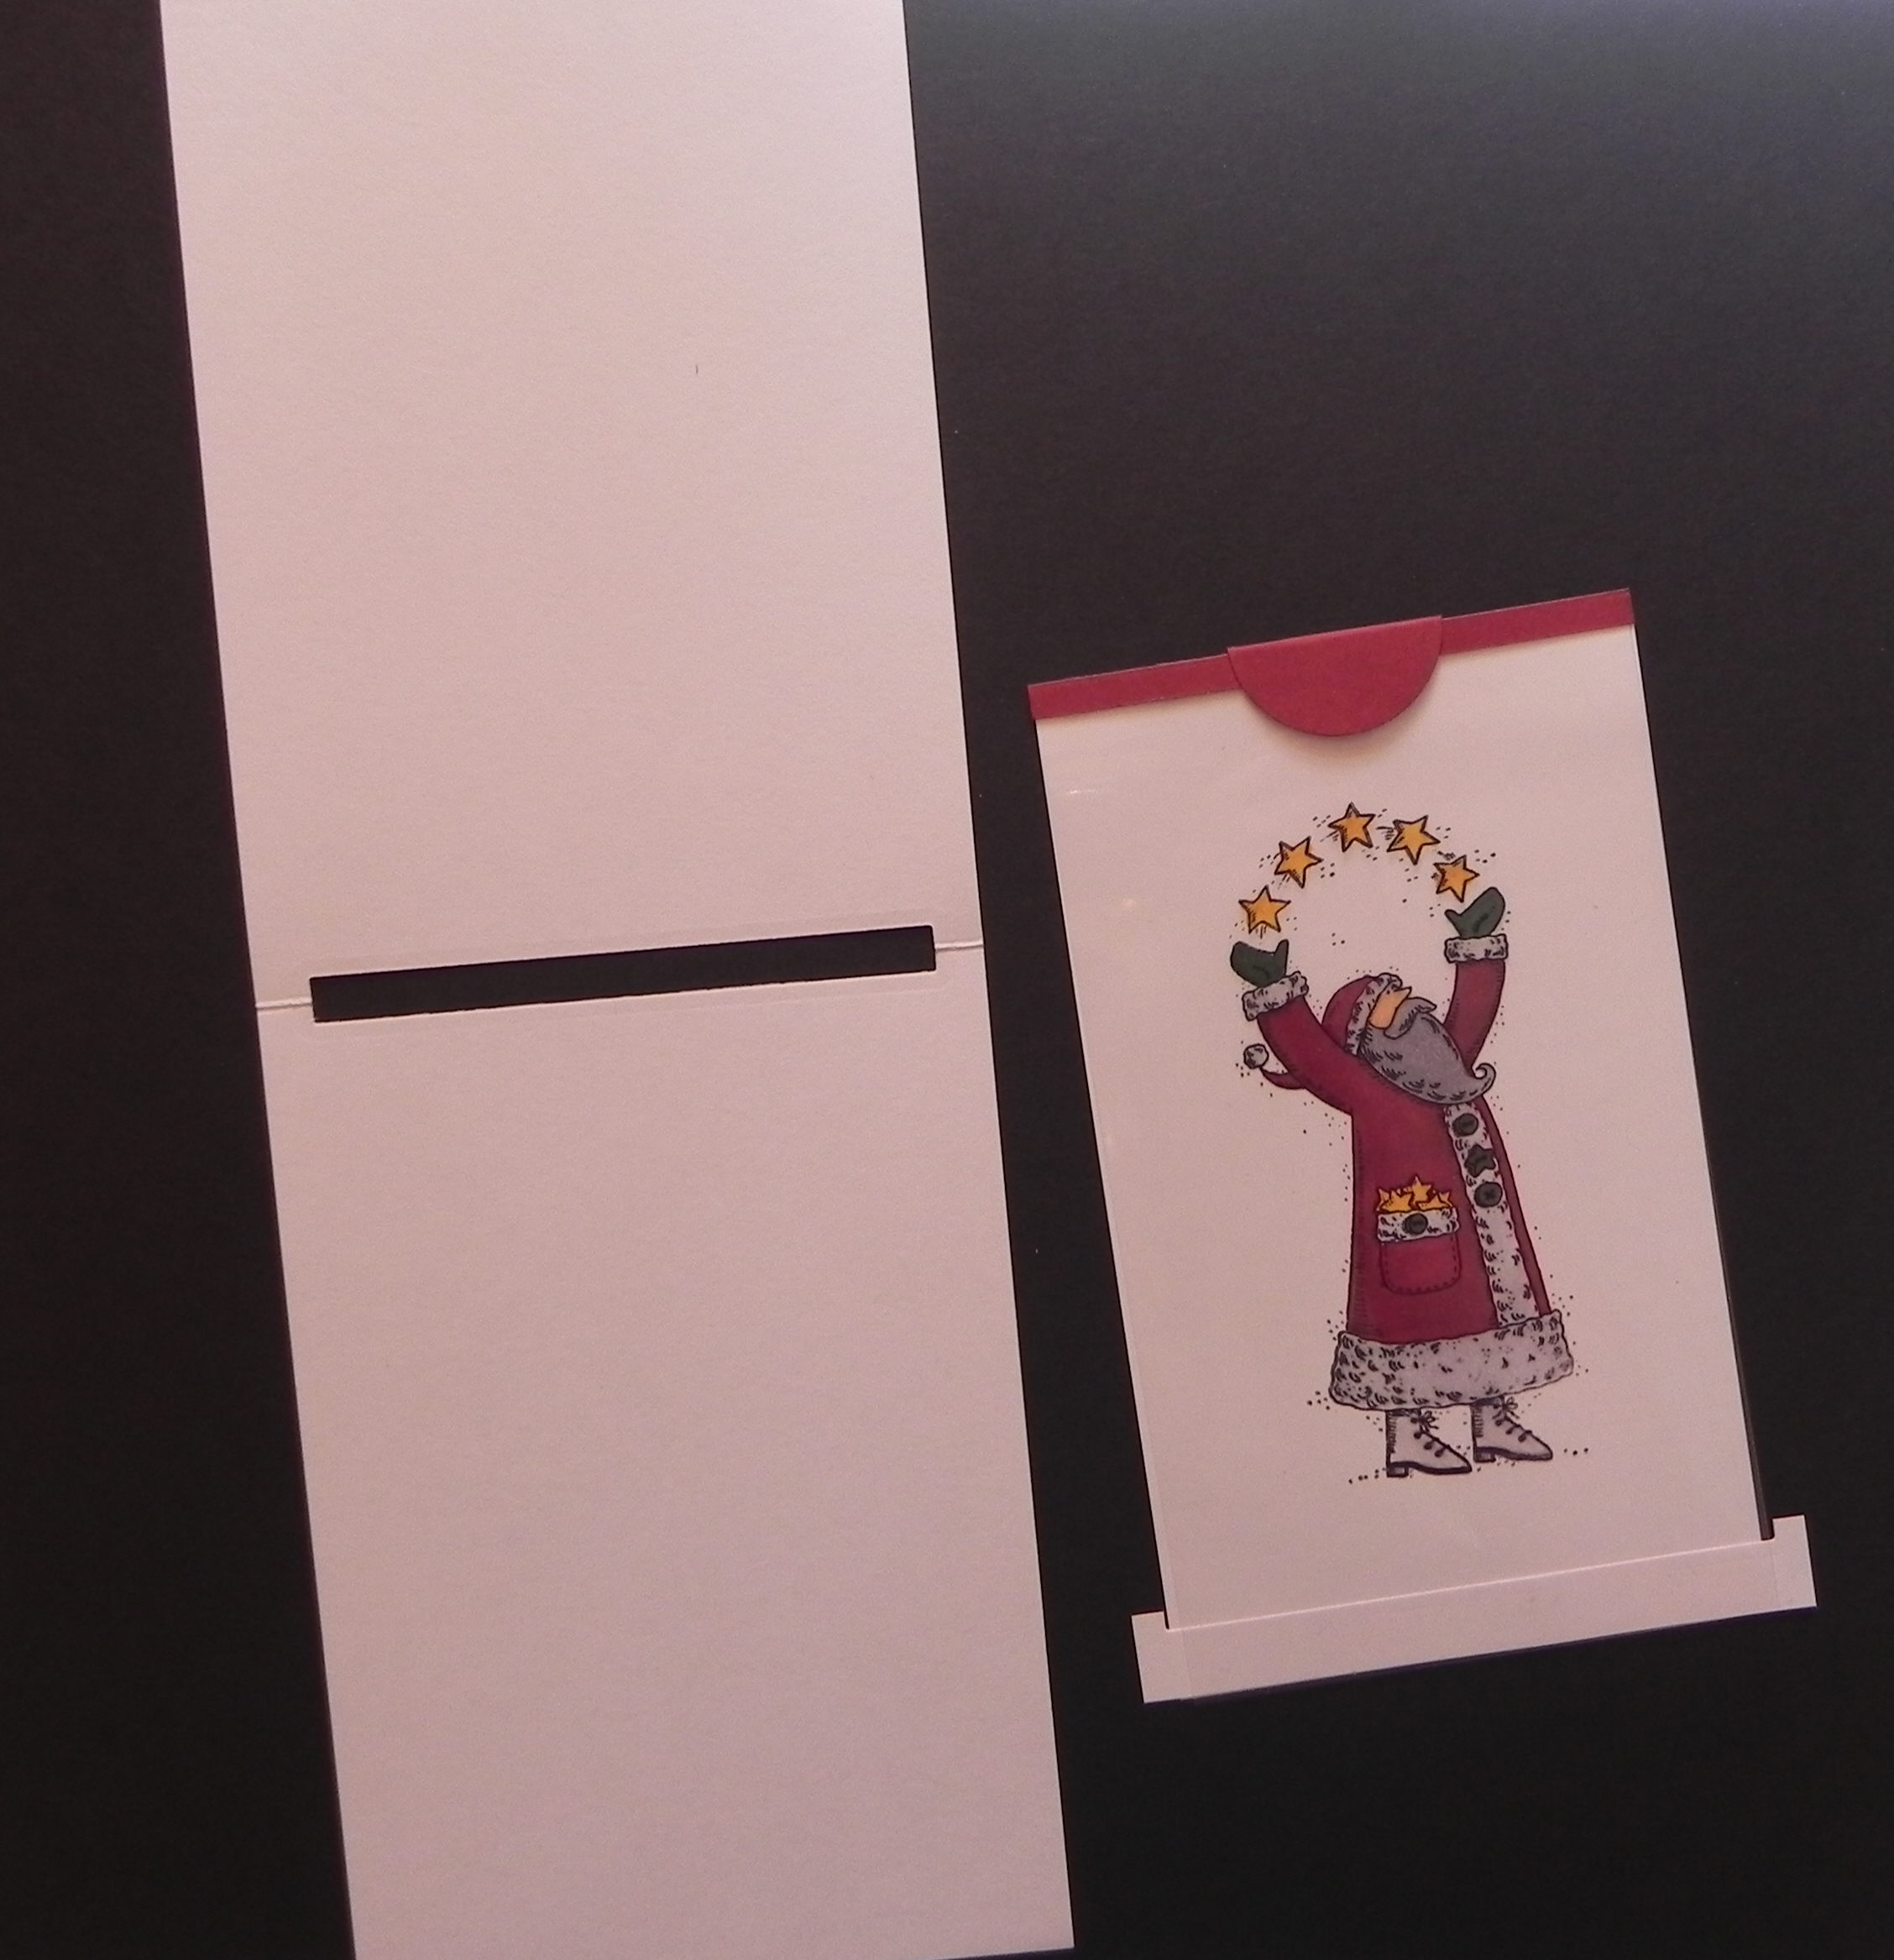
21. Slide your stamped unit into the slot, and push it up and under the top half.
22. The strip you glued to the bottom will prevent it from pulling all the way through.
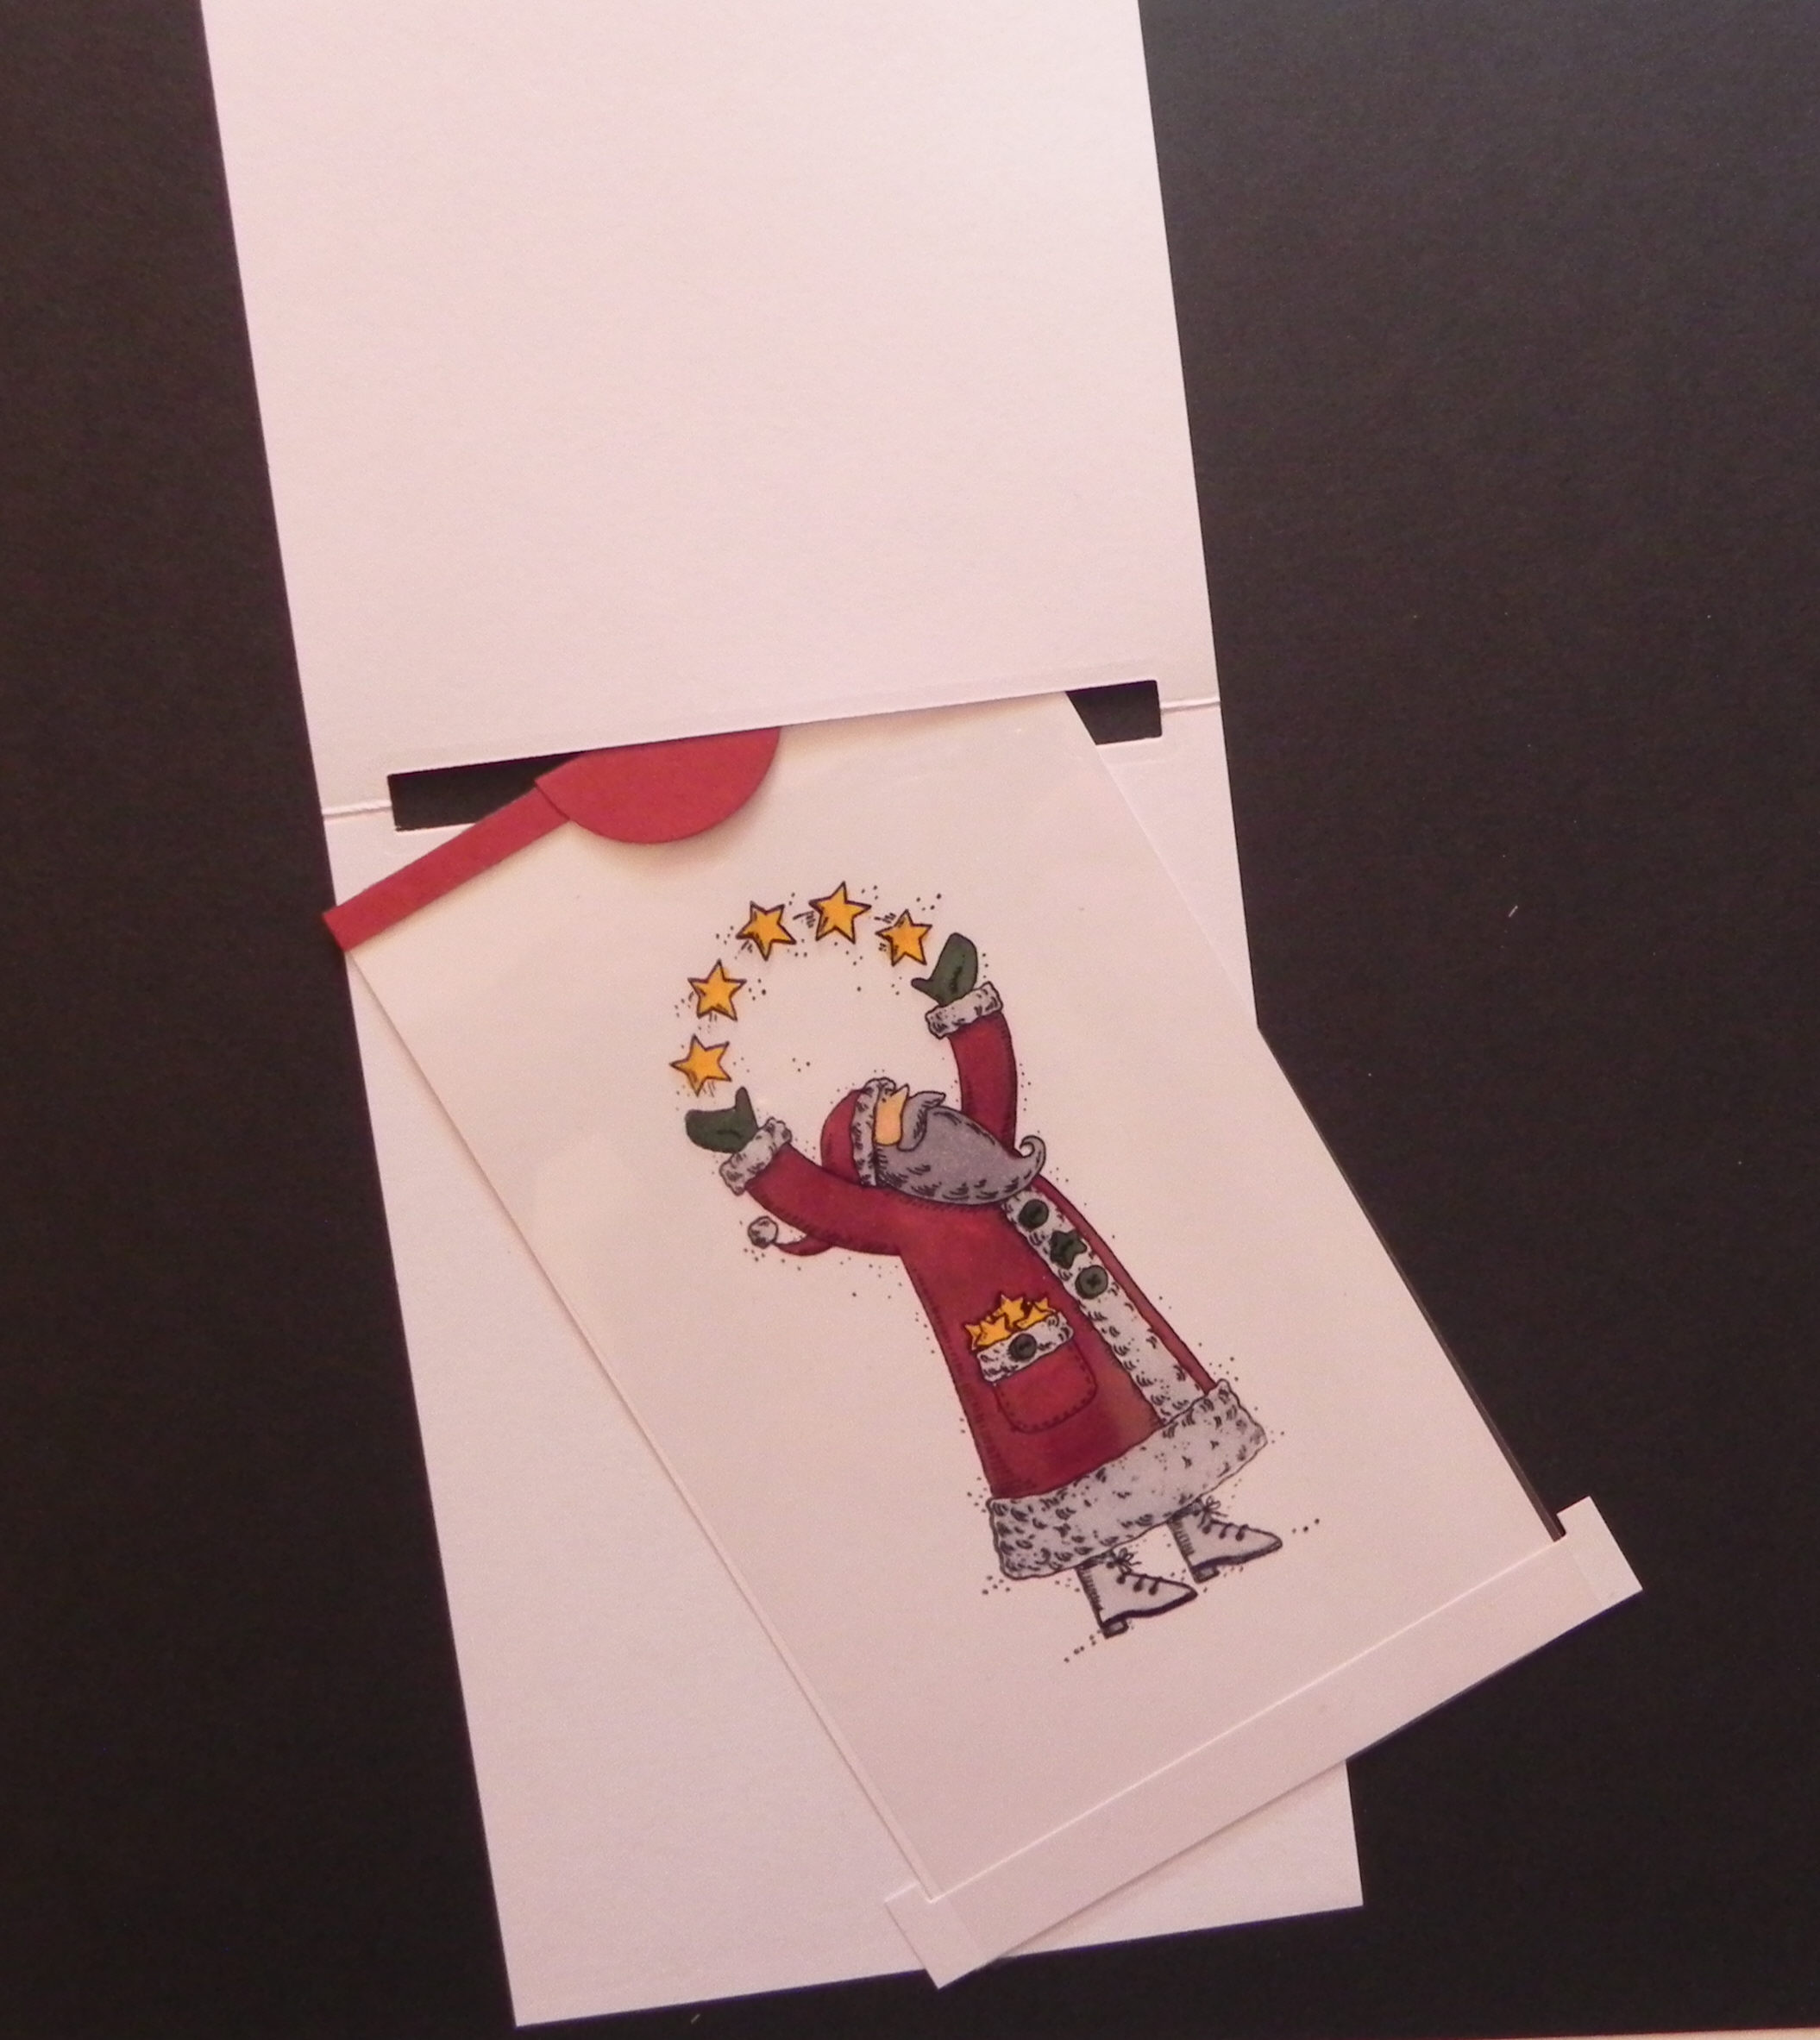
23. Open the folded panel and put adhesive along the 2 sides and botton of the folder being careful to not get any on the stamped unit or the bottom attached strip. I used 2 sided Score tape (1/8″ wide). (You can pull the stamped unit down so you can see where the adhesive needs to go.)
24. Making sure you can still reach the semicircular tab, close the folder. Pull the tab on the stamped unit up as far as it will go. Then carefully pull the acetate out and let it sit on the outside while the cardstock is still on the inside.
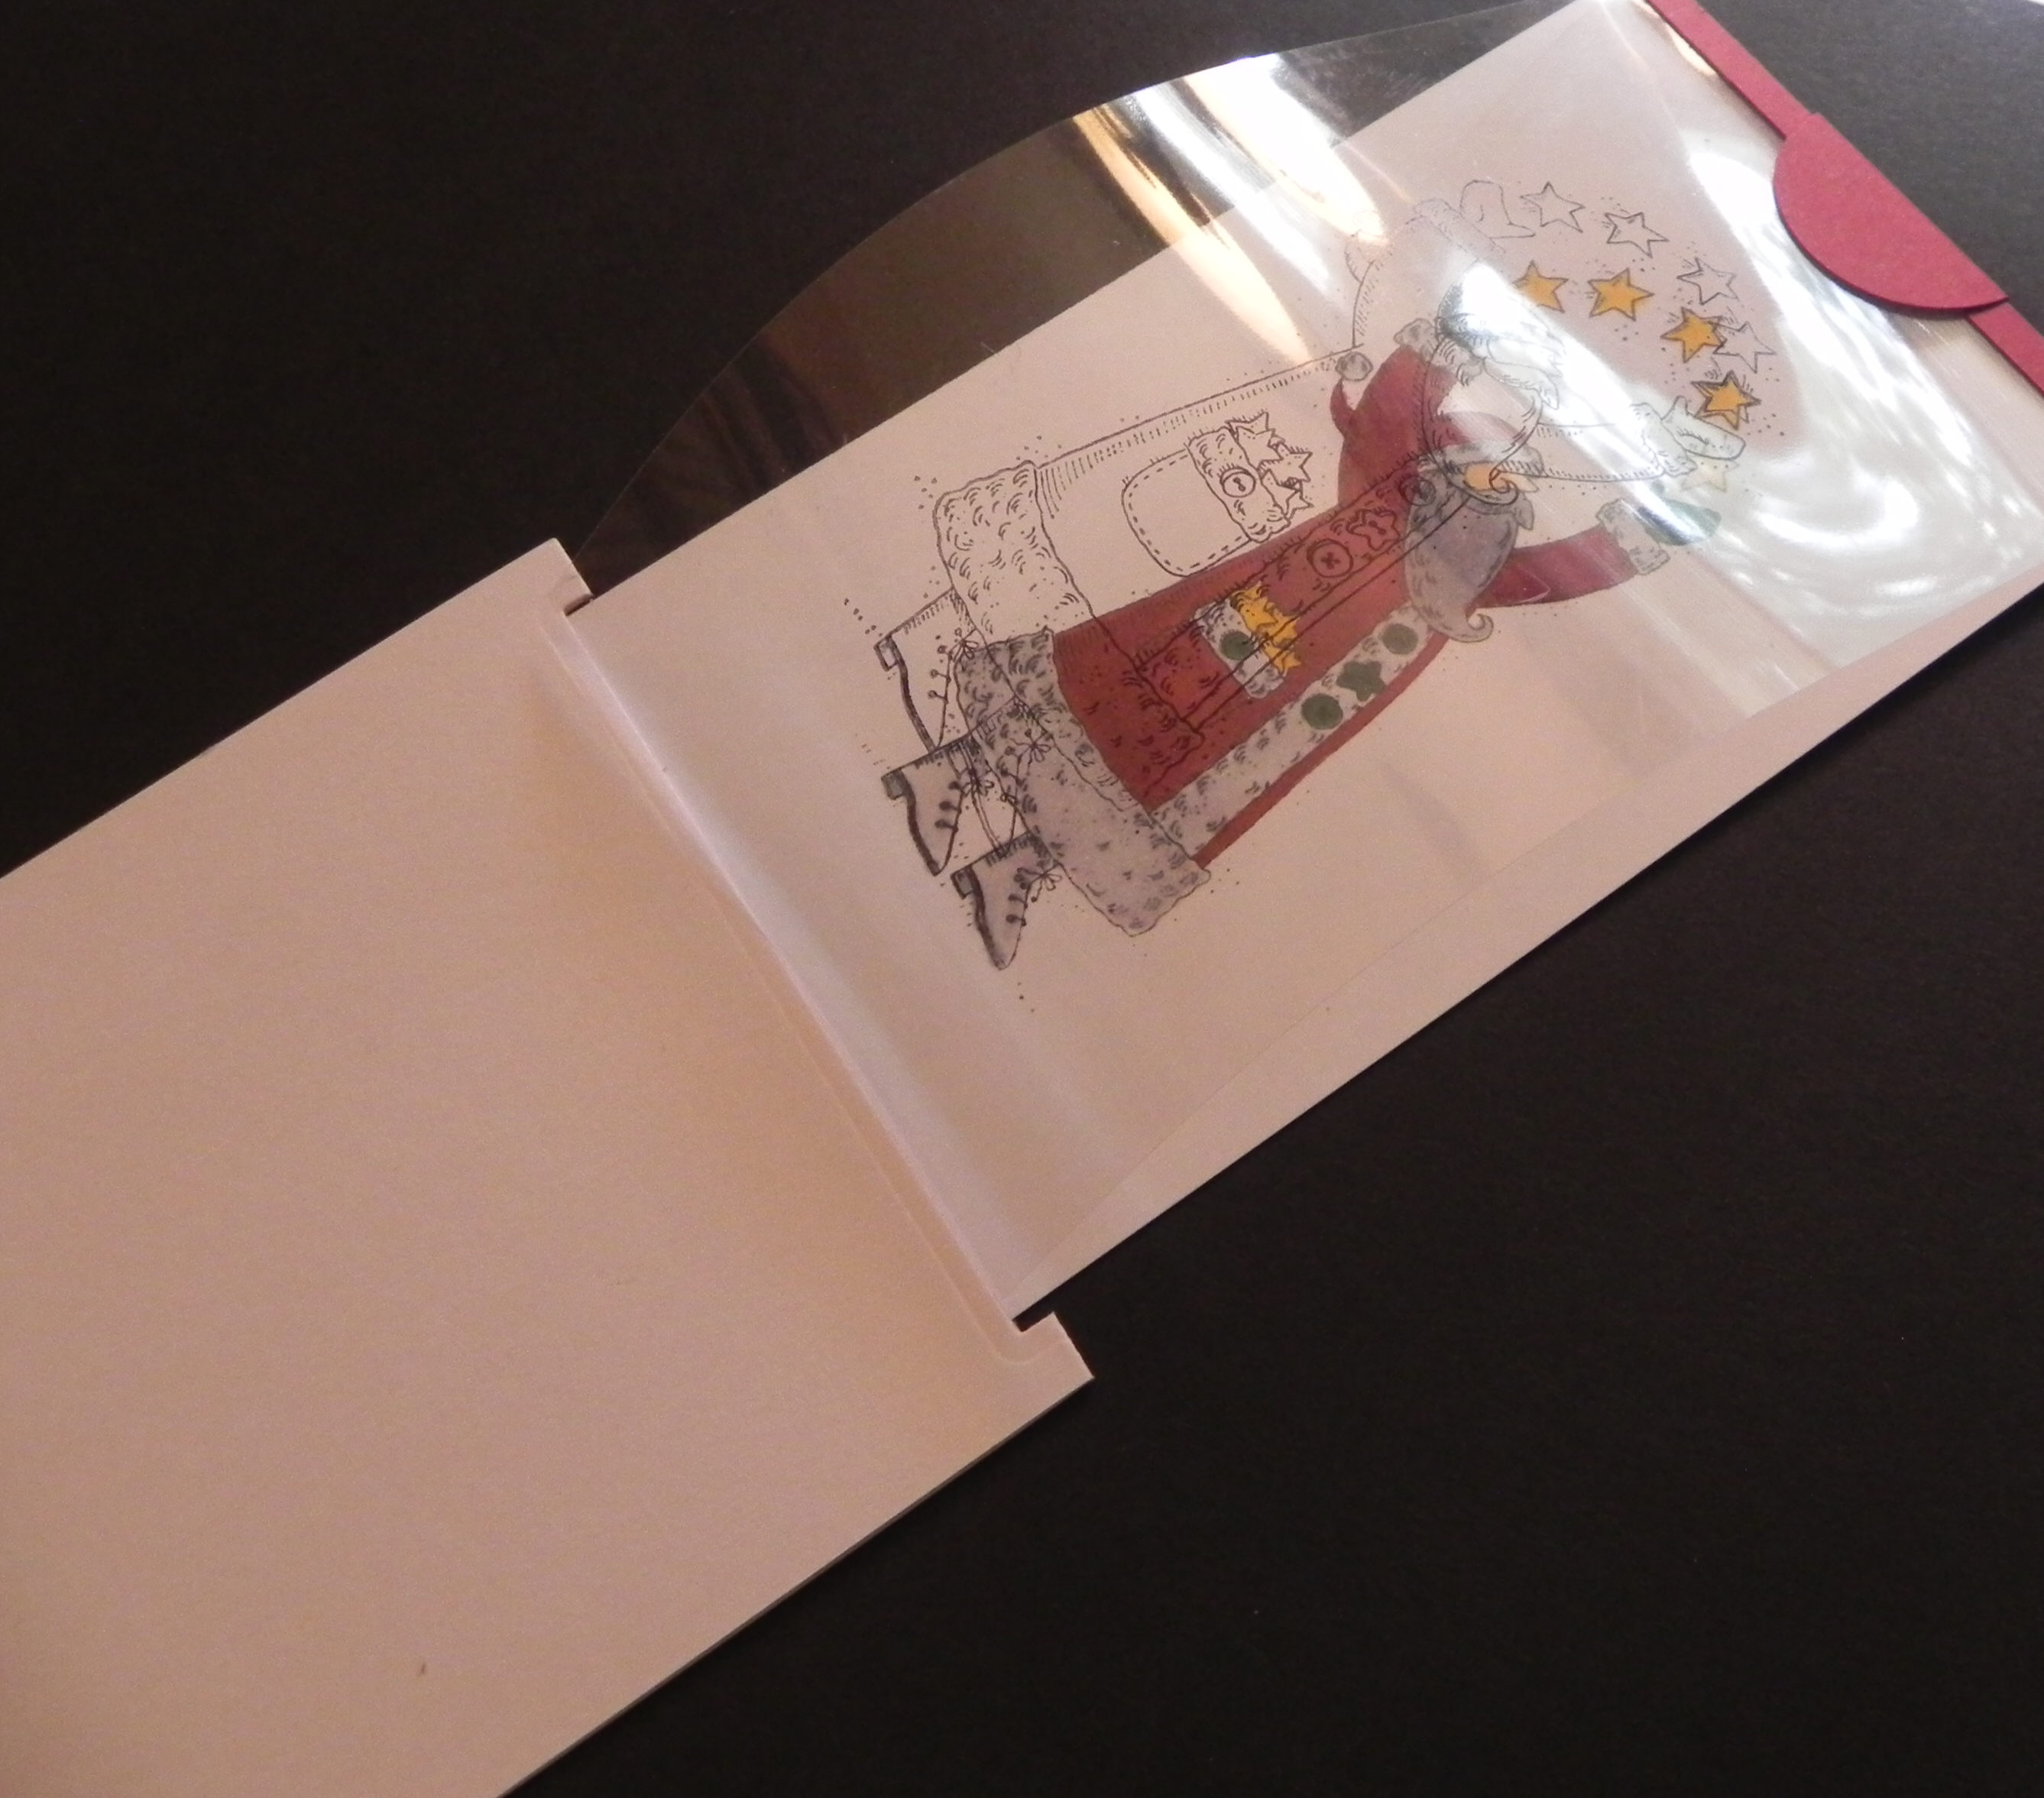
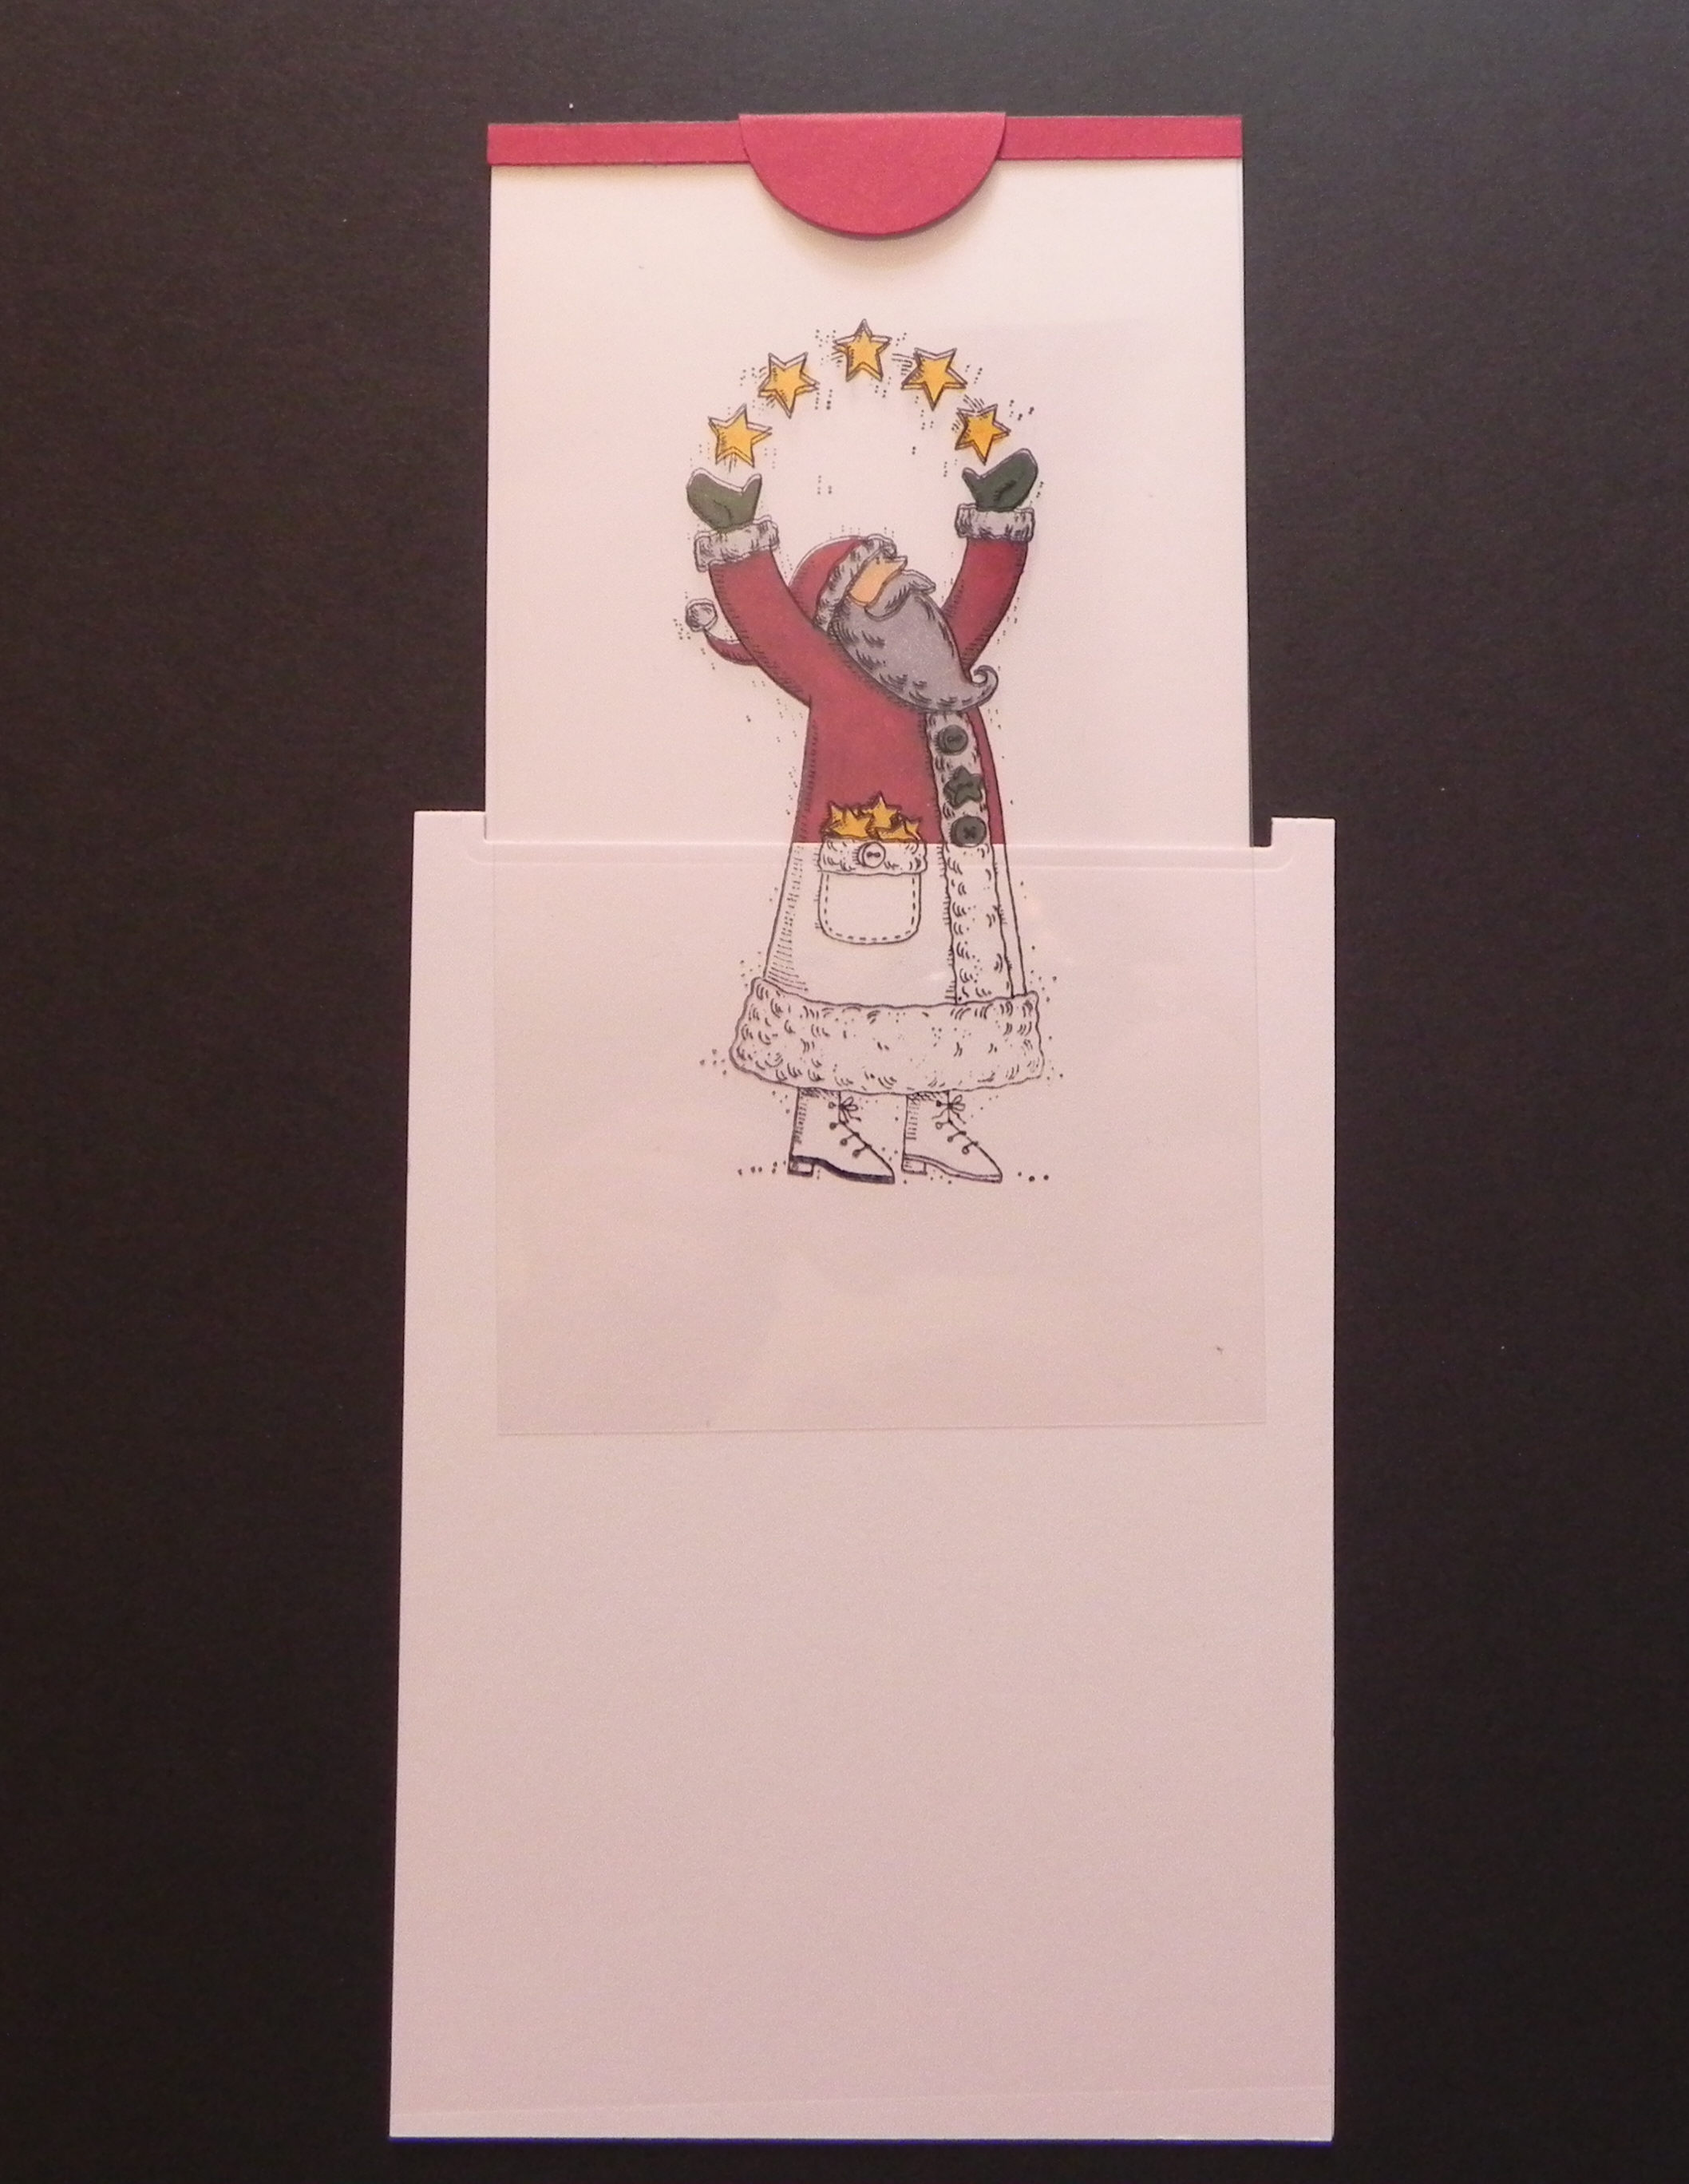
25. Now place adhesive on the front of the folder, again on the sides and bottom avoiding the acetate panel.
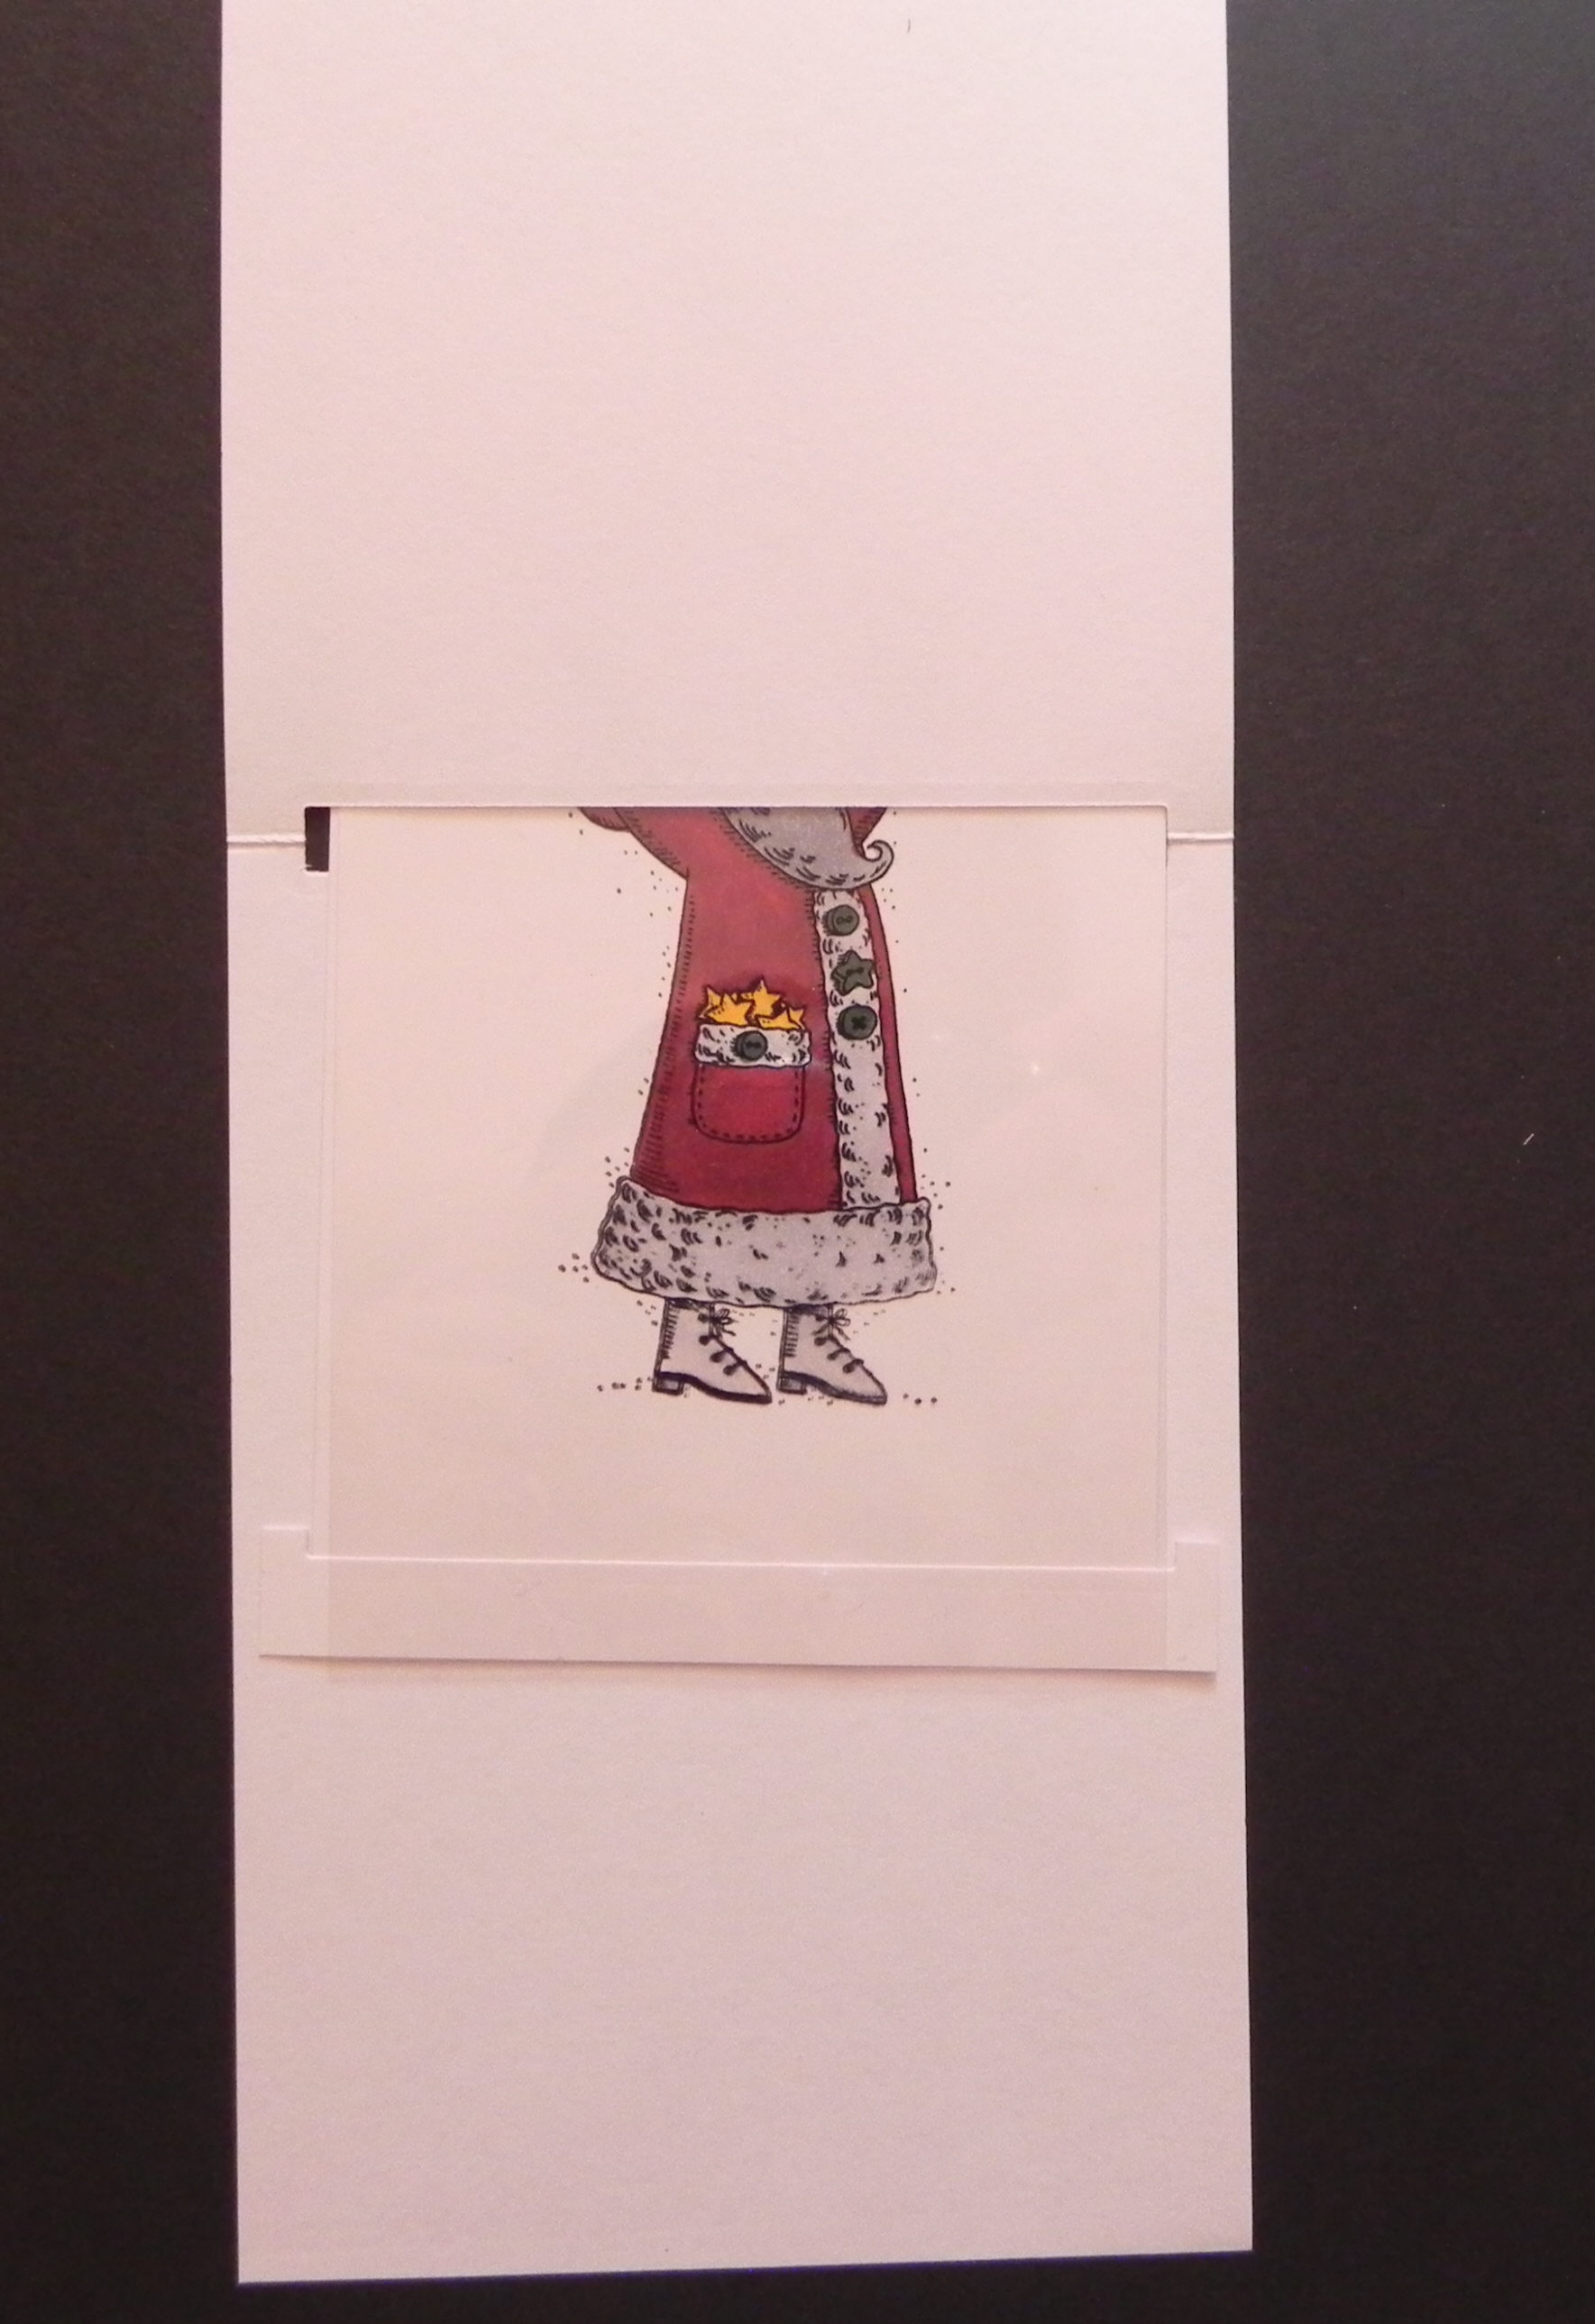
26. Get your front panel with the rectangle cut-out and acetate you made in steps 2-5.
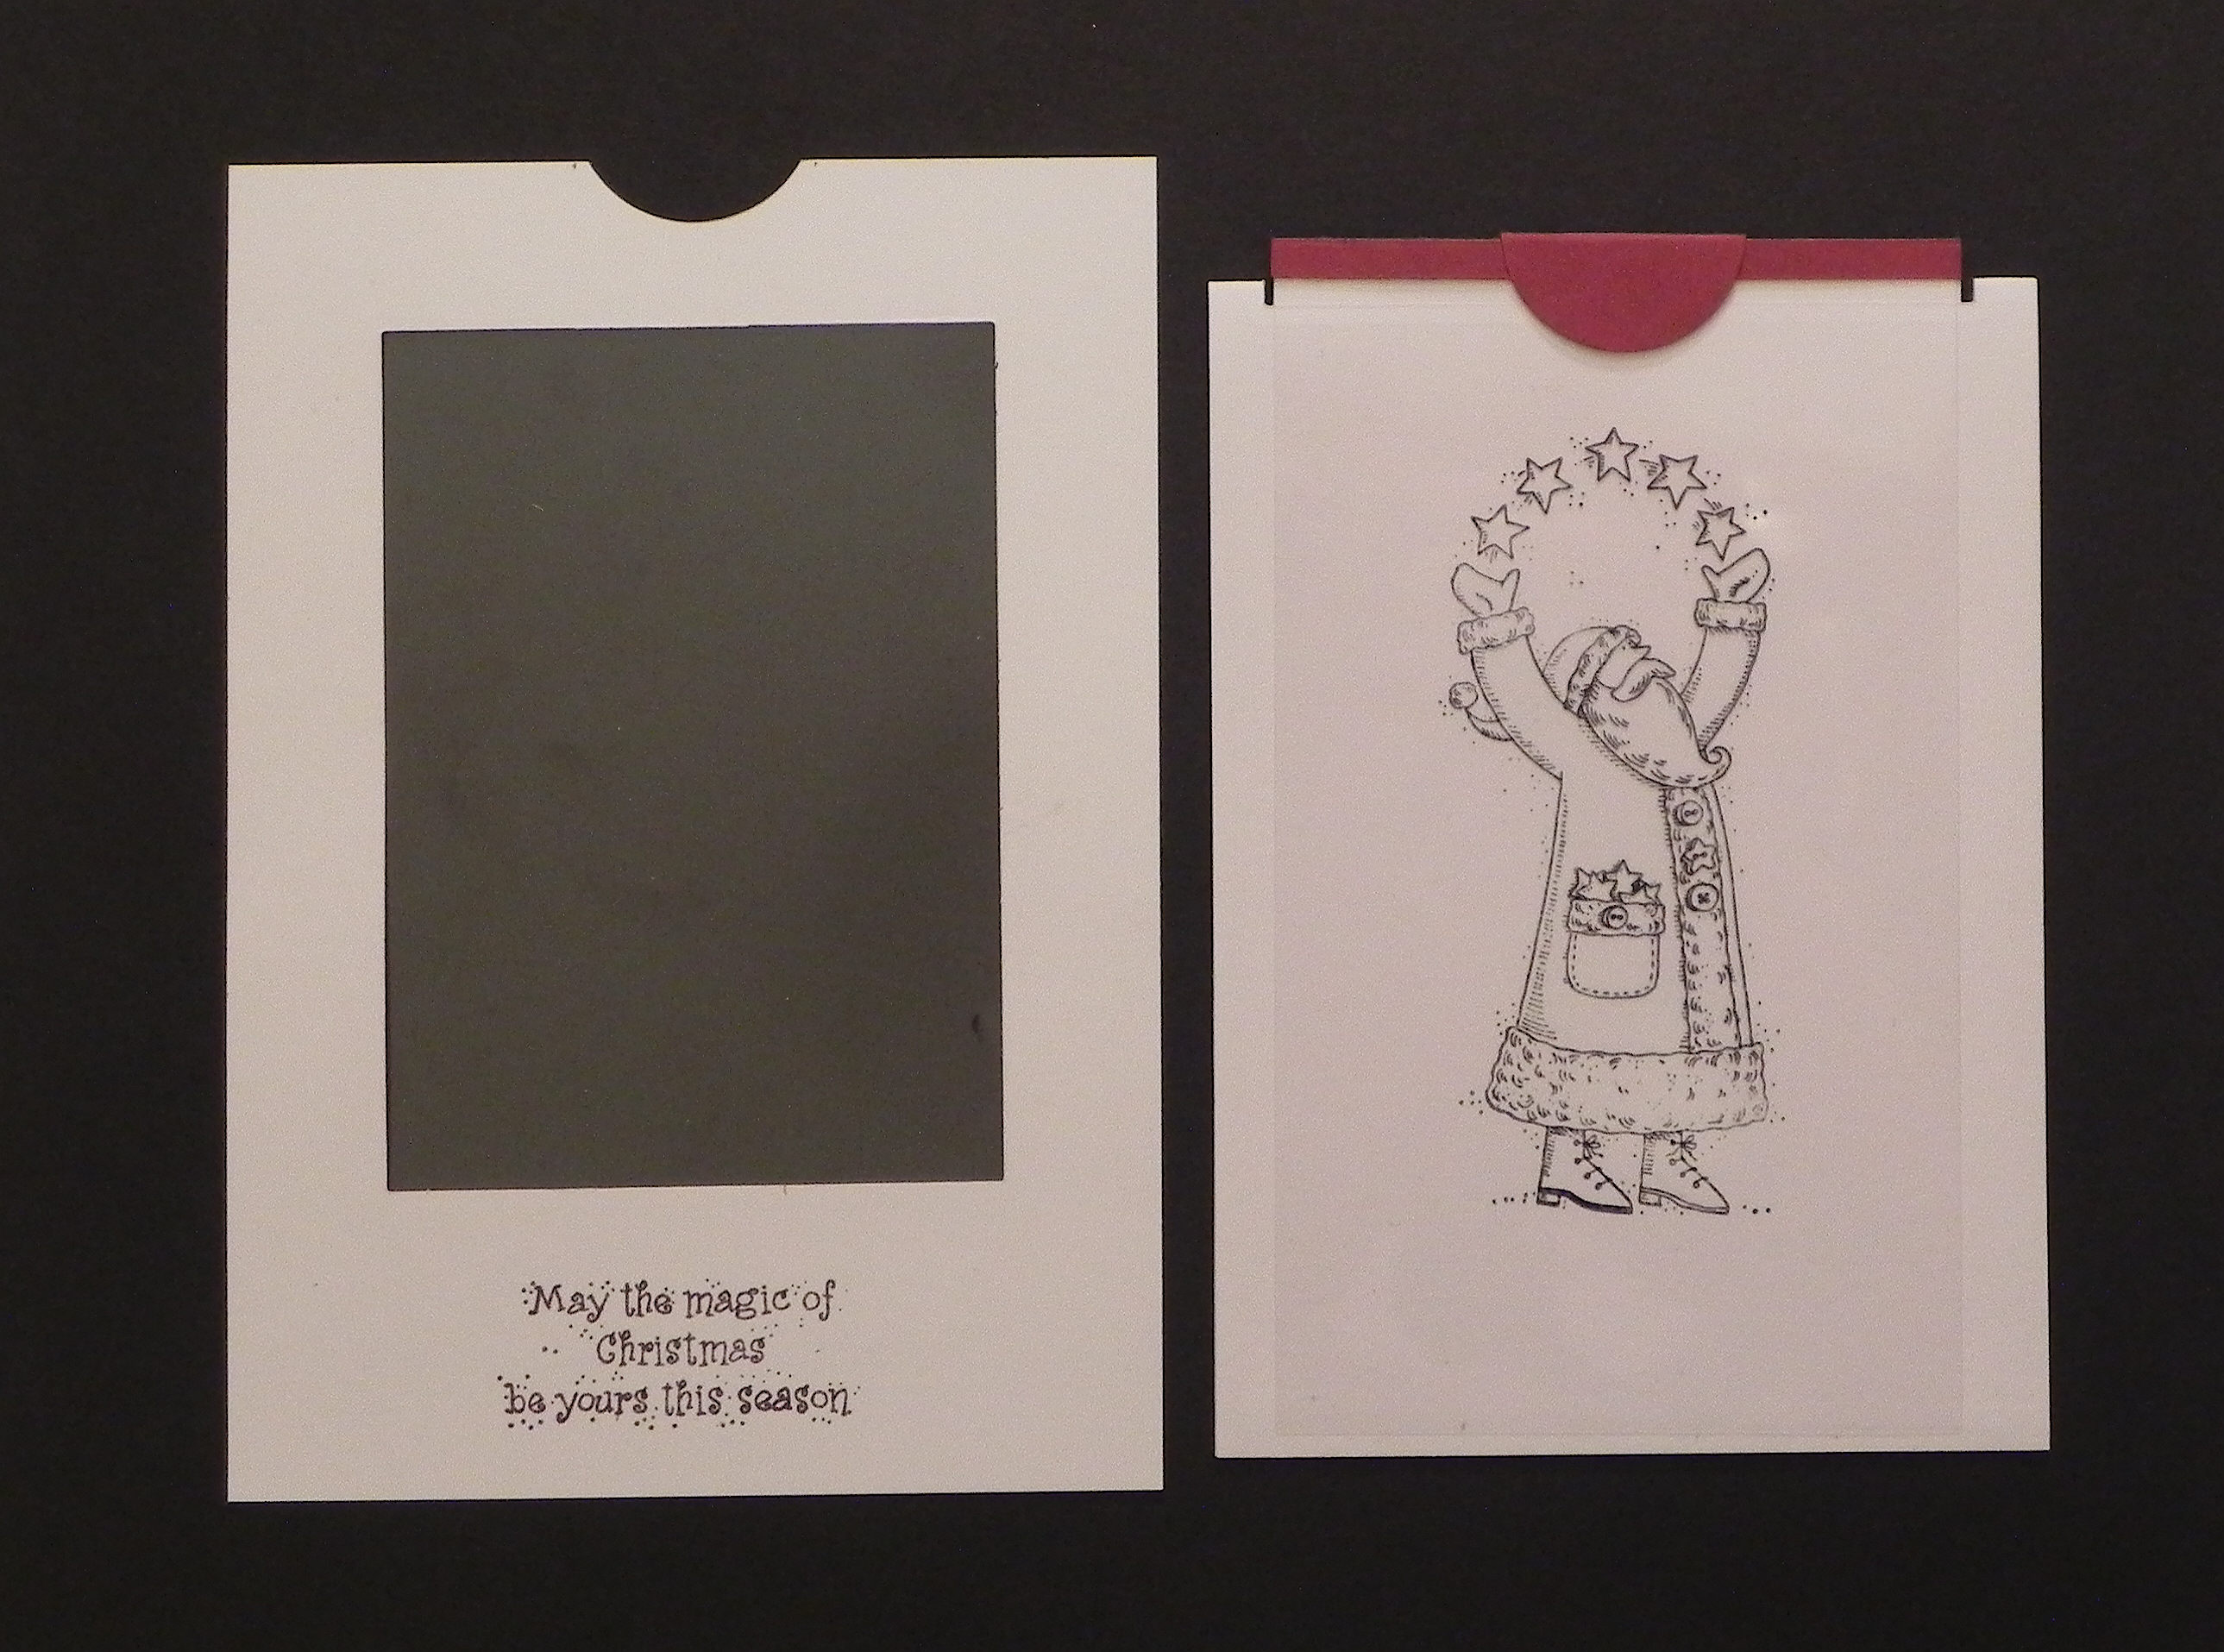
27. Carefully line up the top edges of the front panel and the stamped unit and stick them together.
28. Take your other front panel (with just the semicircle cut out) and position it on the card base as desired. Do not glue it down yet.
29. Trace the semicircle onto the front of the card base, and cut it with your circle punch. Then, close the card, trace, and cut the semicircle on the back half. (They need to line up when the card is closed.)
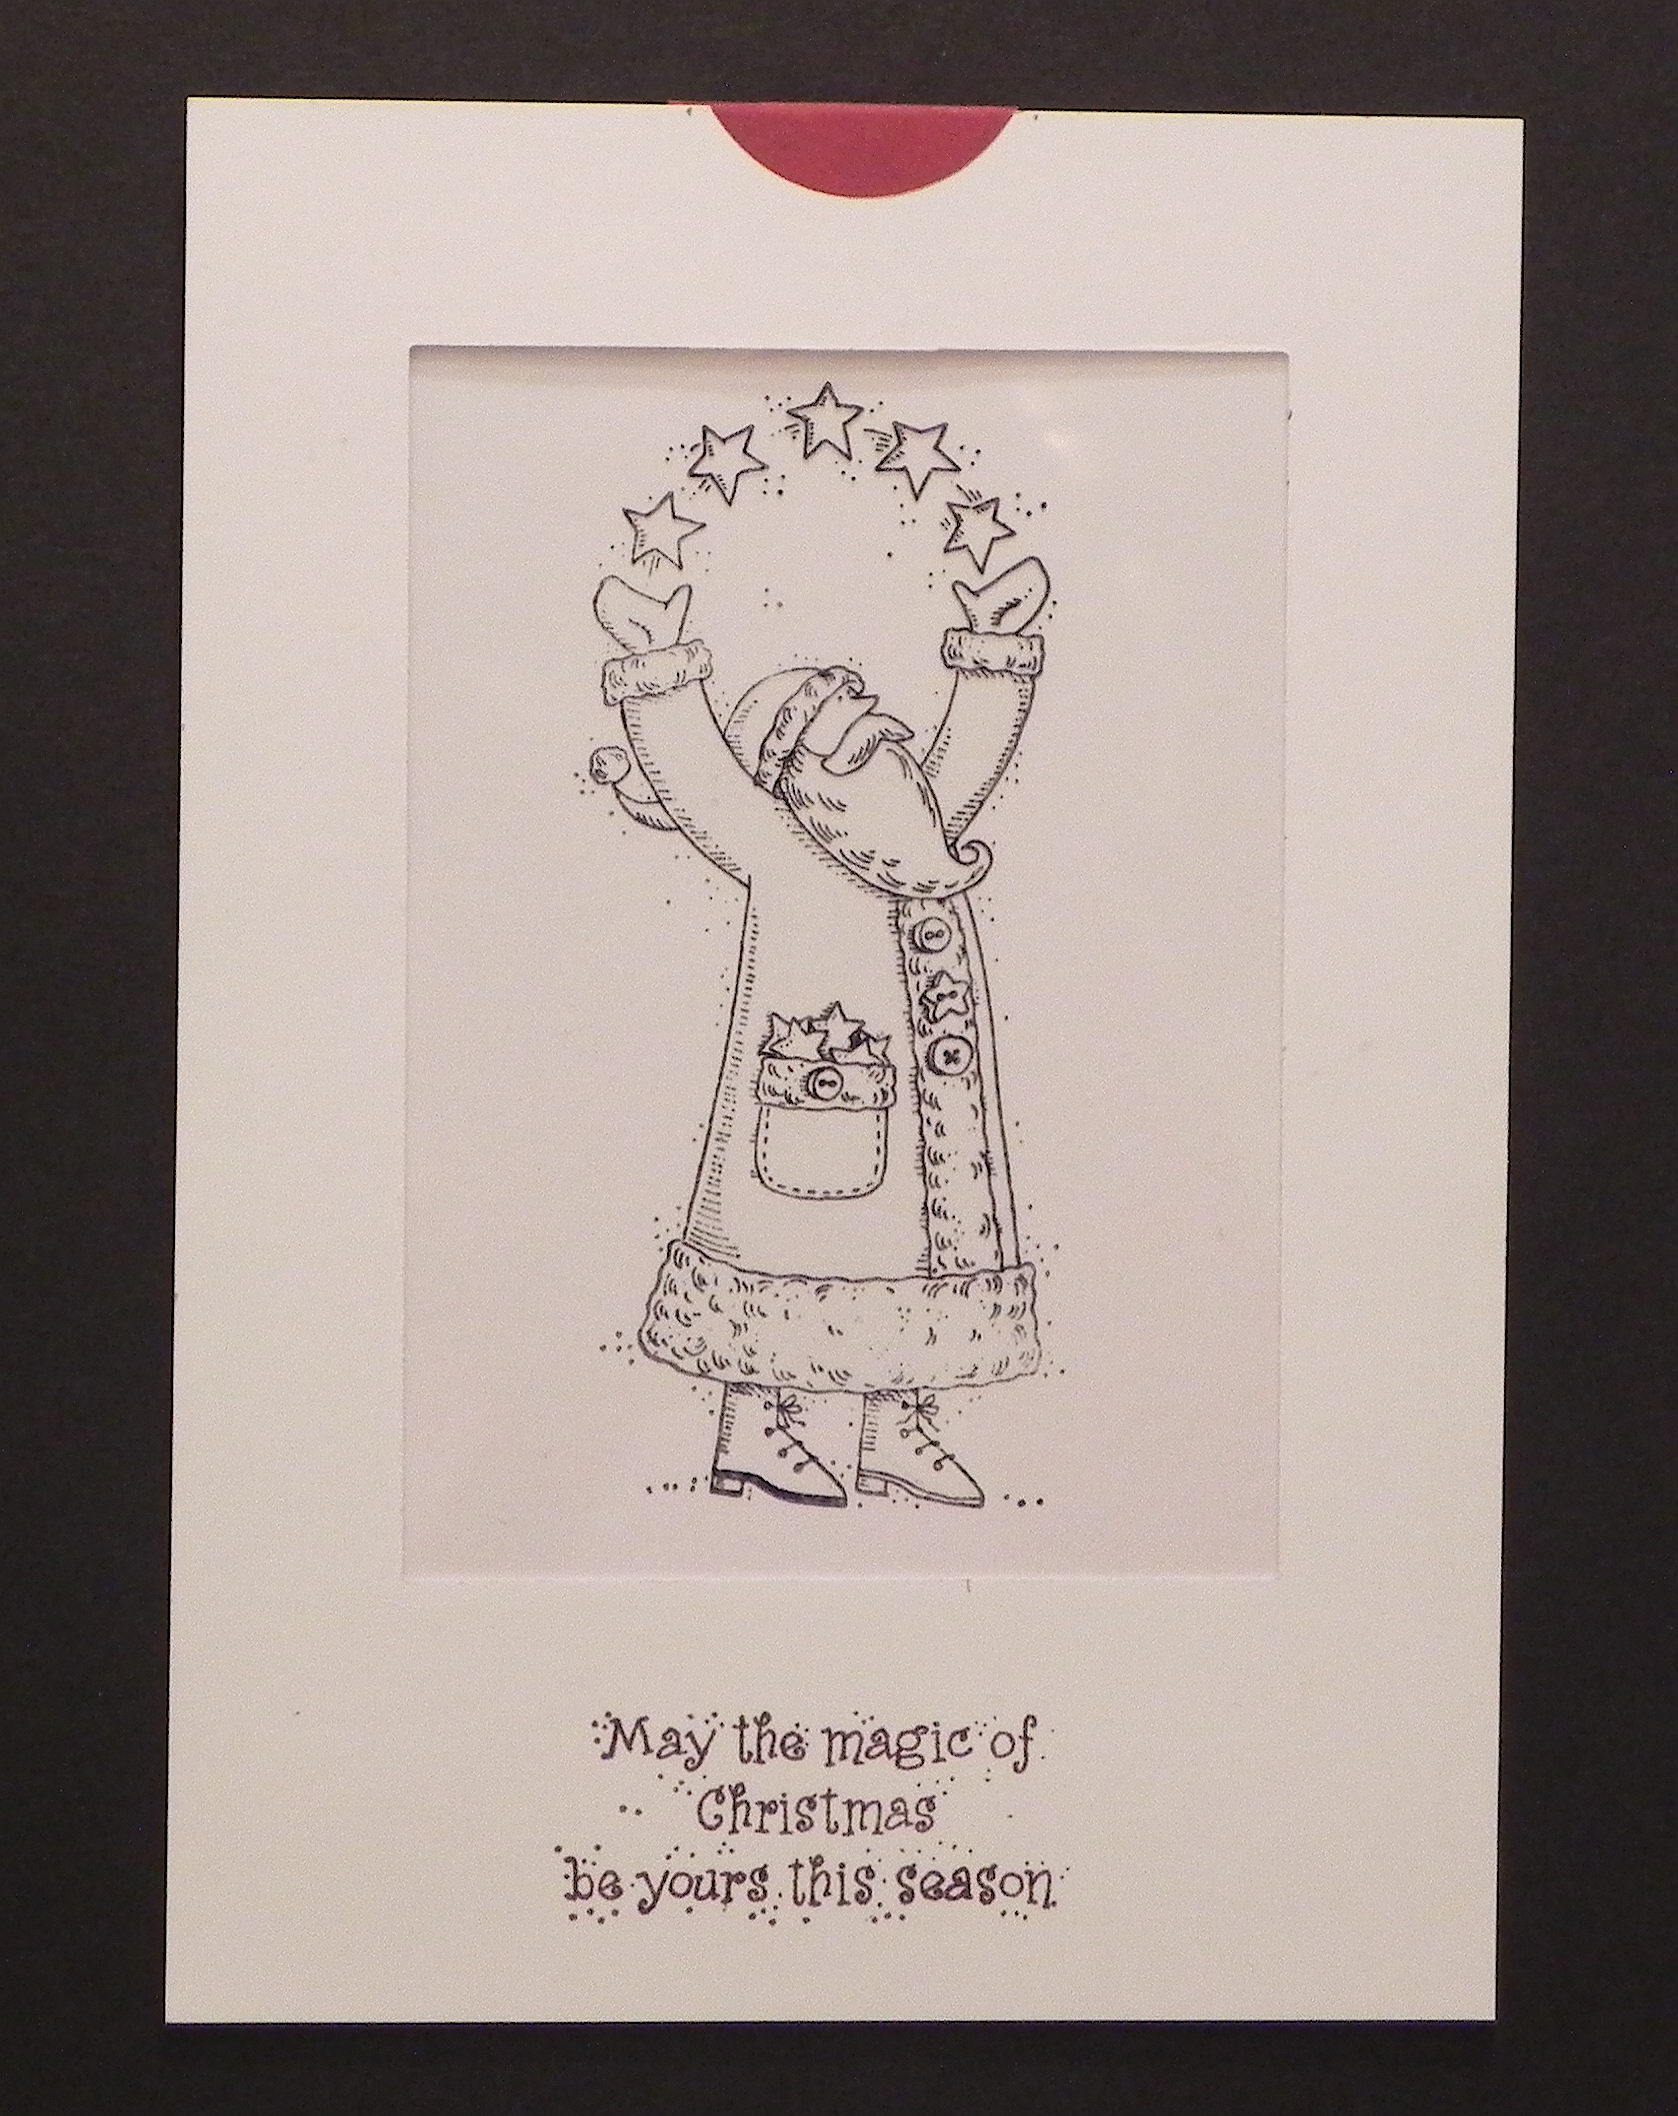
30. Adhere the white panel to the back of your framed panel and adhere it to your card base.
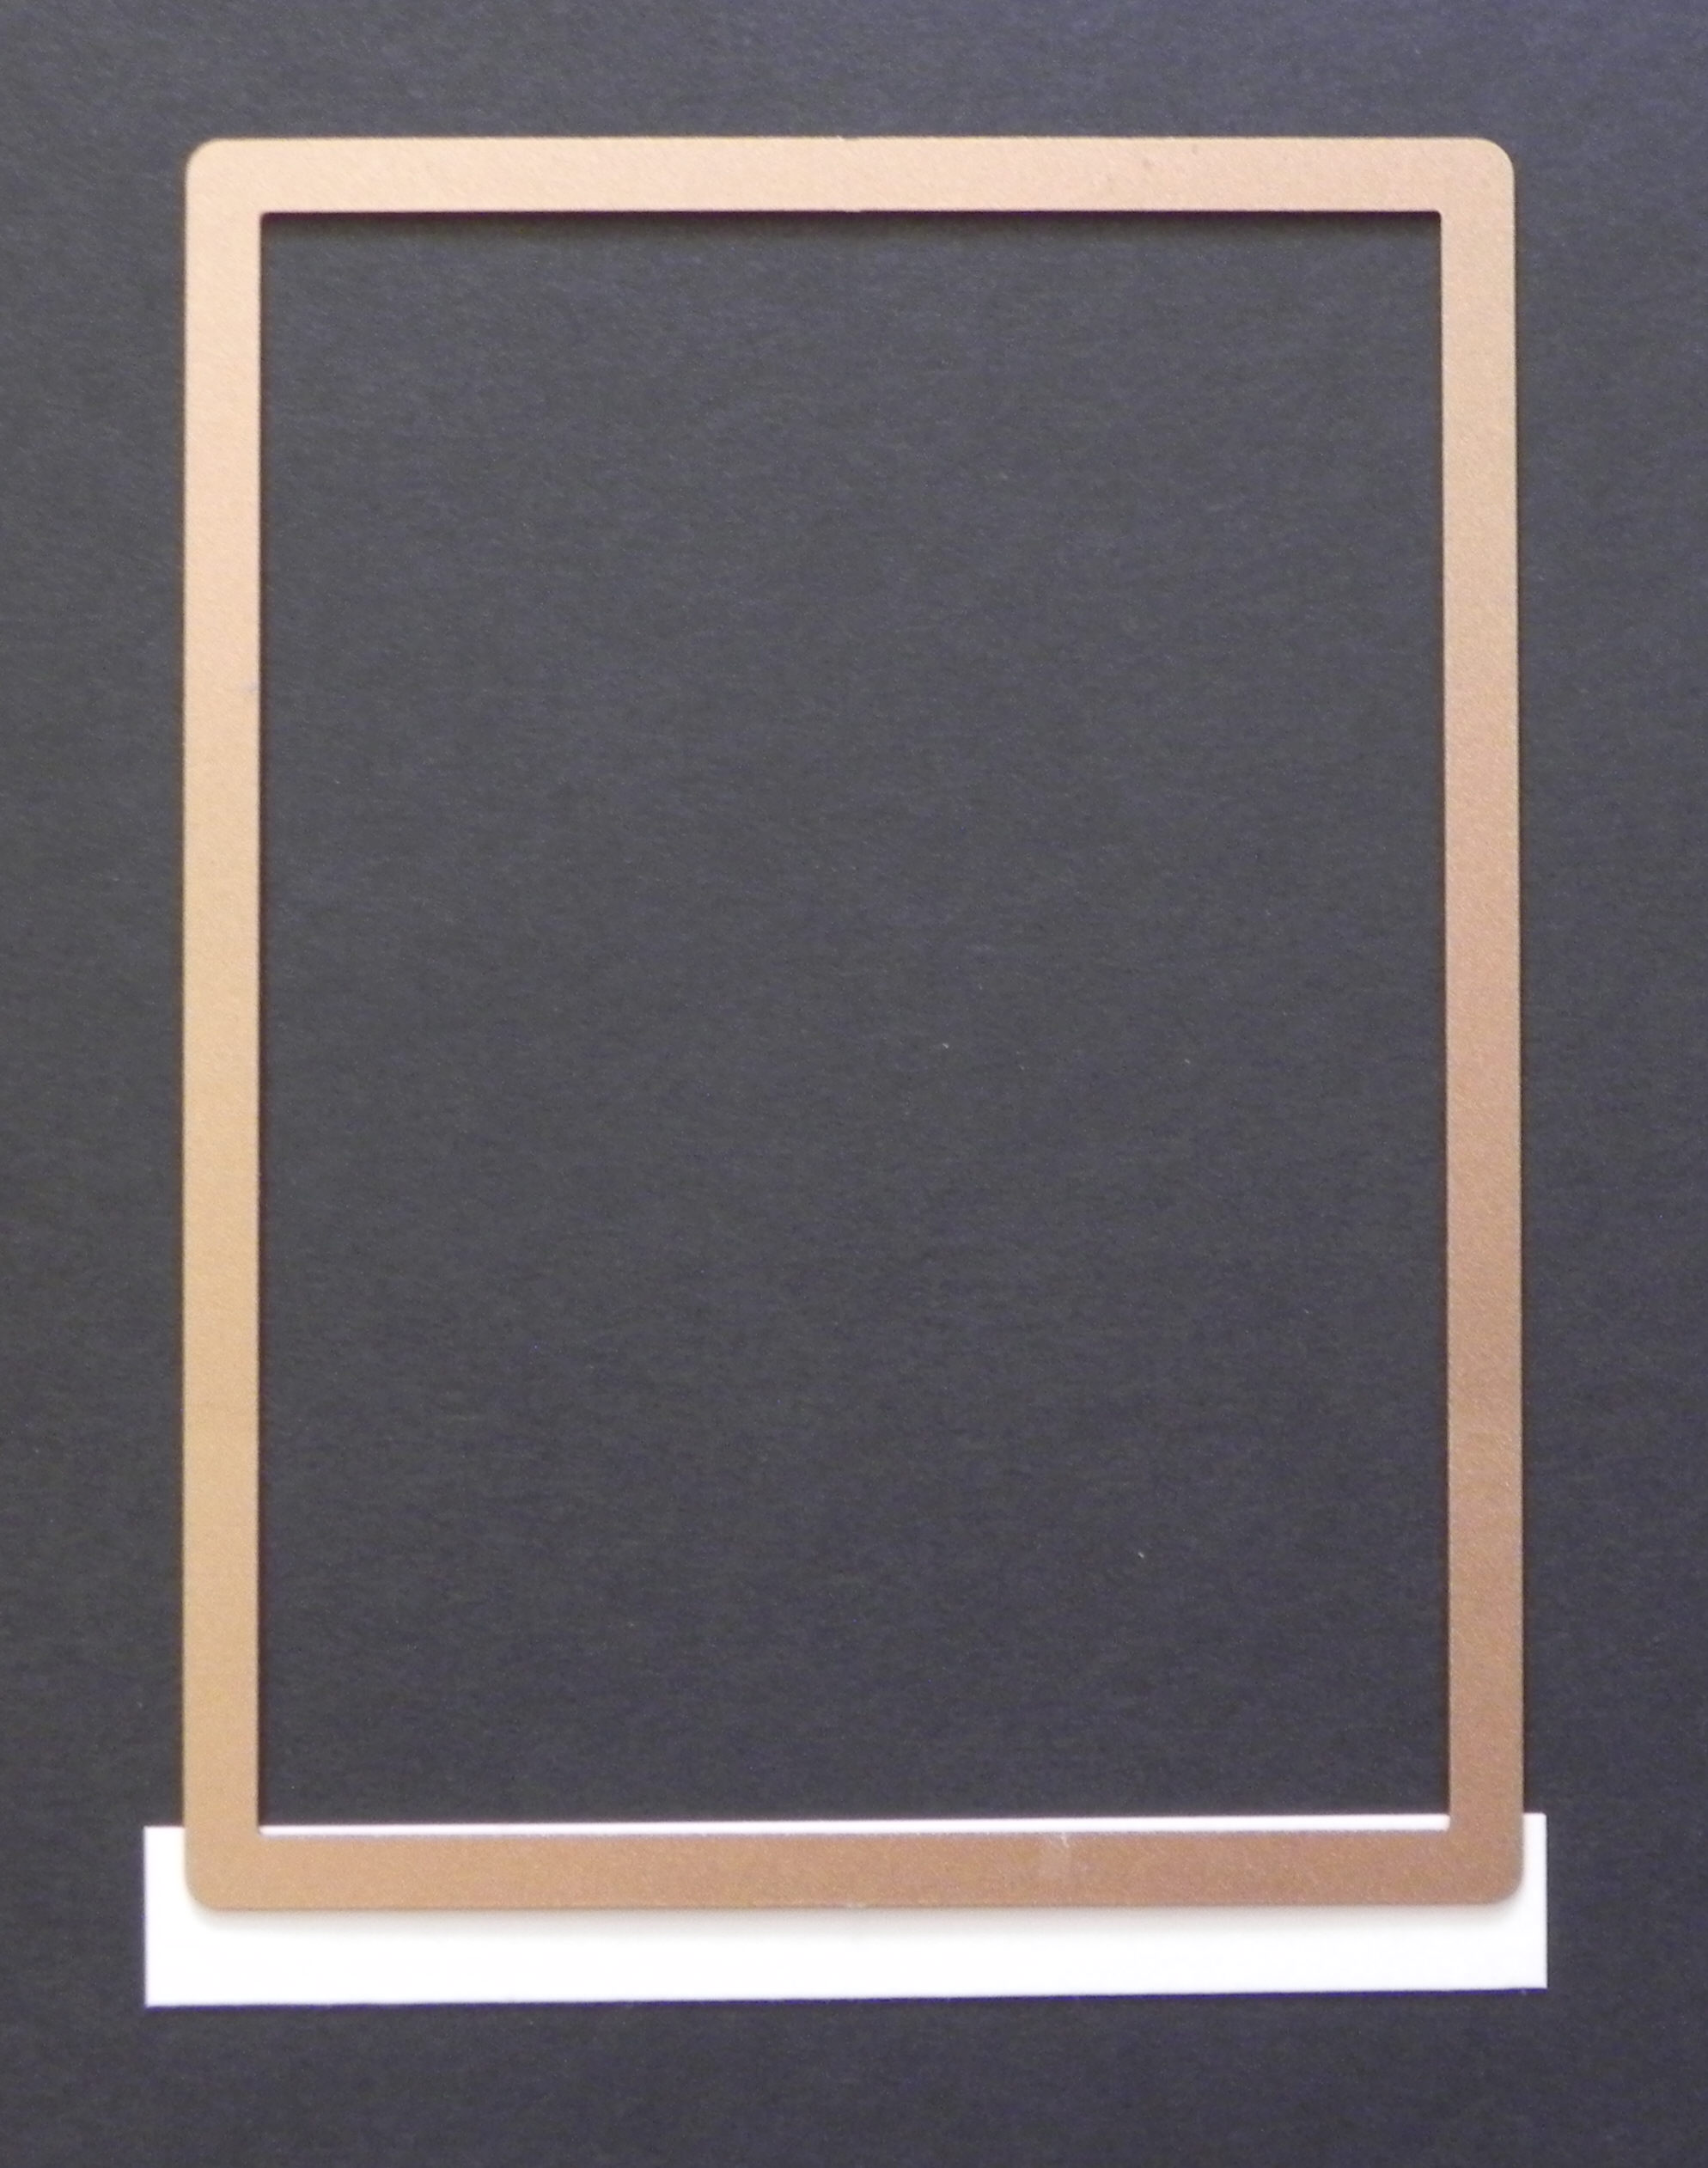
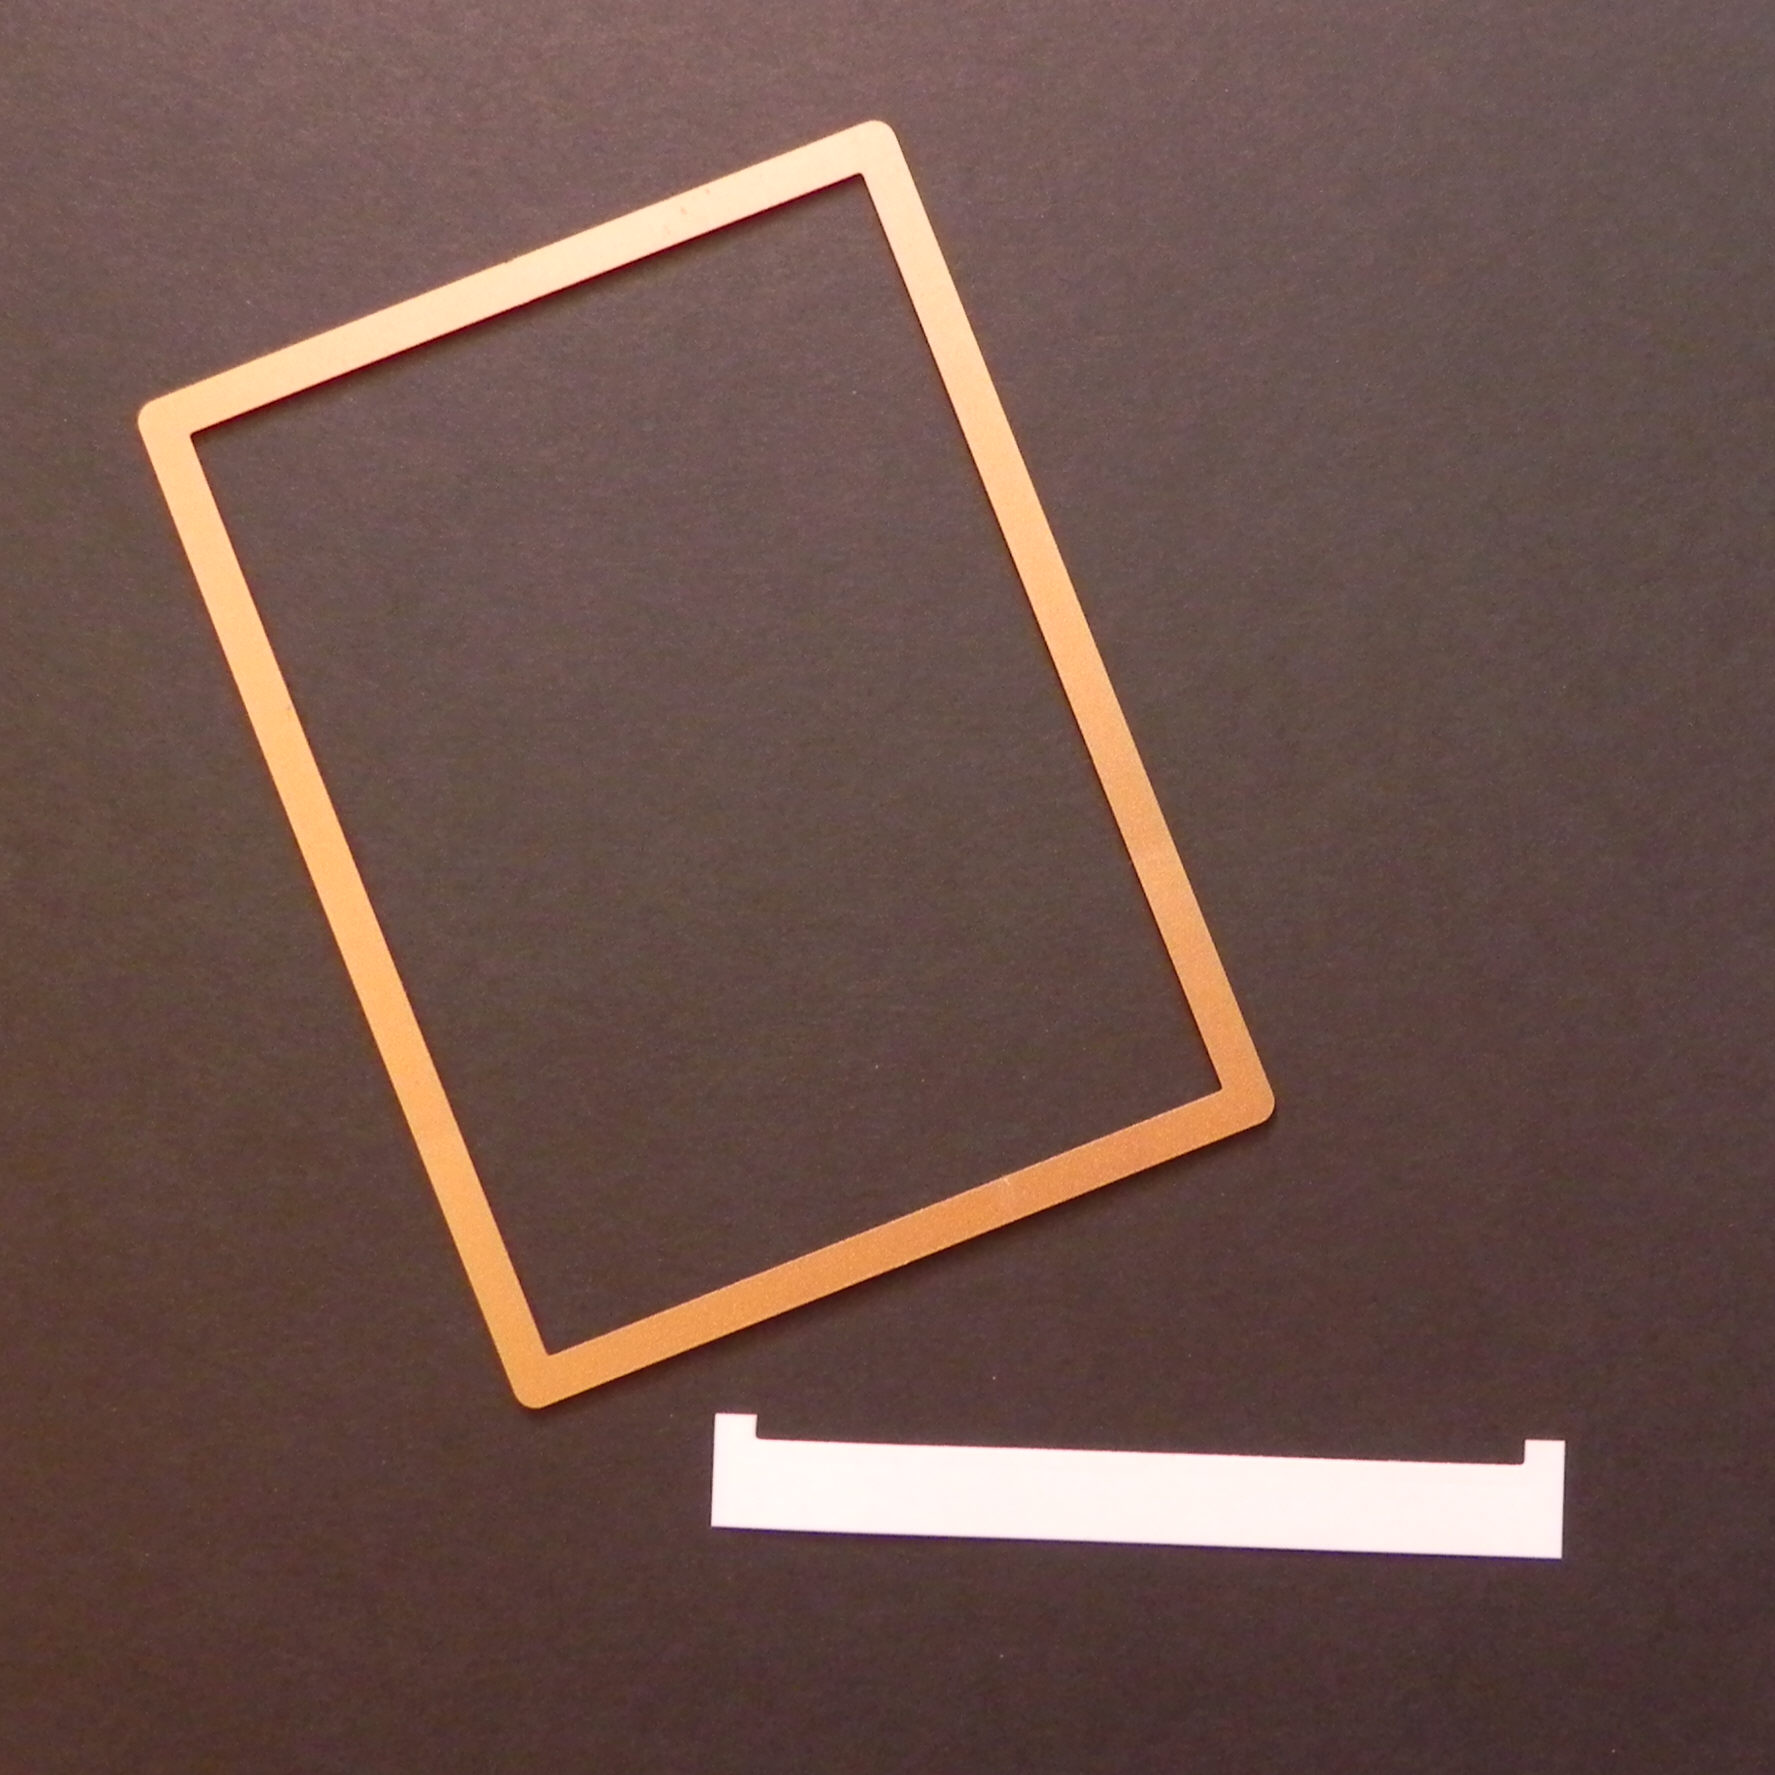
31. Make a frame for the rectangle window by nesting the two rectangle dies as shown, and cut them with your die cutting machine. Tape dies with repositional or low tack tape to keep them in place as you cut if desired.
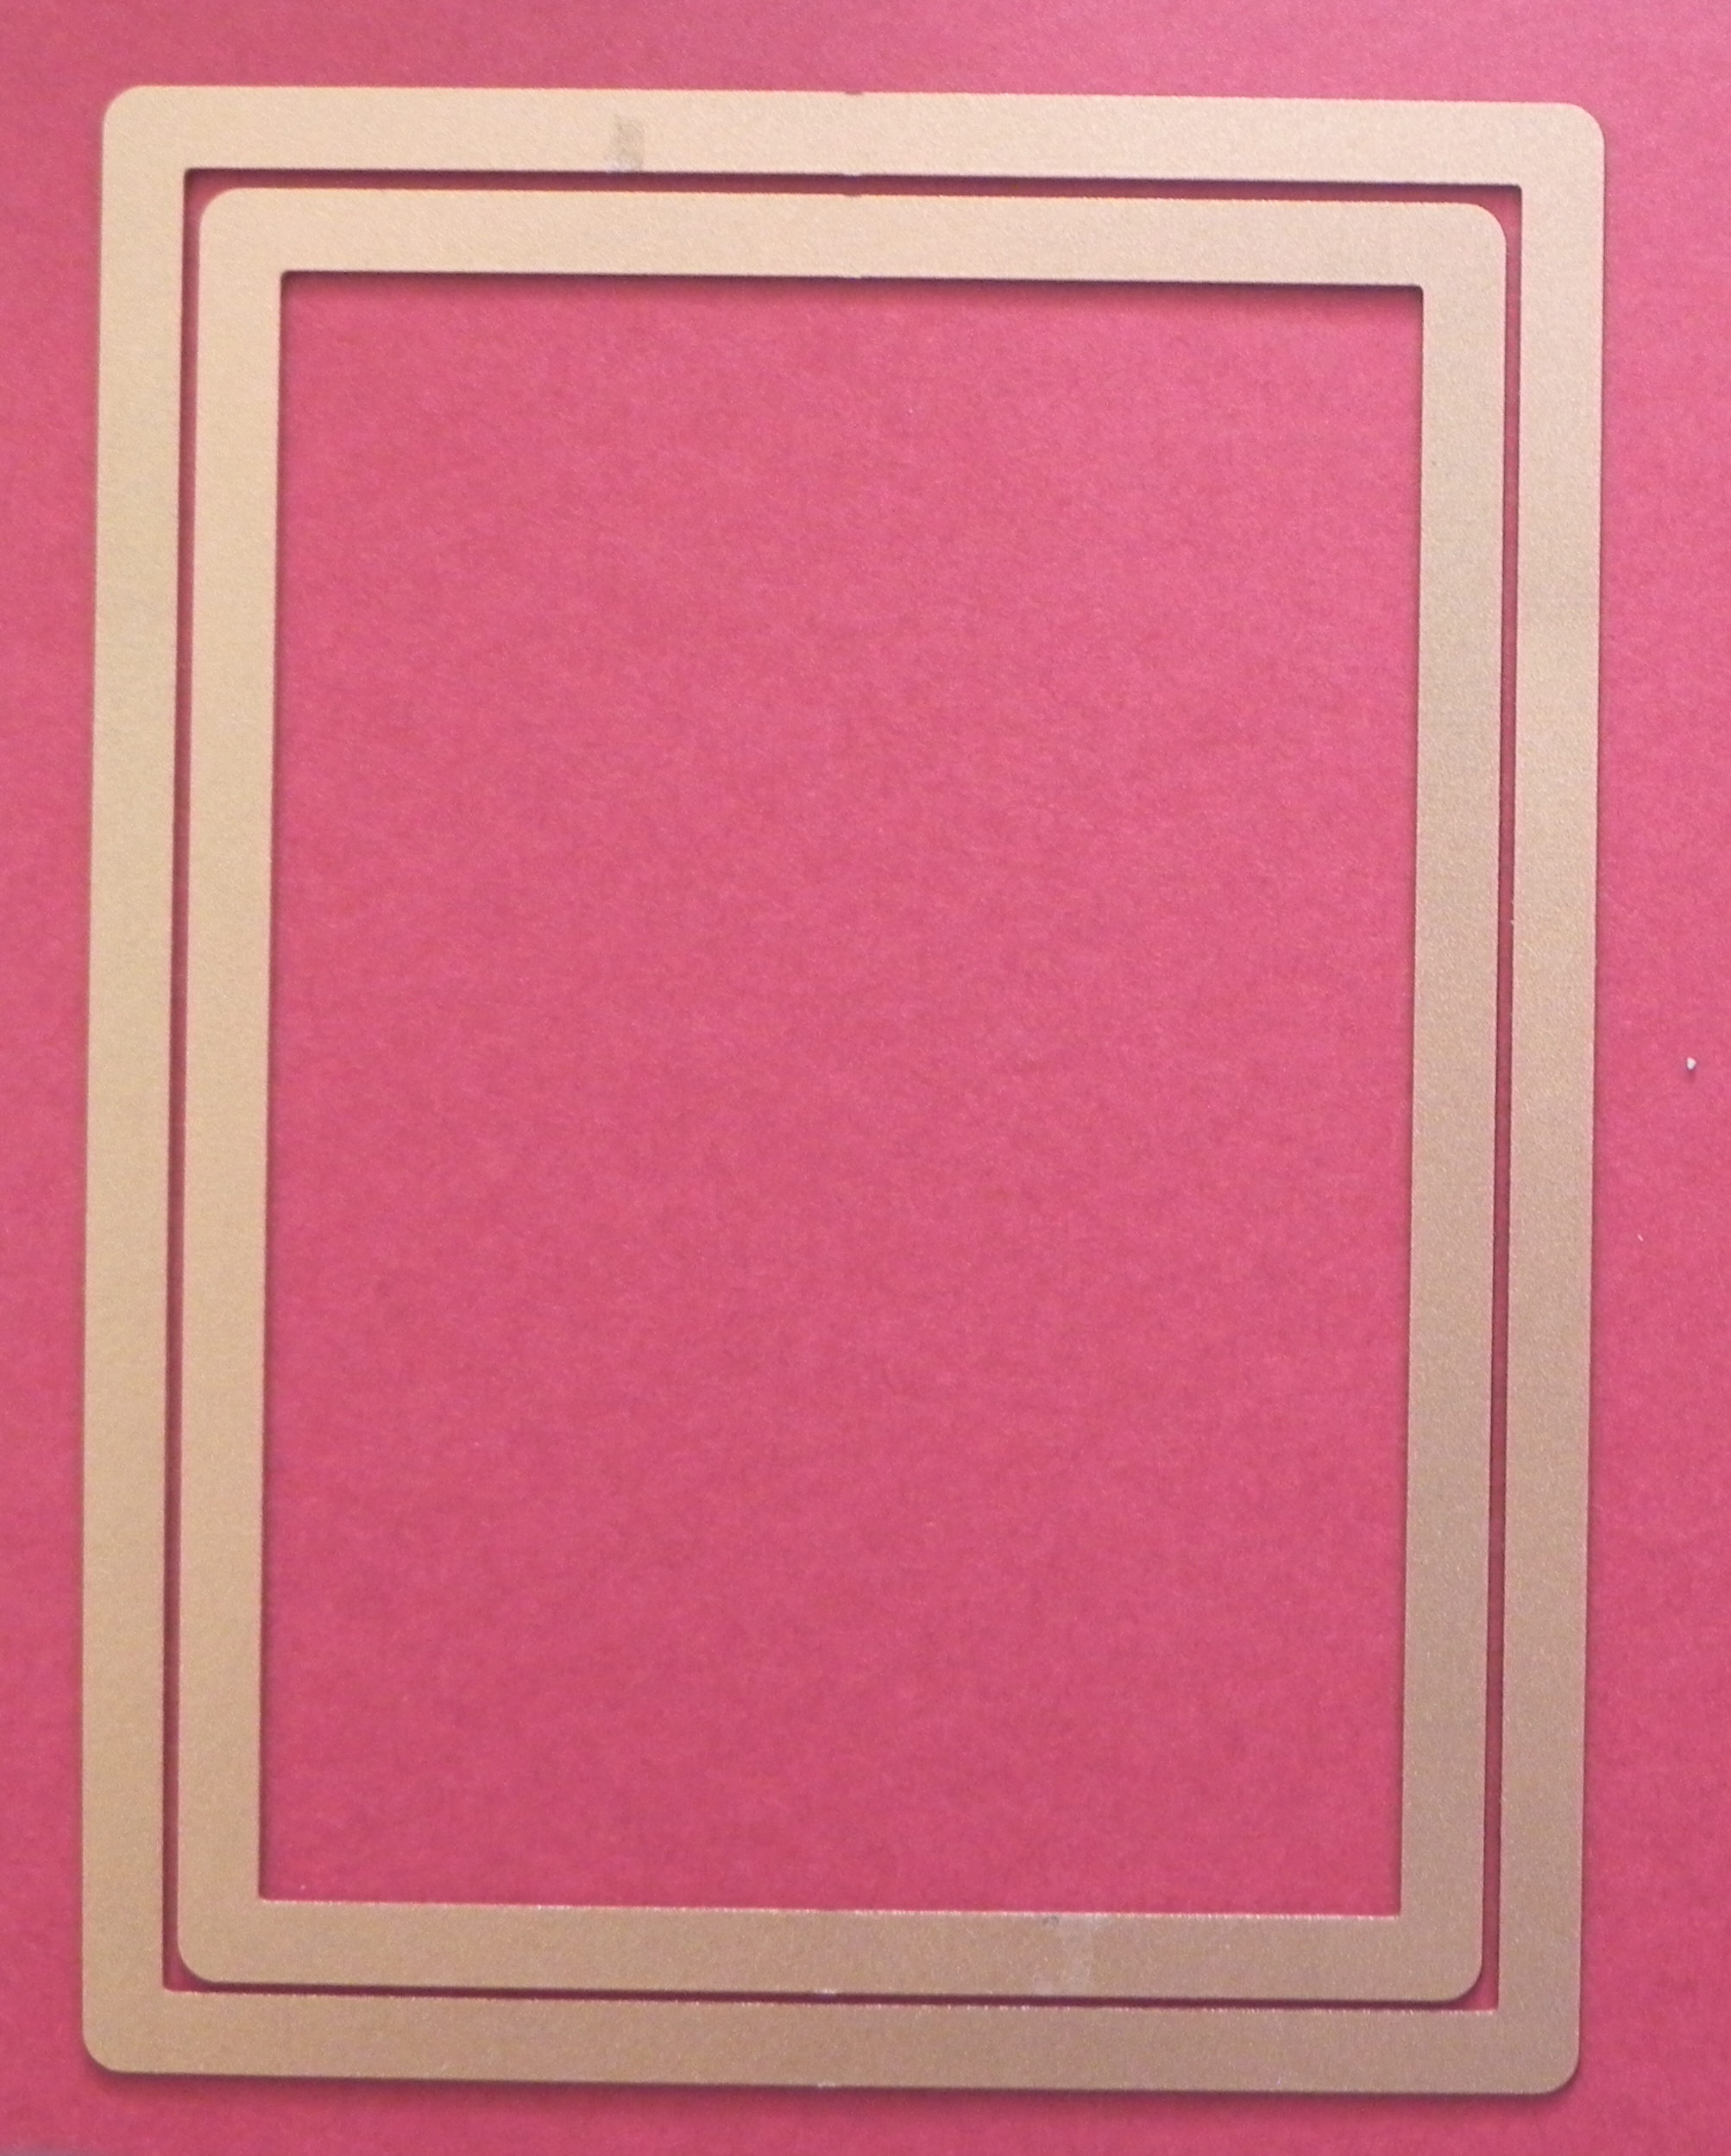
32. Add the frame to your card front with adhesive.
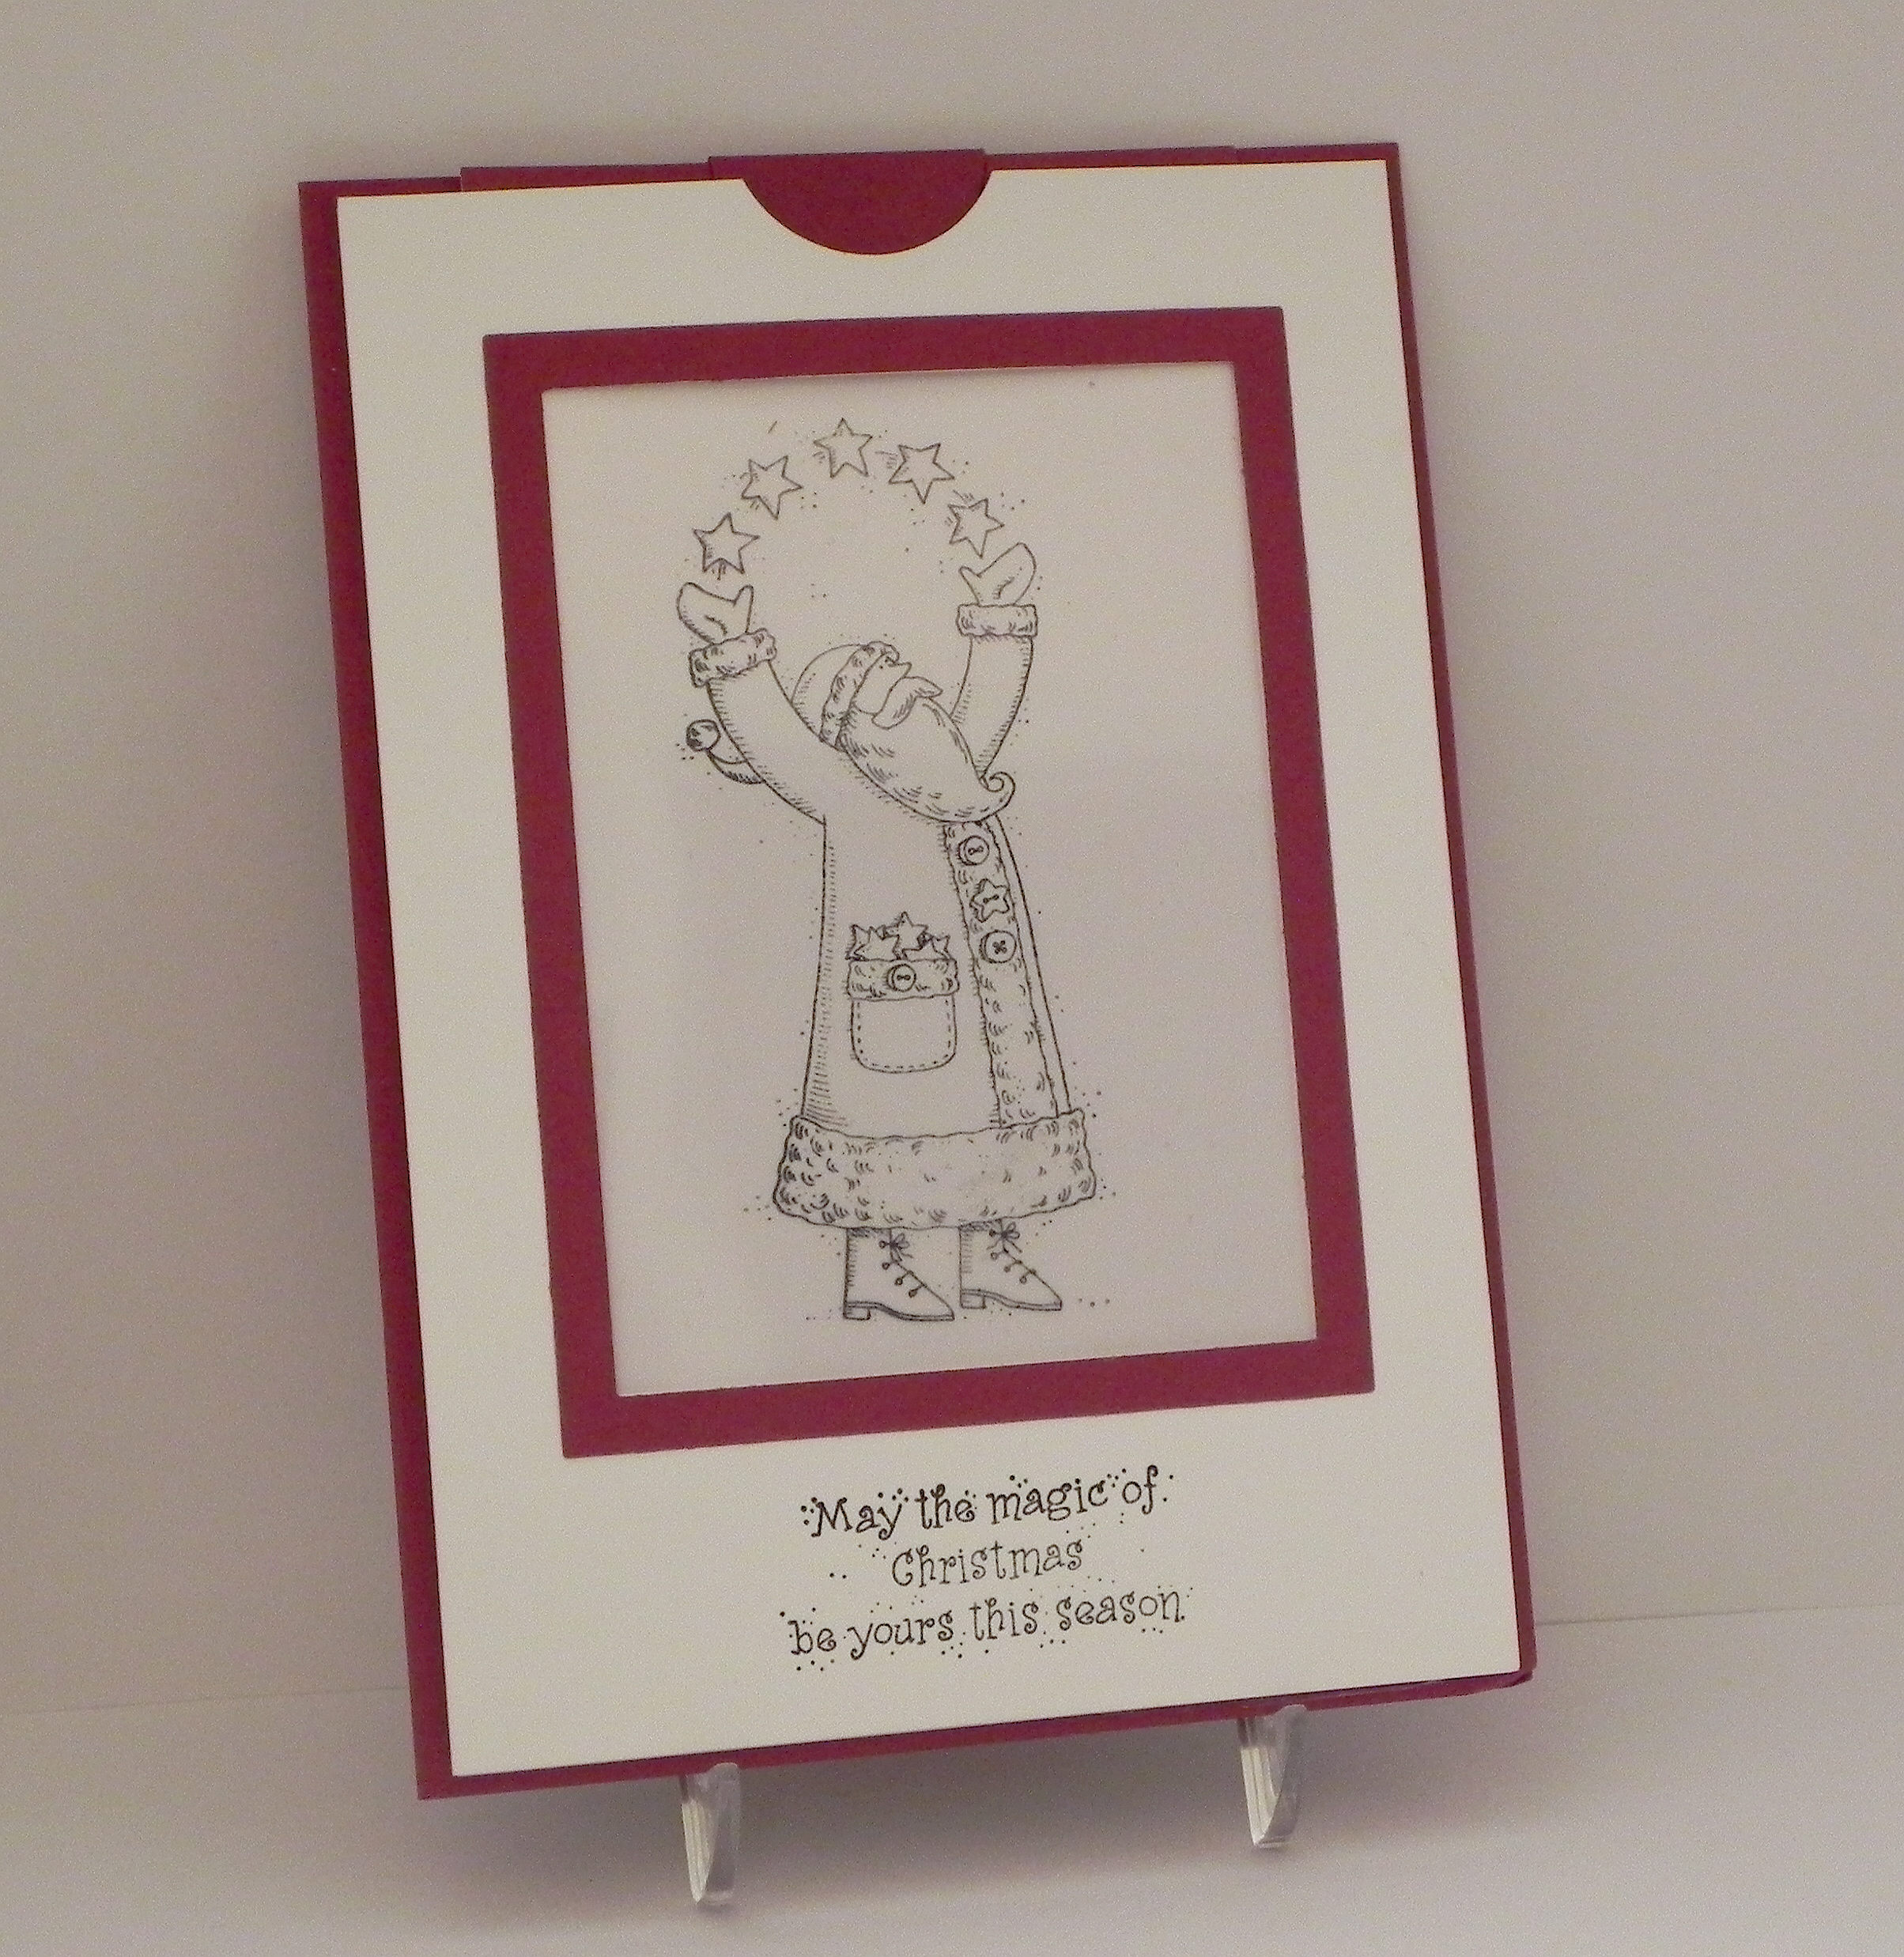
Thanks for checking out my tutorial!
This content uses referral links as described in the disclosure policy on my sidebar.


Pingback: “The Magic of Christmas” Magic Card | I Played With Paper Today!
Thank you! This looks like a challenge…but now I showed my husband and he will be asking for it LOL
LikeLike